Monday, April 24, 2023

I am SO blessed....

that my daughter Leanne and my three sisters, Shirley, Carol and Marie, often pick up little things to add to my stash although none of them are miniaturists themselves.

Marie and Carol came out today to spend two days with Shirley and me. It's the first time in a long while since all four of us have been together at the same time so tomorrow night, we're having dinner at Shirley's and we'll celebrate Marie's decade birthday (which isn't actually until next month) with the birthday pig

While all of my family contributes to my stash, Marie goes to more garage sales than the others, so she often comes up with a few more things.

JACKPOT!!

First these lovely little Christmas pieces. From the bottom of the base, they are 1 3/4" tall.


If I do the little Christmas tables for Meals on Wheels this year, they will be a big addition.

(Drum roll, please)....

Then these incredible pieces of art by Louise Olinger of Canmore AB. These are from her Christmas ornament collection.


The matted pictures themselves are 2 1/2" x 2 3/4" and are just wonderful.

So I Googled Louise Olinger and found her work at https://www.olingerart.com/ .WOW!!

Her Christmas ornaments are, on average, $10. Cdn. and her fridge magnets are on average $7. Cdn. 

I think I see a gallery showing of Louise's art in my future.

Monday, April 10, 2023

China shop epilog

 I really like this roombox BUT it's so far from the builds that I used to make.

With the exception of the demi-lune table in the front right, I didn't make anything in it.

On the other hand, I really cleared out a bunch of the pieces in my stash so I guess that's a plus.

There were more than ziploc bags than shown. There are 30 plus push pins from my bulletin boards.

  And only one furniture box. And the containers for the table settings and the glassware.

Just counted and there are 184 pieces, not counting the furniture.


One more tweak:

I painted the front of the light fixture white over the grey. Think it makes a big difference.


China Shop is finished!

Will likely need a few tweaks but I'm pleased with it!


Added a vase of flowers to the table.

Finished filling the cabinets:. What a fiddly job!


Sorry. The mirror in the back of this cabinet makes taking pictures very difficult.


Ta-da!


And around the room...


A slightly better picture of the mirrored cabinet.


Saturday, April 8, 2023

China Shop coming along plus MEE get-together

 I am truly blessed that most of our MEE get-togethers are in the social room of my building so I get to see and visit with so many of our members.

Today the club had a get-together of members who are working on the Tufty Burrows project from Petite Properties. A couple members of the Estate Sale committee brought in an incredible amount of landscaping material for sale. (I was even tempted by some of the items.) The items went like hotcakes...score for the Estate Sale committee and the attendees!

Maureen M. brought me the paints for the Tiffany lamp and I showed her what I had done so far.

Cheryl S. showed us her swivelling windows in her Tufty Burrows. (Sorry I didn't get a picture.) They are SO impressive!

After the other had left, Cheryl and Fay joined me at my place and had a wonderful visit. 

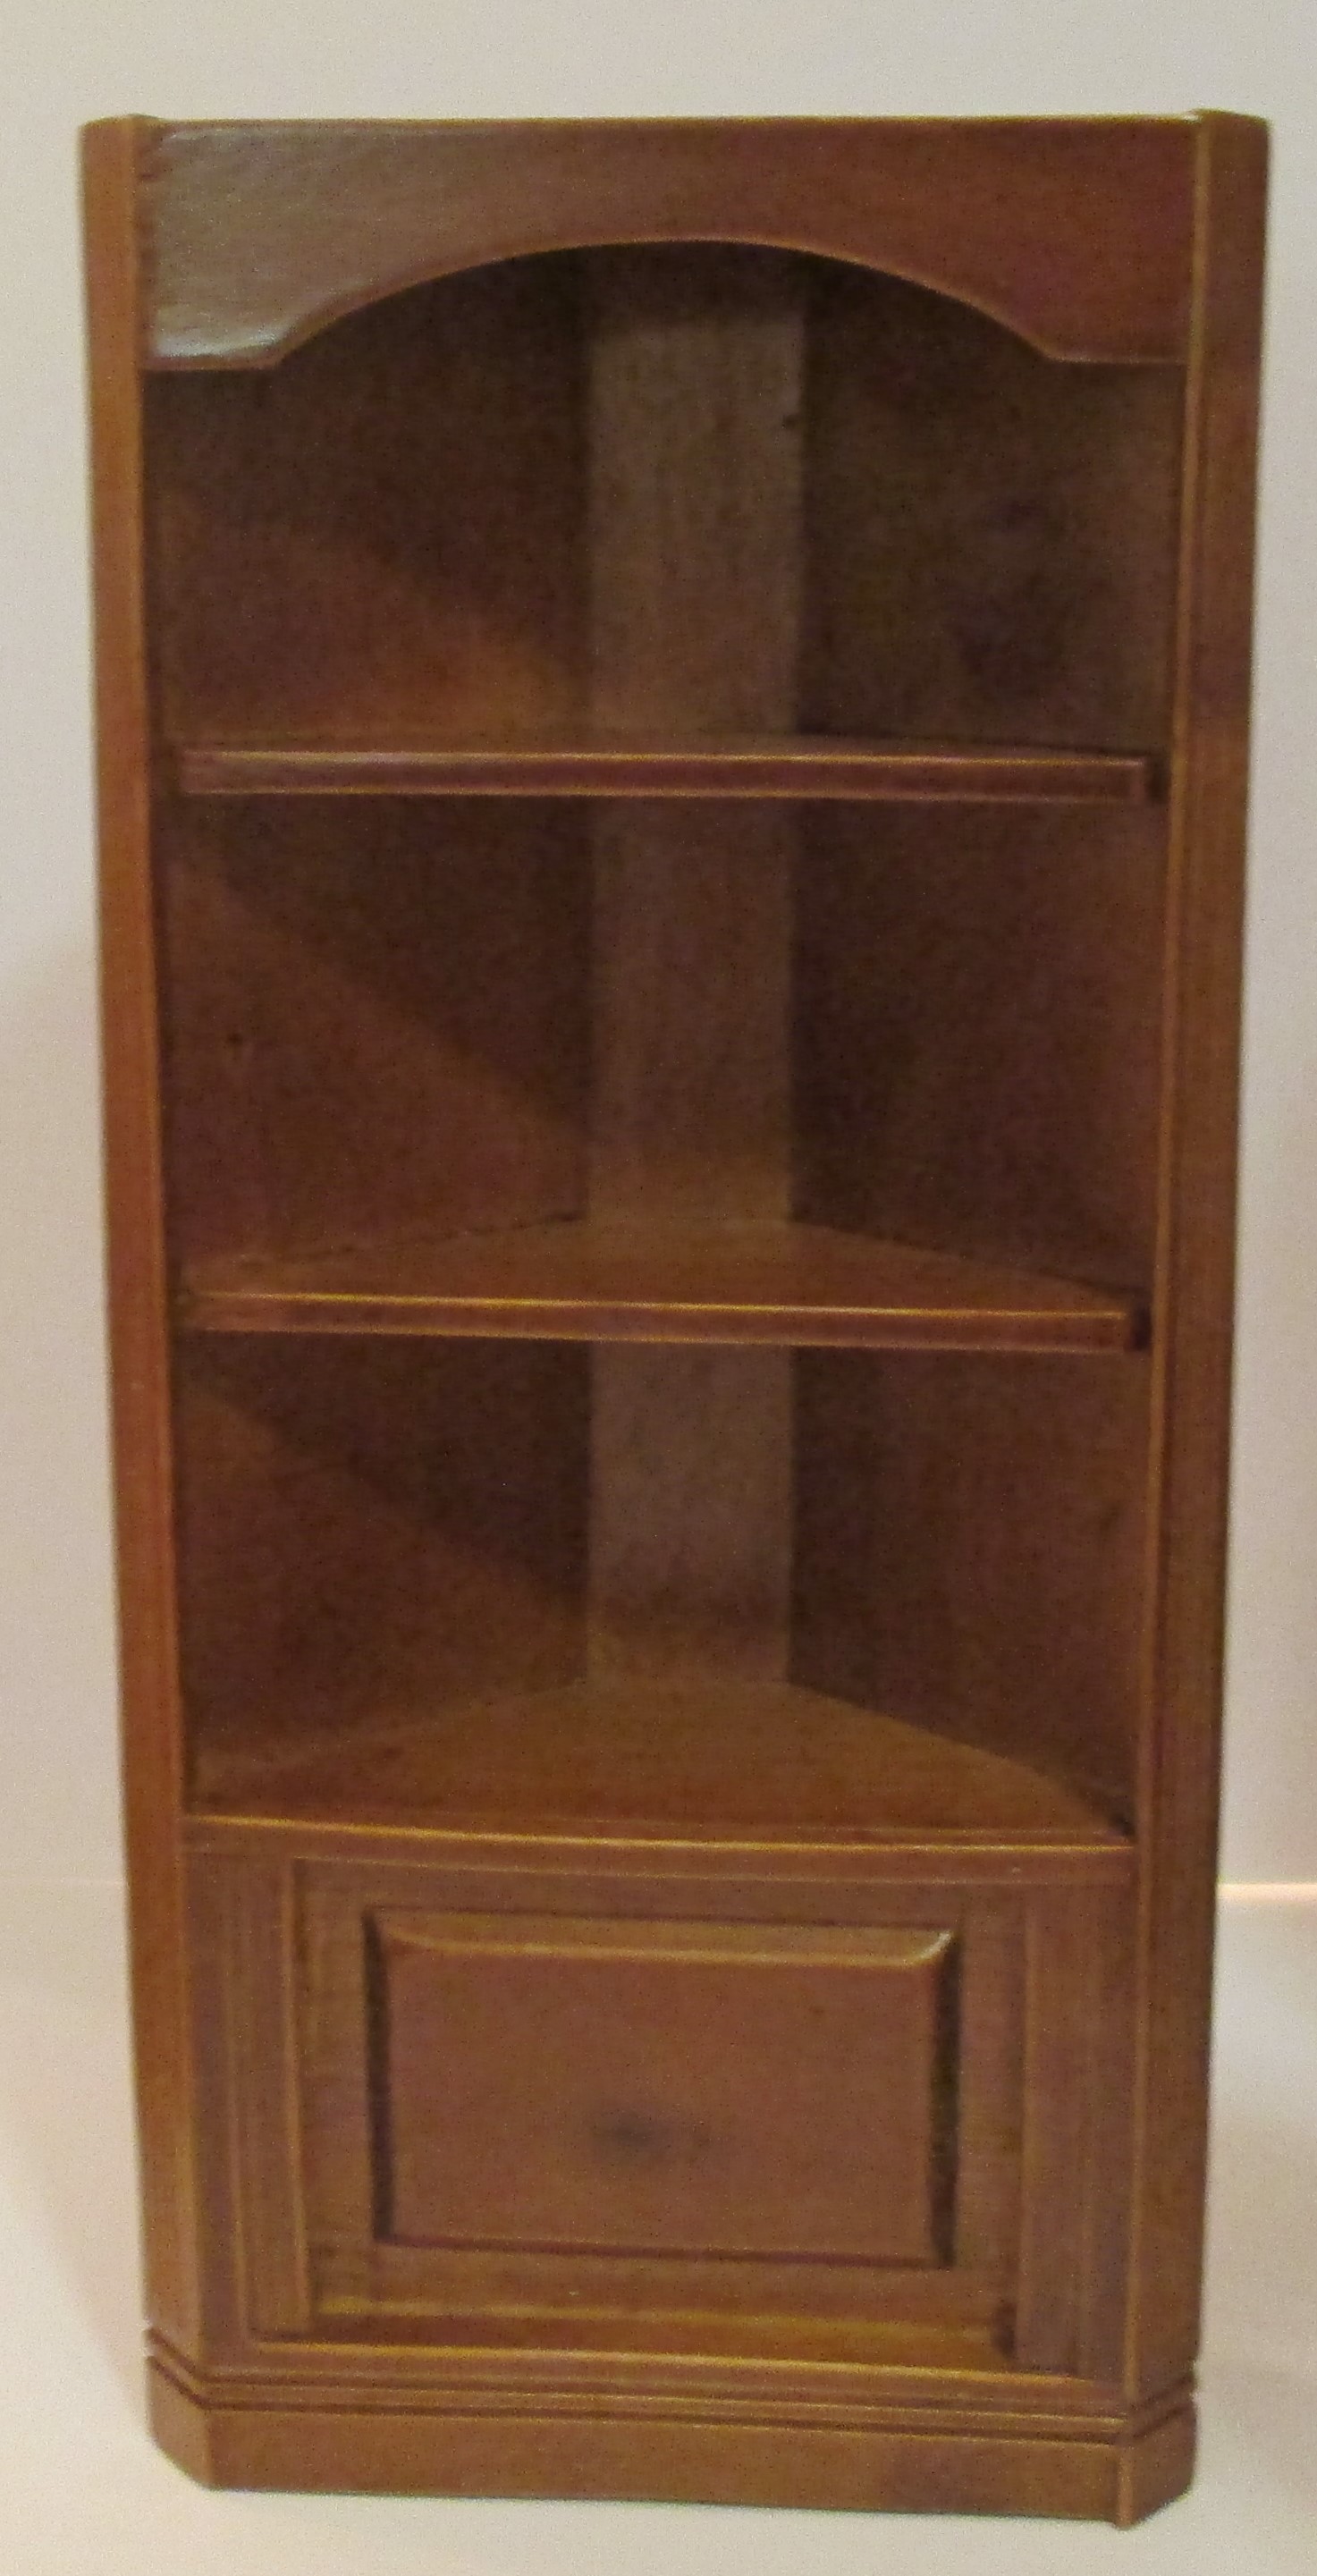
Awhile after that, I started working on finishing the China Shop. 

First I had to make the plate rails. I didn't want the dentil detail on the molding so cut it off and sanded that down. Then I added the strip wood to the top for a ledge, then stained and cut it.


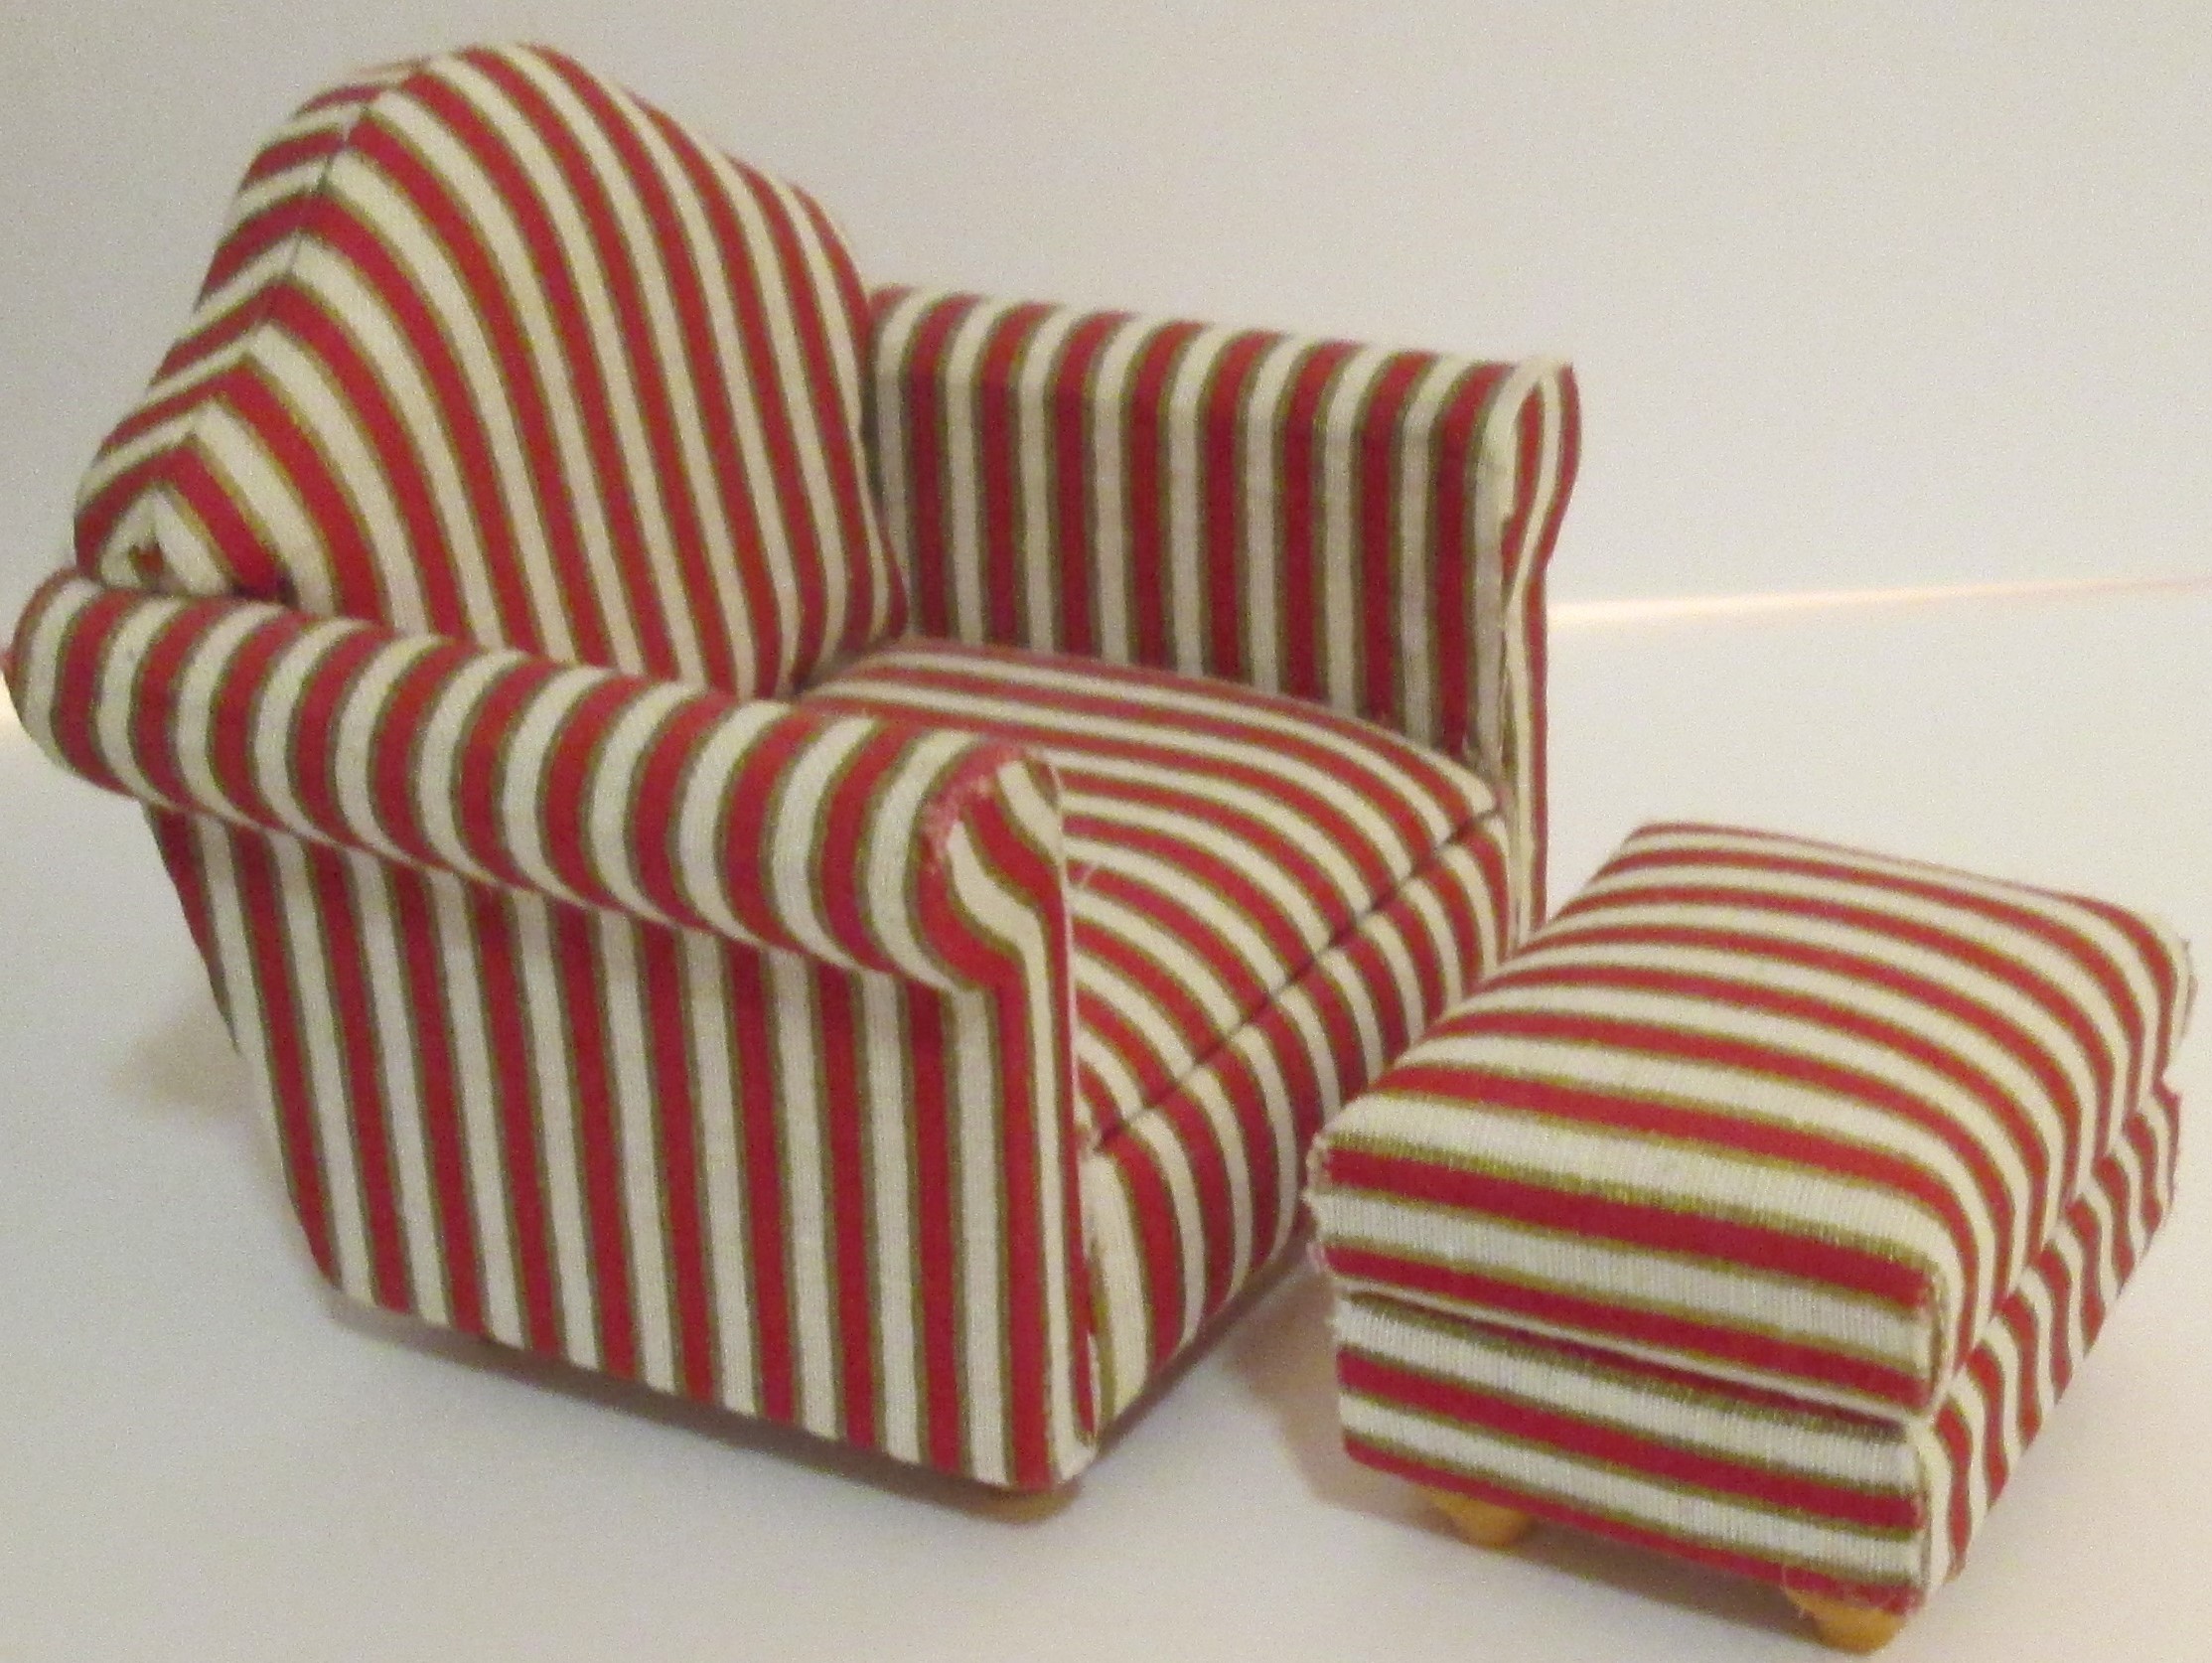
You can see it installed on the upper left side of the room along with the furniture that I'll be using in the room.

It takes forever to put things in place. I hate things that are permanently glued in place so I use Moveable Miniature Glue which I understand is not available anymore. I only have about a half bottle of it left so this is probably about my last major project that I can use it on.

But I want to display this at our annual Show and Sale on September 17 so I need to be able to transport it safely.

All the plates on the plate rails.


One set of china on the table, the sideboard and in the left corner of the room.

Just showing the rest of the furniture in the room.

I thought this would go more quickly than it has but I had forgotten about the time it takes to use the moveable glue.

Plus I have one more set of china, several sets of glassware, and a whole lot of other things like vases and ornamental pieces to add so I think it's going to take a couple days longer than I had originally planned.

I think I need to add the cutlery to the set table. Maybe a floral arrangement? Should I put chairs around it?

I'm having a tough time trying to decide how to display the china. How much can I stack pieces? I have many white pieces that I can probably just stack in the back cabinet . Maybe I can do that do it looks FULL then fill the corner cabinet with individual pieces and glassware then fill the glass cabinet on the right with all the vases and ornaments.

I want it really full...but I want the special pieces to be highlighted. 


Thursday, April 6, 2023

Now it's beginning to take shape - the China Shop

Thanks, Jodie and Marilyn, for reminding me how lucky I am to have the choices I do. Appreciate your encouragement.

After some thought, I decided that the Landygo, as nice as it is, just isn't the setting for the china shop. Even though the top is open for viewing, there just aren't enough good lines of vision for something as detailed as a china shop.

So back to my stash....

This is one of a series of roomboxes that were made for the club before I joined. They come up for sale every so often and I try to buy them when I can. They're roughly 15 3/4" wide, 10" high and 11" deep. Perfect for almost any project.

The outside of this one is finished in a mottled green; it has a textured ceiling and a wood plank floor; and the walls are unpainted.

The floor is stained and scored into wood planks but the lines are not straight so I will be covering it.

My first move was to add a battery-operated LED light fixture (one of three my sister Shirley gave me some years ago). First a plastic plate is installed then the fixture clips into that.

Two coats of paint on the walls.


Covered the floor with grey marble matboard.

It's coming together. I've played a bit with the furniture possibilities. Won't be able to use the Wooton desk - it's just too big to work here. 

One thing I do plan on putting in is a high plate rail: a strip of crown moulding with a piece of strip wood along the top edge to hold plates in place. 

About the Wooton desk: I love this piece. I had wanted one for years so I was thrilled when I finally bought it. It is BIG - closed, it's 3 3/4" wide, 2 1/2" deep and 4 1/2" high. Open it is 7 1/2" wide and 2 3/4" deep. And that doesn't include the chair! So I think that this needs to be displayed in a separate shadow box.


Tuesday, April 4, 2023

This is ridiculous!

 All other bloggers seems to have a straight sense of what's they plan...

Somehow I keep going off-track...

I bought this wonderful piece at our club's online garage sale.


Since it was a Christmas theme room, I thought I would add these things to it.

a corner shelf by my friend Trineke

poinsettia by Marijke

Doug and Melissa chair and ottoman

vase

tree

books

food tray

That just did not work.

So then I thought I would turn it into a china shop. 

That was lovely but then I had to find pieces that I could use to show off the china pieces and there was absolutely no place for them.


So then, I had to take all this to another place. 


So I guess that I need to get the Landygo set as as a setting


My Tiffany Lamp project

 Our club, the Miniature Enthusiasts of Edmonton, gifted those of us who were members at the beginning of our club year in September with a choice of a project. 

Many of the club members chose Tufty Burrows, several others chose kits by Jane Harrop, A small number of us chose Tiffany lamps from Esthers Miniatures on Etsy.

I received my kit a couple weeks ago and have started a bit of work on it:

First I started painting the base of the lamp with a gold pen which fortunately looks more brass then gold.

Finished colouring the base.

Started hitting the highlights of the shade with a black marker.

This is something that I have to be really careful with. I have to wait until my hands are REALLY steady and my eyes are REALLY clear.

I have wired the lamp base and done about half of the leading on the shade.


Note: This is ridiculous! I have a couple hundred markers and of all of those, I only had one that was a dark grey (which I would have preferred) and it had such a microtip that it wasn't useable for this.

Anyway. so far so good.

I will try to finish the leading on the lamp soon. On Saturday, club members will meet in the social room in my condo to continue work on Tufty Burrows and the lead  member of our lamp group will be dropping off the paints that I will need to finish the lamp.