Sunday, October 24, 2021

Miniature Enthusiasts of Edmonton website

Our webmaster, Tina, has updated our club website with the winners from our 2020 virtual show. We are truly blessed to have Tina in our club. She has been President, is our current workshop co-ordinator, runs the website and almost all our weekly Zoom sessions (including our garage sales.

You can see our 2019 and 2020 virtual shows there. There is also a great Tips and Hints section.

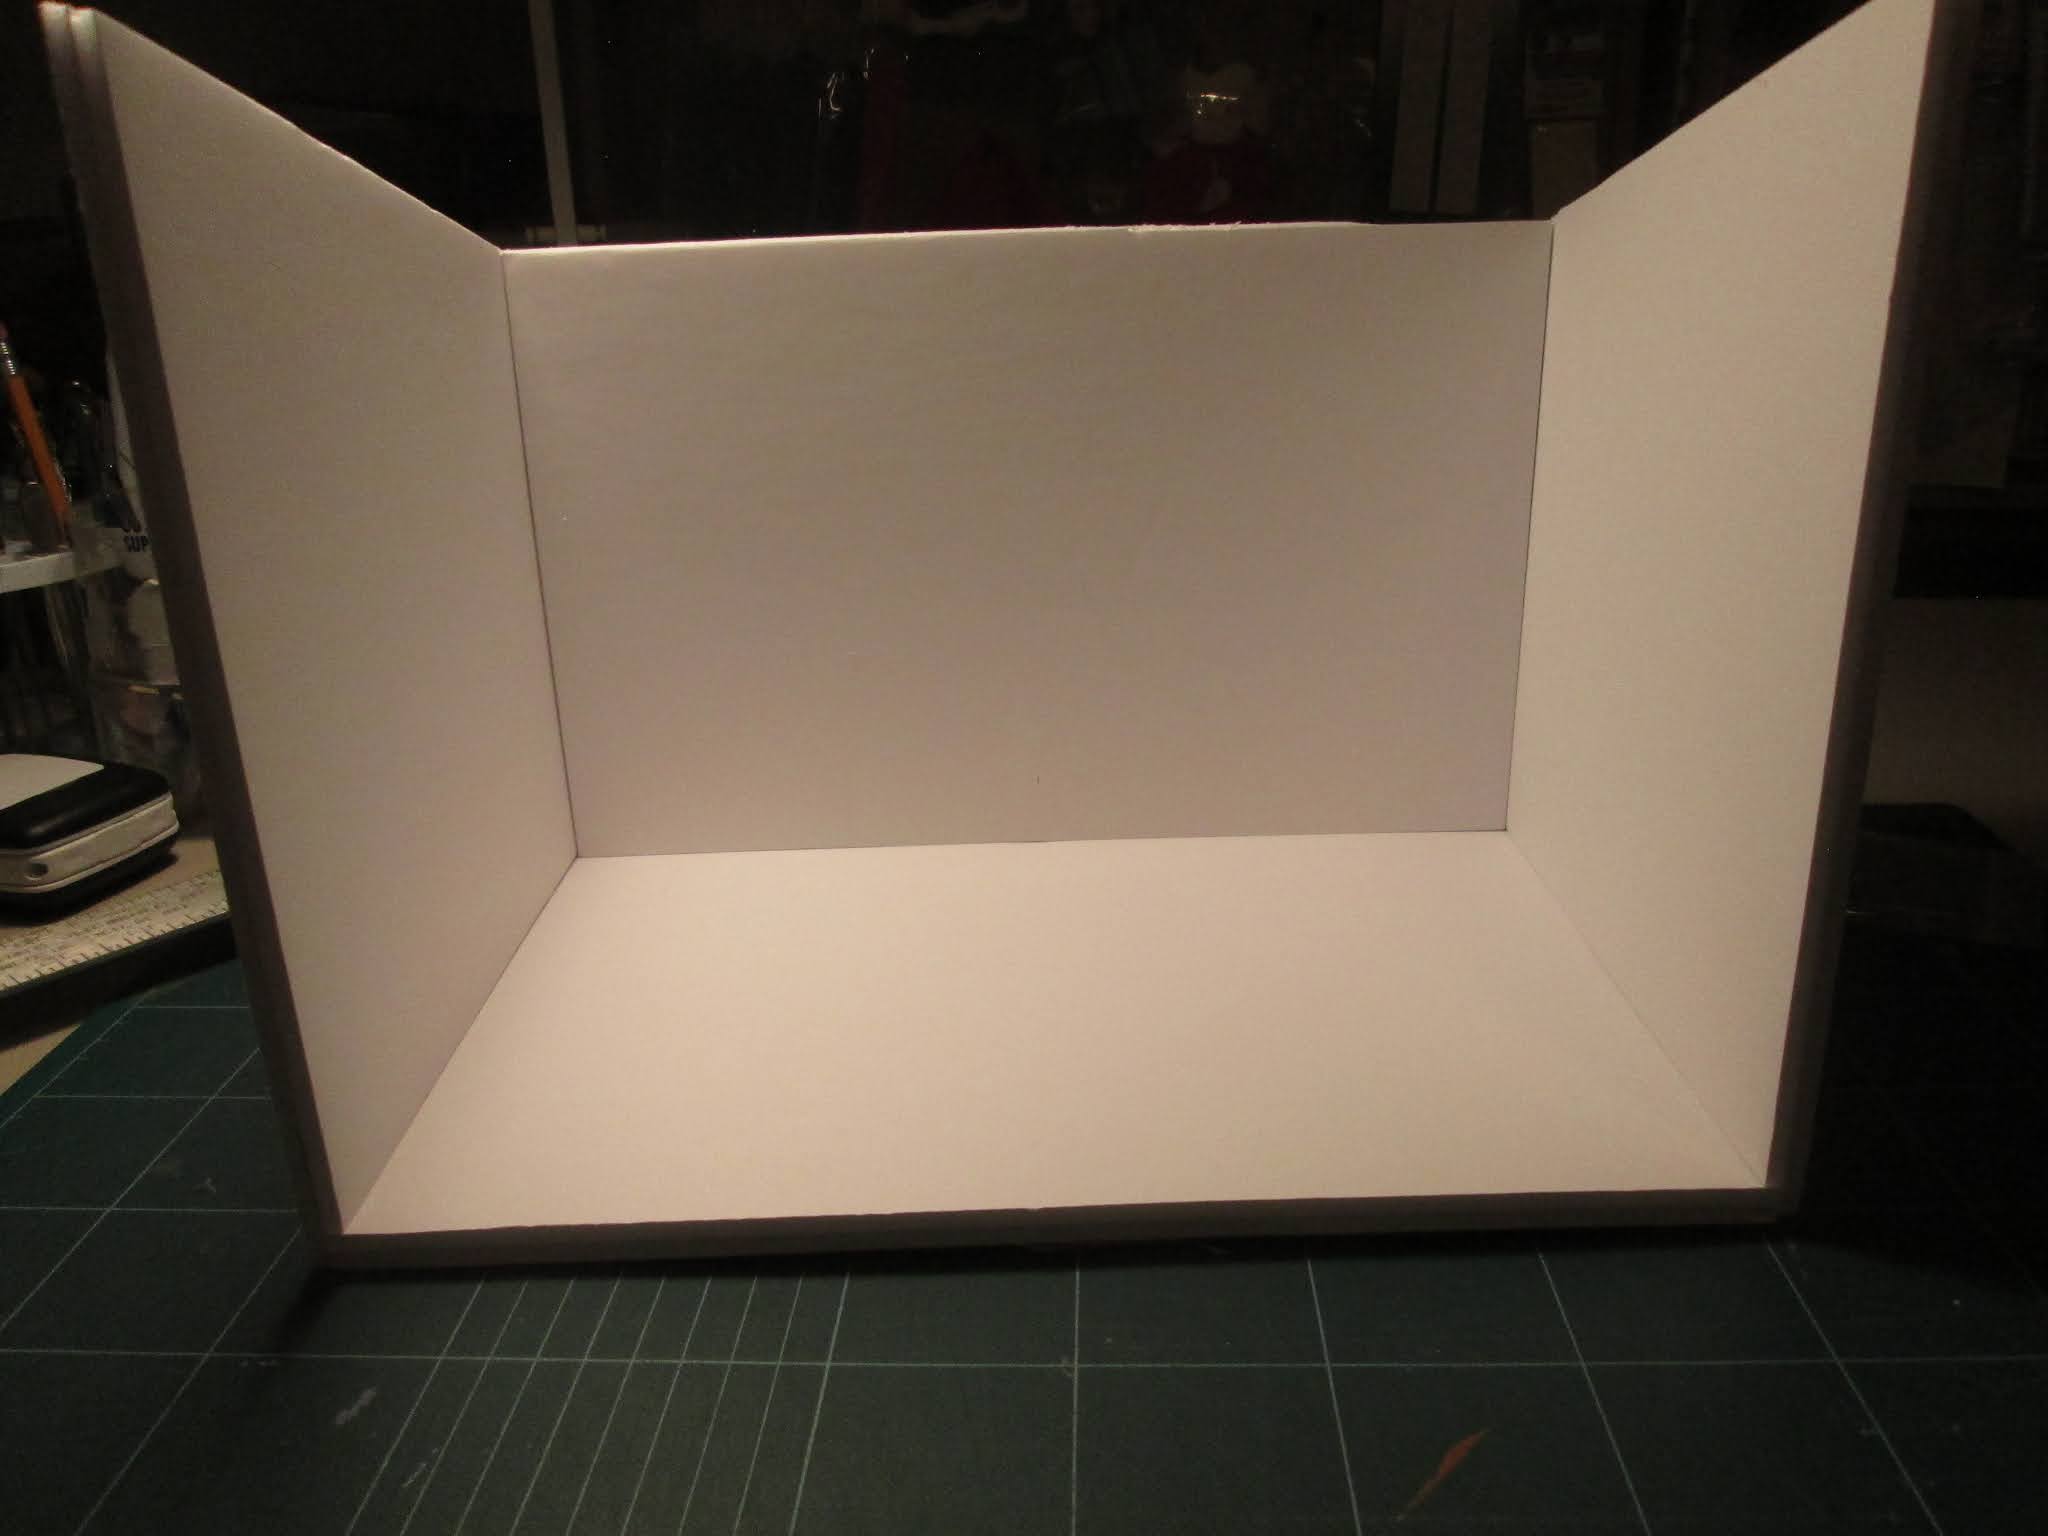
If you scroll to the very bottom to Past Events, you can click on MEE workshop She-Shed construction which will take you to the Zoom session we did on the Vignette construction, the siding from foamcore and the initial build of the She-shed. If you're more of a visual learner, this might help you follow the instructions more easily than just reading the blog.

Friday, October 22, 2021

The bear and the traps....

Marijke asked about the bear and traps. 

Years ago, Leanne and Vern gave me a cabin (I think from Michaels). I liked it but didn't like the fact that the inside walls were smooth so I never did anything with it - except collect things to go in it.


What I've collected so far:
Snowshoes, water pump, boots, pots and pans, pillow, toque, pillow.
Cast iron stove, pail, big wash pan, mattress.
More pans, mittens, mugs. boots.

Wool socks, beaver pelt on stretcher, saddle bags, washboard, big pot, rifle and shotgun,.

Lots of lots and spare wood.

So I bought this one at the last estate sale. Closer to what I want.


But I didn't realize from the pictures that the roof needs a LOT of repairs as does the front door and window. I do like the fact that the roof extends way past the door and window to shelter them.

I'm hoping that I can repair the roof and make it removeable so the inside can be seen more than just through the windows...which are WAY too big for this construction so I'm hoping to add muntins so at least the windows won't be vast pieces of glass but smaller ones that at least will be more appropriate.

Anyway, that's where things stand at the moment. 

My first priority is to get a roof on the She shed so will get back to that.

Wednesday, October 20, 2021

Why I've been away...plus a bit of what happened in that time.....

 My two children bought me a new computer for Christmas last year. Since then I have had nothing but problems with Microsoft.

After July, I was unable to download pictures so I didn't do anything with my blog.

Anyway, in August, M.E.E. had another Estate garage sale where I bought the following items.

Wonderful display cabinet 21 3/8 x 12 5/8 x 2 5/8 with a plexiglas cover.

Fireglass screen and tools in the case

Millie August pleater and double-sided carpet tape

The black bear - thought he might be  bit small but I looked it up on Google: this one is 5 1/4" and an adult black bear would be about 5 to 6 feet so this is good to scale.

Two animal traps! The second one is open and can actually be tripped.

Three Christmas wreathes...can always use them.

Can always use these as table/desk legs.

These are beautiful towels

Nice little couch for not much money.

I'm not too sure why I bought this little brown furniture set...except it was only $2 and I thought I might be able to use it sometime

OMG, I absolutely love this piece. 

I have another duplicate piece in my stash that was made by my friend and mentor, Lorrie Saunders.
 So now I can keep Lorrie's piece and  use the second piece in my scene.

Got some great electrical connectors

Another story


Tuesday, October 19, 2021

She Shed from Foamcore


Peel the labels off two sheets of foamcore then glue together.

Weigh the foamcore down with books and leave for four or 5 days until the glue has completely dried.


The floor is 8 1/2 x 12 1/2.  The front is 13 x 10 1/8. The back wall is 13 x 8 and the side walls are 8 1/2 wide and 8 at the back increasing to 10 at the front.


Make a vertical cut 8 1/2" from the edge of the left front wall, then another 3/8" toward the centre of the piece of foamcore. Then repeat on the right hand side.

Remove the foamcore from those cuts leaving only the back piece of cardboard.


Now cut across the bottom of the entire piece 3/8" up. But this time, only cut through the first sheet of foamcore and remove that.


Your floor

Dry fit the floor

Dry fit the flooring


Cut your siding lines 1/2" apart on the entire piece. This is where it gets tricky... you don't want to tear the layer of cardboard where you've removed the foamcore to make the corners.

I cut an opening for my window before I made the cuts for the siding on the right hand side.


Once the siding was done, I put glue in the corner hollowed out sections and turned the side walls into the holes. I then put the floor in place. It's just held in temporarily with T pins.


The hole for the door has been cut in the front section and the lines for the siding cut.


The back of the front section. Here I've cut away the top layer of foamcore 3/8" in around the sides and bottom.


The door has been put in the front and it's been pinned in place (again with T-pins).


View from the top

From the front with the doors open.


The corner guard molding was out of stock at Home Depot so I've just used a narrower piece of wood molding from my stash to illustrate. The molding will be glued to the outside of the side walls so the front wall will be removeable.

Unfortunately I haven't figured out the roof yet. Have several ideas running through my head but nothing is quite gelling at the moment.

Monday, October 18, 2021

Siding from foamcore

 If I remember correctly, this technique came from Joanne Swanson, one of the greatest Trash to Treasure miniaturists.


Mark both sides of the foamcore at 1/2" intervals.

Using an X-Acto knife, cut across the foamcore at the 1/2" marks, making sure to cut only through the top layer of cardboard and the foam.

With the X-acto knife at an angle, run the bladeless end of the knife along each of the cuts.

While I do it at 1/2" intervals, you could do it at 3/8" intervals if you choose.

From the side.

A little vignette with foamcore siding.