Wednesday, April 14, 2021

Another truly unique Trash to Treasure by Sherri MacRaild, IGMA Artisan from Calgary (Guest blogger)

Hope you don’t mind me sending this picture of the witch showing her without her boots, or stockings even and her arms not yet connected.   You can see that one arm is painted with the ‘flesh’ (acrylic paint) but the other one is still mainly primed with Gesso.

Connected the arms to the body when they were finish-painted and the blouse sleeves were on….did this by drilling holes in both the body and arm on either side, then gluing a wire to the body on either side (in the holes) and then gluing the arms to the shoulder/body.


I made her ‘blouse’ out of a piece of dinner napkin where I painted white dots in rows vertically to give some detail to her blouse.   You can see 2 of the napkin pieces are ‘dot’ painted and one of them…not.   Made a little collar out of the napkin where I cut the edges with scalloped sheers and then painted that edging with white Gesso to stiffen it and add a little dimension.   Because the ‘clay’ that I made with shredded-up dinner napkin, white Tacky glue and white Gesso was so messy and didn’t really lend itself to fine details (like distinctive fingers and finger nails), had to cut the fingers out when the arm and hand was finally dry and then add individual finger nails made of regular white paper when the fingers were finally trimmed into a good enough shape.


The ‘slip’ used part of the allowed tinfoil.   It was cut using scalloped scissors, painted all over with white Gesso and then detail painted on the edge with, again, white Gesso.   Once finished, put a narrow seam on one side of the main piece and then pleated the top to confirm with the witch’s waste before gluing the main piece together and then to the witch.


‘Hair’….made with a cotton ball that was pulled into a long narrow piece, hand-rolled and then wound around a toothpick for a week or so.   Gives it that curl!   The black ‘circle’ on the white piece of paper is actually the witch’s hat, without any detail added yet.


Did not glue down much of anything except the witch and the broomstick holder.   Everything else was ‘tacked’ down with Museum Wax because I wasn’t sure exactly where I wanted it to go.   This picture does show the elaborate hinge on the door, though.   The crow is still on the cauldron but you can’t really see him.   That’s why I took the other picture showing more of a close-up.  No matter how carefully I take the pictures, something always doesn’t show….like the ‘straps’ standing up from each of the ‘monster purses’!


The crow is perched on the cauldron at the back of the group.


The funny thing is that I dreaded gluing her down all the time I was trying to glue things to the background (like the ivy and the grasses down below.   They were just dreadful to glue in and ended up having to use the gel-type crazy glue, of all things!   So I took a very deep breath when I used that same gel crazy glue to put the witch in place….and she stuck with no problem at all!   Seeing her boots are made from erasers, sure never expected that!!!!

The completed scene


 TRASH  TO  TREASURE  ITEMS  USED


Feathers:                             Used for wings/tail on crow; the feather ‘stems’ used as vials of elixir on the witch’s                                                 tray; feathers for the witch’s hat


Beads:                                  2 used for ‘cauldrons’, the rest used in potion bottles


Cotton balls:                       1 used (stripped down to narrow strips and wound around a toothpick) for witch’s hair


Eraser:                                  For the witch’s boots; left-over pieces used for the cat’s head and the man-eating                                                       plant’s jaw


Stir sticks:                            Door; broomsticks and broomstick holder


Small box:                           Witch’s pedlar tray


Stickers:                               Moon on witch’s hat;  eye in the ‘brooch’ at the joining of the cape on her chest


Greeting card:                 Ridged edging around the wooden door;  legs on frog; roof of upper jaw for man-eating                                            plant, shaping around binder clips (shark-skin leather look purses)


Fun foam sheet                Shaping on wire armature for witch’s hips and bosoms;  under-shaping for baby owls’                                                heads;  pillow for baby owls; back legs on cat


Felt square:                        Witch’s cape; the snake;  tail for the cat; quilt for the baby owls


Toothpicks:                         Legs on cat;  suggestion of body for baby owls


2 sheets of 8 ½” x 11

paper:                                 Witch’s fingernails;  ivy leaves and man-eating plant leaves;  ivy stems, twirly stems                                                    and  teeth on man-eating plant;  sign for   ‘Rune Stones’ and for potion bottle and vial                                                labels;  masks;   sign on wooden door; handles for shark-skin leather purses;  strap for                                                the witch’s tray; pages of potion book; a small amount for the top of the witch’s body                                               (to make ‘shoulders’ and main chest area)


Cardstock:                           Witch’s hat;  ‘bones’ in Bone Appetit cauldron; pot that the man-eating plant is in;                                                      handles on the cauldron with ridged lines; top narrow ridge on the witch’s tray;                                                            moons  on the broomstick stand;  tail on the crow


Q-tips:                                  Stem part used as stem on the man-eating plant;  a Q-tip missing one ‘bud’ used for                                                    butt and  ‘spine’ of cat


Push pin:                              Bottom of 2 used as bases for the gazing ball and the skull head


6” length of ribbon:           Found a weird ribbon that had lots of threads in it that I took apart and used to make                                                the brooms; painted some of it green/brown for grasses underneath the left-hand ivy


Toiletry lid:                          Used a small travel shampoo bottle for the cauldron with the crow on it, frog-leg and                                                  tiny plastic straw and ‘frog feet’ handles


Tea Bag:                               Tea grounds as the ‘dirt’ for the man-eating plant’s pot;  string as a leash for ‘Bull’ (the                                                frog)


6” square of fabric:          Witch’s skirt; threads of the fabric used for ‘strings’ holding keys on brooms and for the                                              ‘elastic’  part of the masks; cut up into matching pieces for the witch’s ‘stockings’


Binder clips:                        2 shark-skin purses


Straight pins:                      Used one piece for door handle


Napkin:                                Shredded up a dinner napkin into tiny pieces and combined it with Tacky glue and                                                       white Gesso to make the ‘clay’ for the head and arms;  left-0ver clay was used for                                                         the crow, part of  the cat; and 3 little mice/cob of corn that didn’t make it into the                                                       scene


 2 straws:                              Used one paper straw for the witch’s 2 legs (over the wire from the pipe cleaner)


2 pipe cleaners:                Took these apart and used one of the 2 wires in the one pipe cleaner for the wire                                                        armature for the  witch’s body;  wire from the one pipe cleaner and the 2 from the                                                      other pipe cleaner were  used for the ivy plants growing up the walls;  the tiny bit left                                                was used for the mask  ‘holders’ on the tray


 2 nut shells:                       The man-eating plant used ½ of the pistachio for the top ‘jaw’;  the other half of the                                                    pistachio was used for the top of the frog;  half of a walnut shell was used for the

                                              owl’s bed


Aluminum foil:                   The ‘slip’ for the witch is made from this (painted white after ‘pinking’ the bottom                                                        edge)


Sandpaper:                         Made to use the pathway to the door


Egg carton:                          The flat lid was used for the background by the door, and the rest was mixed with                                                         water, glue and Gesso, flattened until it dried and then cut into strips for the side wall


Foam core:                         Made the 2 steps from this


Sequins:                               Small bat in witch’s hat, ‘keys’ on the broomsticks

Monday, April 12, 2021

Motivational Project for April

My motivational project for April is finishing the black and white living room.

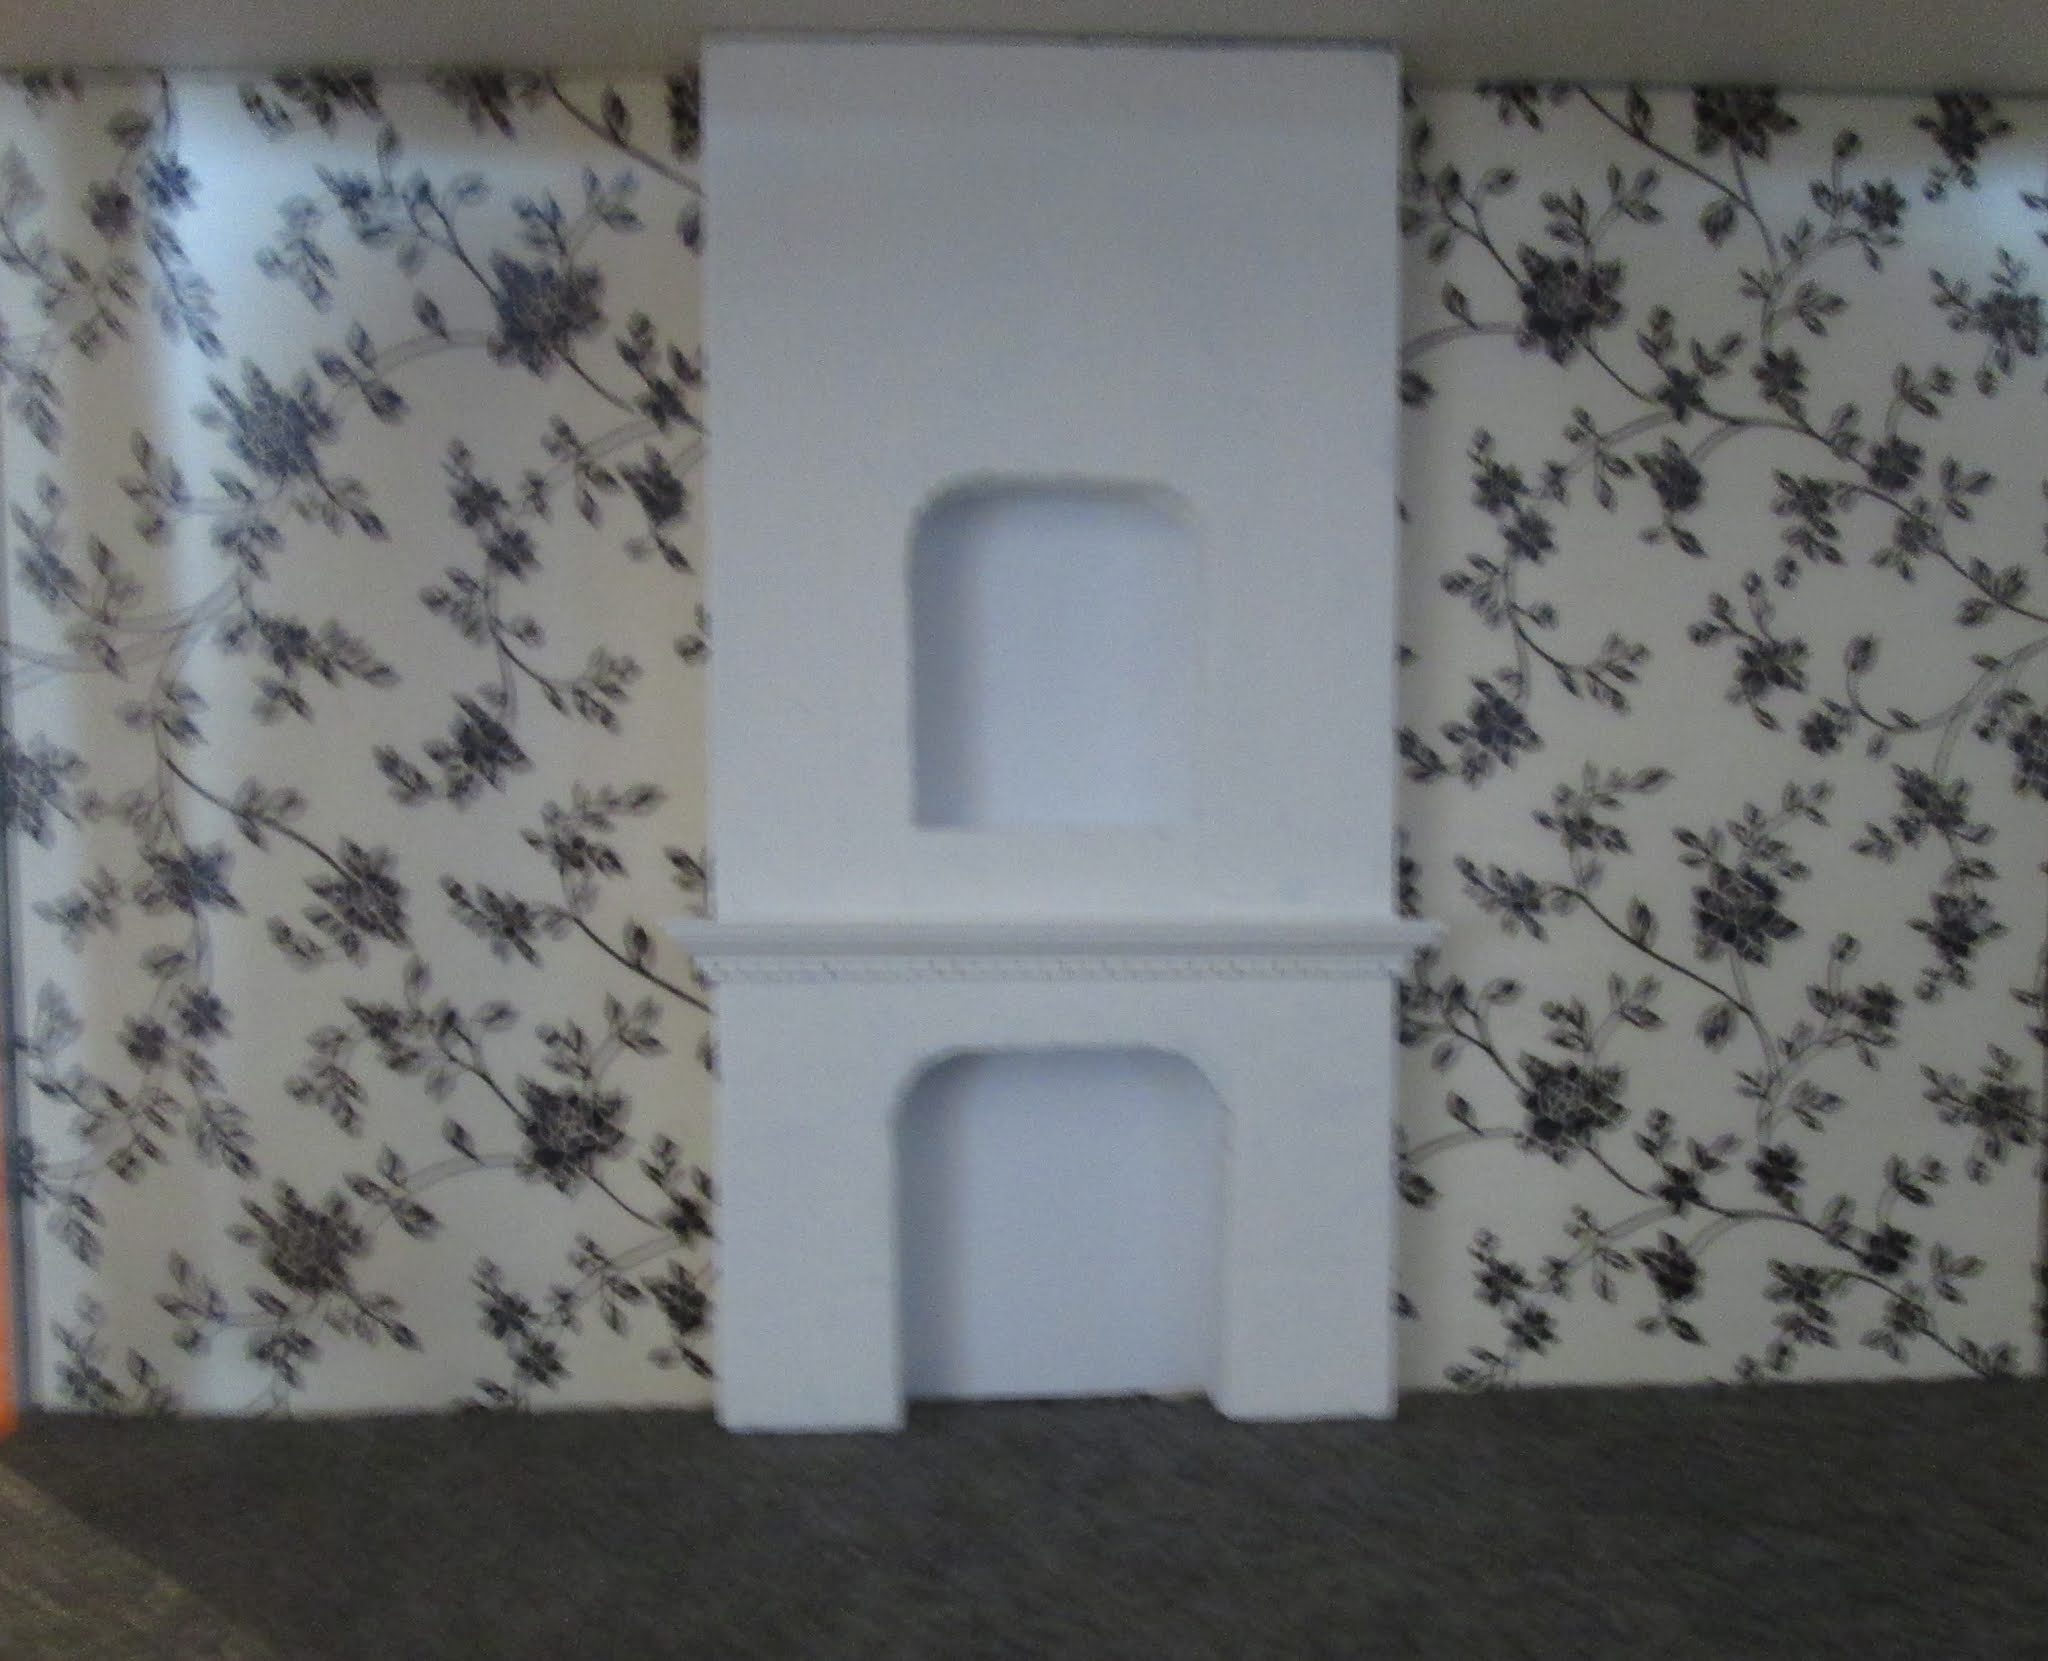
The first thing is to make a fireplace for the centre of the back wall. For this, I'm using 1" thick builders' foam. It will got from floor to ceiling with a niche in the top portion to hold my Neil Carter bronze.

My late BIL gave me this hot wire cutter for cutting styrofoam but I've never been able to cut straight lines with it very well.

Then the light bulb went off! If I clamped two rulers (one on each side of the builders' foam), they would act as a guide for the hot wire. Worked beautifully.


I used the same method to cut the straight lines for the fireplace opening, then freehanded the curves.


I cut molding to go around the sides and front.


The  niche was a bit more difficult to cut out. It was pretty much a matter of digging it out bit by bit.


Added the molding/

Painted the entire piece white.


Added a piece of white cardboard across the back.


Tried it in place. It's too white and doesn't work with the wallpaper.


So I painted another piece of foam with an ivory paint. It looks much better with the wallpaper and yet it just softens the look.

So now I will repaint the whole piece with the ivory.


Saturday, April 10, 2021

A couple MEE T2T projects

The Miniature  Enthusiasts of Edmonton are proud to present two of the Trash to Treasure projects in 1:48 scale (with their permission)

First, a Nativity scene by Linda B.


And Barb S.


Trash To Treasure 2021 – Barb Striethorst

1. Four feathers – arrangement in vase

2. Ten beads – 3 for cotton candy machine, 2 floor lamp base and plug end, 2 for cake stand, 3 vases

3. Three cotton balls – tiny bit in cotton candy machine

4. 10" square of wrapping paper – roof and ceiling

5. Eraser – Christmas tree

6. Five stir sticks, popsicle sticks or tongue depressors – 2 for booth legs, 1 for tables, 1 for quilt rack, 1 for bench

7. Small box (no side longer than 3”) - trunk

8. Two stickers – privacy screen decoration

9. Four bottle caps any size – 1 for bird bath top, 1 cap ring for mirror frame

10. Greeting card – sentiment for sign on outside wall

11. Six" square of fun foam – bench cushions

12. Six" square felt – hammock and Christmas tree skirt

13. Six toothpicks – 3 for quilt rack and cotton candy cones

14. Two sheets standard size paper – corrugated paper for back wall, gold star on tree, leaves, flowers  and plants

15. One full sheet card stock – privacy screen, plant posters, mirror backing, roof sign, cotton candy holders

16. Four Q-tips– floor lamp stem, cotton candy

17. Three thumb tacks or push pins – 2 pins for shorter table legs, 1 pin for bird bath base

18. Six" length ribbon or lace – lace spread in trunk

19. Two toothpaste caps (or any toiletry lid) – floor lamp shade, skirted table

20. Small mirror (under 2") – red framed mirror

21. Tea Bag or coffee grounds – tea bag cash apron on table, floor lamp cord and dirt for vine, back garden, planter

22. Six" square fabric (any print or solid) – quilts on quilt rack and in trunk

23. Two paper or binder clips – legs for longer table

24. Six straight pins – 4 for bench legs, 1 for cake stand

25. Napkin or paper towel – napkin for top of skirted table

26. Two straws – trio of vases

27. Two pipe cleaners – 1 for vine base foliage, 1 dismantled for hammock ‘ropes’ and planter foliage and grass patches

28. One styrofoam or paper 8 oz cup – booth top

29. One lid yogurt/sour cream – back garden edging

30. Two nut shells (pistachio, walnut, peanut) – red rocks for vine patch

31. Two" square aluminum foil – lock on trunk and trash can

32. 6" square sandpaper – anti-fatigue mats

33. One egg carton - planter

34. Six" square foam core – scene base

35. Five sequins – 2 for cake stand and 3 plates

I used at least part of all 35 items.  My supply item was a sheet of alphabet stickers to make the roof sign.


Aren't they both just so incredible?!?.


Monday, March 29, 2021

Couple TV shows - Non-mini but inspirational

During our club chat last Tuesday, a couple members discussed the British show "The Repair Shop" which is on the Makeful channel which I managed to find on my Shaw Cable. Expert craftsmen pool their talents to restore heirlooms and treasured antiques, such as music boxes, teddy bears, signs and, tonight, a 1950s jukebox. Evidently it used to be on Netflix so I was disappointed that I couldn't binge watch it. I've watched 3 shows so far and really enjoy it.

After that show ended tonight, on came  "Fantastical Factory of Curious Craft". Four amateur crafters make prop-like crafts. After an initial challenge, the remaining three go on to craft for a celebrity client, who then chooses the winner and takes home the winner's craft. Gives you a good look at various crafters and what tools and supplies they use. 

Fine-tuning the trash to treasure

My friend, Joan, dropped by yesterday to take an up-close and personal look at the T2T project as she had seen the beginning of it earlier. She was checking the list on her phone against the contents so I thought there had to be an easier way.

So I printed the list on two sheets of brochure paper.

One trimmed to fit and the other ready to be trimmed.

In addition to the front piece with the curved opening, there are three pieces with the same curved cutouts. So I used a black marker to paint all four pieces. Then I glued the list of items to two of the pieces and glued those two to the sides of the box. The third piece was glue tacked to the top of the box and the front piece put back in. 

Eventually I plan on putting plastic between the ceiling and top piece and on the front piece to keep it dust free. But I hope to re-do the aquarium so will leave it as is for now as once the plastic is in place, it will be very difficult to take the front off again.


I then set the completed box on a turntable so the lists can be checked against the room more easily.
Left side

Front

Right side


Saturday, March 27, 2021

T2T Finished!

First of all, thank you to my followers, friends and fellow miniaturists who have been so supportive while I've been working on this project. It has been such a joy to work on and I appreciate your support.

Now here is the report on what I used.

 Trash to Treasure: 

Rules Your creation can be any scale. You must use 25 out of the 35 items listed below. You do not have to use all of the item, but if it is one of your choices, you must use some of the item. For example, you may choose beads (item 2) but only use 2 beads instead of all 10. When you submit your entry, you must describe how you used each item you selected.

 1. 4 feathers used one as a bookmark

2. 10 Beads used 6 in the aquarium, 2 in the table lamp and one for the kleenex box

3. 3 cotton balls part of one in the chair cushion

4. 10" sq wrapping paper the mat on the framed picture

5. Eraser the Scotch mints and the base of the floor lamp

6. 5 stir sticks, popsicle sticks or tongue depressors picture frame

7. Small box (no side longer than 3") the aquarium

8. 2 stickers on the picture frame and the trim on the wastebasket 

9. 4 bottle caps (any size) the wastebasket

10. Greeting card the framed picture

11. 6" fun foam sheet the chair cushion

12. 6" Felt square the rug

13. 6 Toothpicks the uprights of the shelving unit

14. 2 sheets of paper (8.5 x 11) A green sheet for the lower wall covering, the pages and spine of the book on white paper

15. 1 full sheet of cardstock (any colour) (White) The baseboard, chair rail, the diffuser of the lighting and the cover of the book

16. 4 Q Tips the yellow box on the bottom shelf of shelving

17. 3 Thumb Tacks or Push Pins (any type) the base of the table lamp

18. 6" length of ribbon or lace the runner on the top shelf

19. 2 Toothpaste caps (or any toiletry lid) the shade on the table lamp

20. Small mirror (under 2") the mirror above the shelving unit

21. Tea Bag or coffee grounds the dirt in the planter

22. 6" Sq fabric (any print or solid) the blanket

 23. 2 Paper or binder clips (any size/type) the legs below the aquarium

24. 6 Straight Pins holding both shades in place on the table and floor lamps

25. A Napkin/paper towel the table cloth, the kleenex coming out of the bead 

26. 2 Straws the upright of the floor lamp

27. 2 Pipe cleaners One for the plant in the aquarium and another for the plant

28. 1 Styrofoam or paper 8 oz cup the round table

29. 1 Lid from yogurt/sour cream container the base for the mirror

30. 2 nut shells (pistachio, walnut, peanut) the dish for the Scotch mints

31. Aluminum foil 2-inch square the base for the mirror

32. 6-inch square of sandpaper the bottom (gravel) of the aquarium

33. 1 Egg carton the chair, the floor lamp shade

34. 6-inch square of foam core the chair cushion

35. 5 sequins (not to my credit but used them for the bookmark)

 PLUS: One other type of supply item from your house. This is a supply item not a piece of miniature furniture or an accessory.  the LED lighting strip 

You can use unlimited quantities of: colouring items (e.g., paint, crayons, markers, etc.) and glue. If you want, you can use your computer to turn a paper/card stock item into a printie. In addition, you may use one container (e.g., roombox) for your final scene.  The container is a box that I got at a club meeting a couple years ago - a freebie from Sunni.

From the top:
From the front without the frame
The right side:
The left side"
With the front frame back on.


T2T - Have now used everything on the list

I didn't have a yogurt or sour cream lid so used the lid from some dill pickle dip. Took my oval mirror and traced around it then cut 1/4" around that.


I had some adhesive-backed aluminum foil so covered the plastic from the lid with that. (The drops are glue to attach the mirror.

Coloured the edge of the mirror with black marker, then glued it in place.


Cap my from eyeglass lens cleaner for a wastebasket.

I had just enough sticker left to add around the top of the wastebasket.

I took a piece of yellow gauze ribbon, cut Vs on both ends and used it as a runner on the top shelf.


Something Jodi said in the comments (and a beautiful afghan that my friend Barb R. just made me) made me think I needed a light blanket to go on the chair so  I dug through my baby washcloths from Dollarama and made this from that fabric.

Still had the Q tips. Then I thought if I took the cotton off them, I could use the sticks to build something.

Cutting three of them into 3/4" lengths was going to be a problem. (Cutting nine pieces all the exact same length is not one of my strengths.) The I remembered my Chopper that I bought a couple years ago from a former club member. So I set the black guide to 3/4" and it worked perfectly!

Couldn't find my small Samm Brockhurst gluing jig but the large one would work as well, although not as conveniently. So I glued five of the pieces together for the base of a box.

Glued two pieces up on one side

Then the other.

Cut four more short pieces for the ends

And glued them in place.

And painted it with yellow nail polish.

In keeping with the yellow theme, I remembered that I have (somewhere) a yellow duck push pin. If I can find one, I'll add it to the shelving unit.

Now this is a stretch but my two remaining items are a feather and sequins. I could have used the feather alone as a bookmark but I decided to glue two sequins together at the bottom for the bookmark.

And here is the book with bookmark in place.

So I think it's complete. Next blog I'll show the completed project and give the list of what was used where.

After I posted the original blog about making things from an egg carton, my friend and neighbour, Jeanne, called to say she had two of these wonderful plastic egg cartons - and did I want them? These have even more possibilities than papier mache egg cartons. There are some great serving dishes and that lovely cover for windows, etc.. Too late for this project but lots of possibilities for future work.

Always great to have friends who support your mini obsession.

Two years ago, my DD Leanne took her niece (my granddaughter) on a trip to New York City for Spring Break. (Tried to find her video post on FB when she told Holly I had bought them tickets to Hamilton but couldn't get a link to it.) Anyway, they went to the Museum of Modern Art and bought me this fridge magnet of one  of a triptych of Monet's Waterlilies. She finally got it to me last week. LOL