Monday, March 8, 2021

The roombox for T2T, If you're taking the challenge along with us

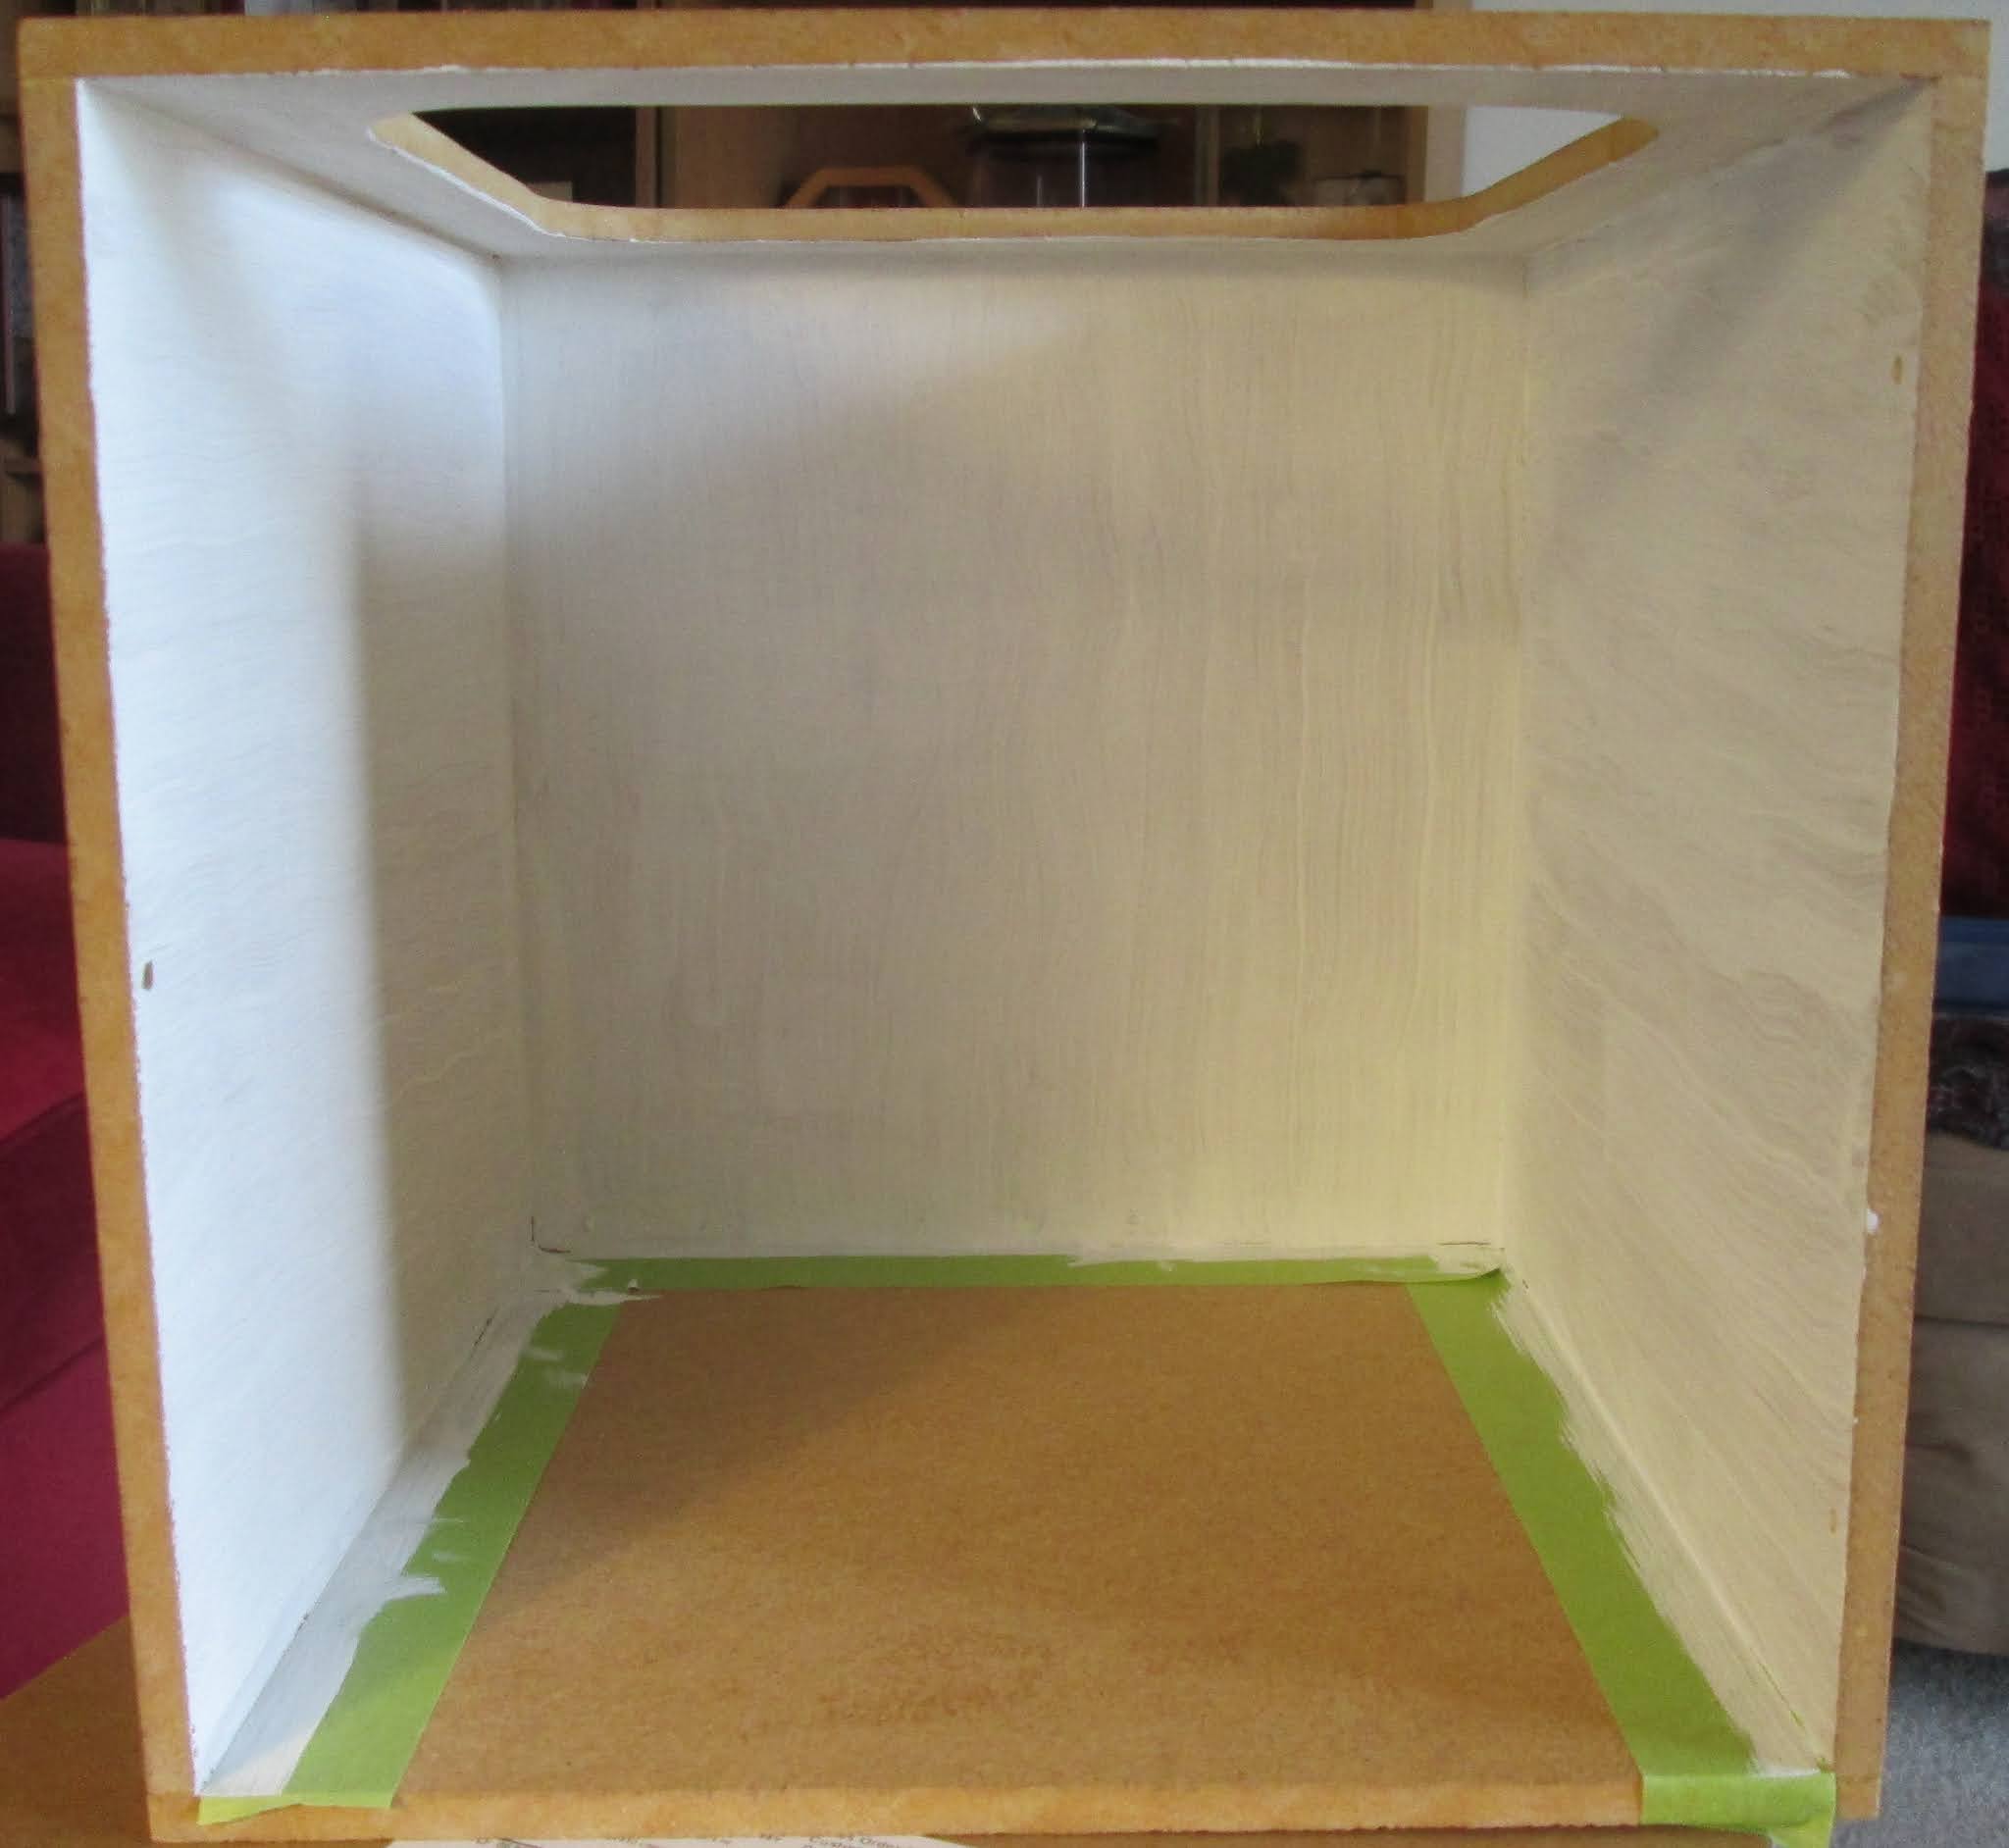
This box was a give-away at a M.E.E. club meeting a couple years go. It's 8" x 8" and 8 1/4" deep.

First coat of paint on the walls and ceiling.


Second coat of paint and tape removed.

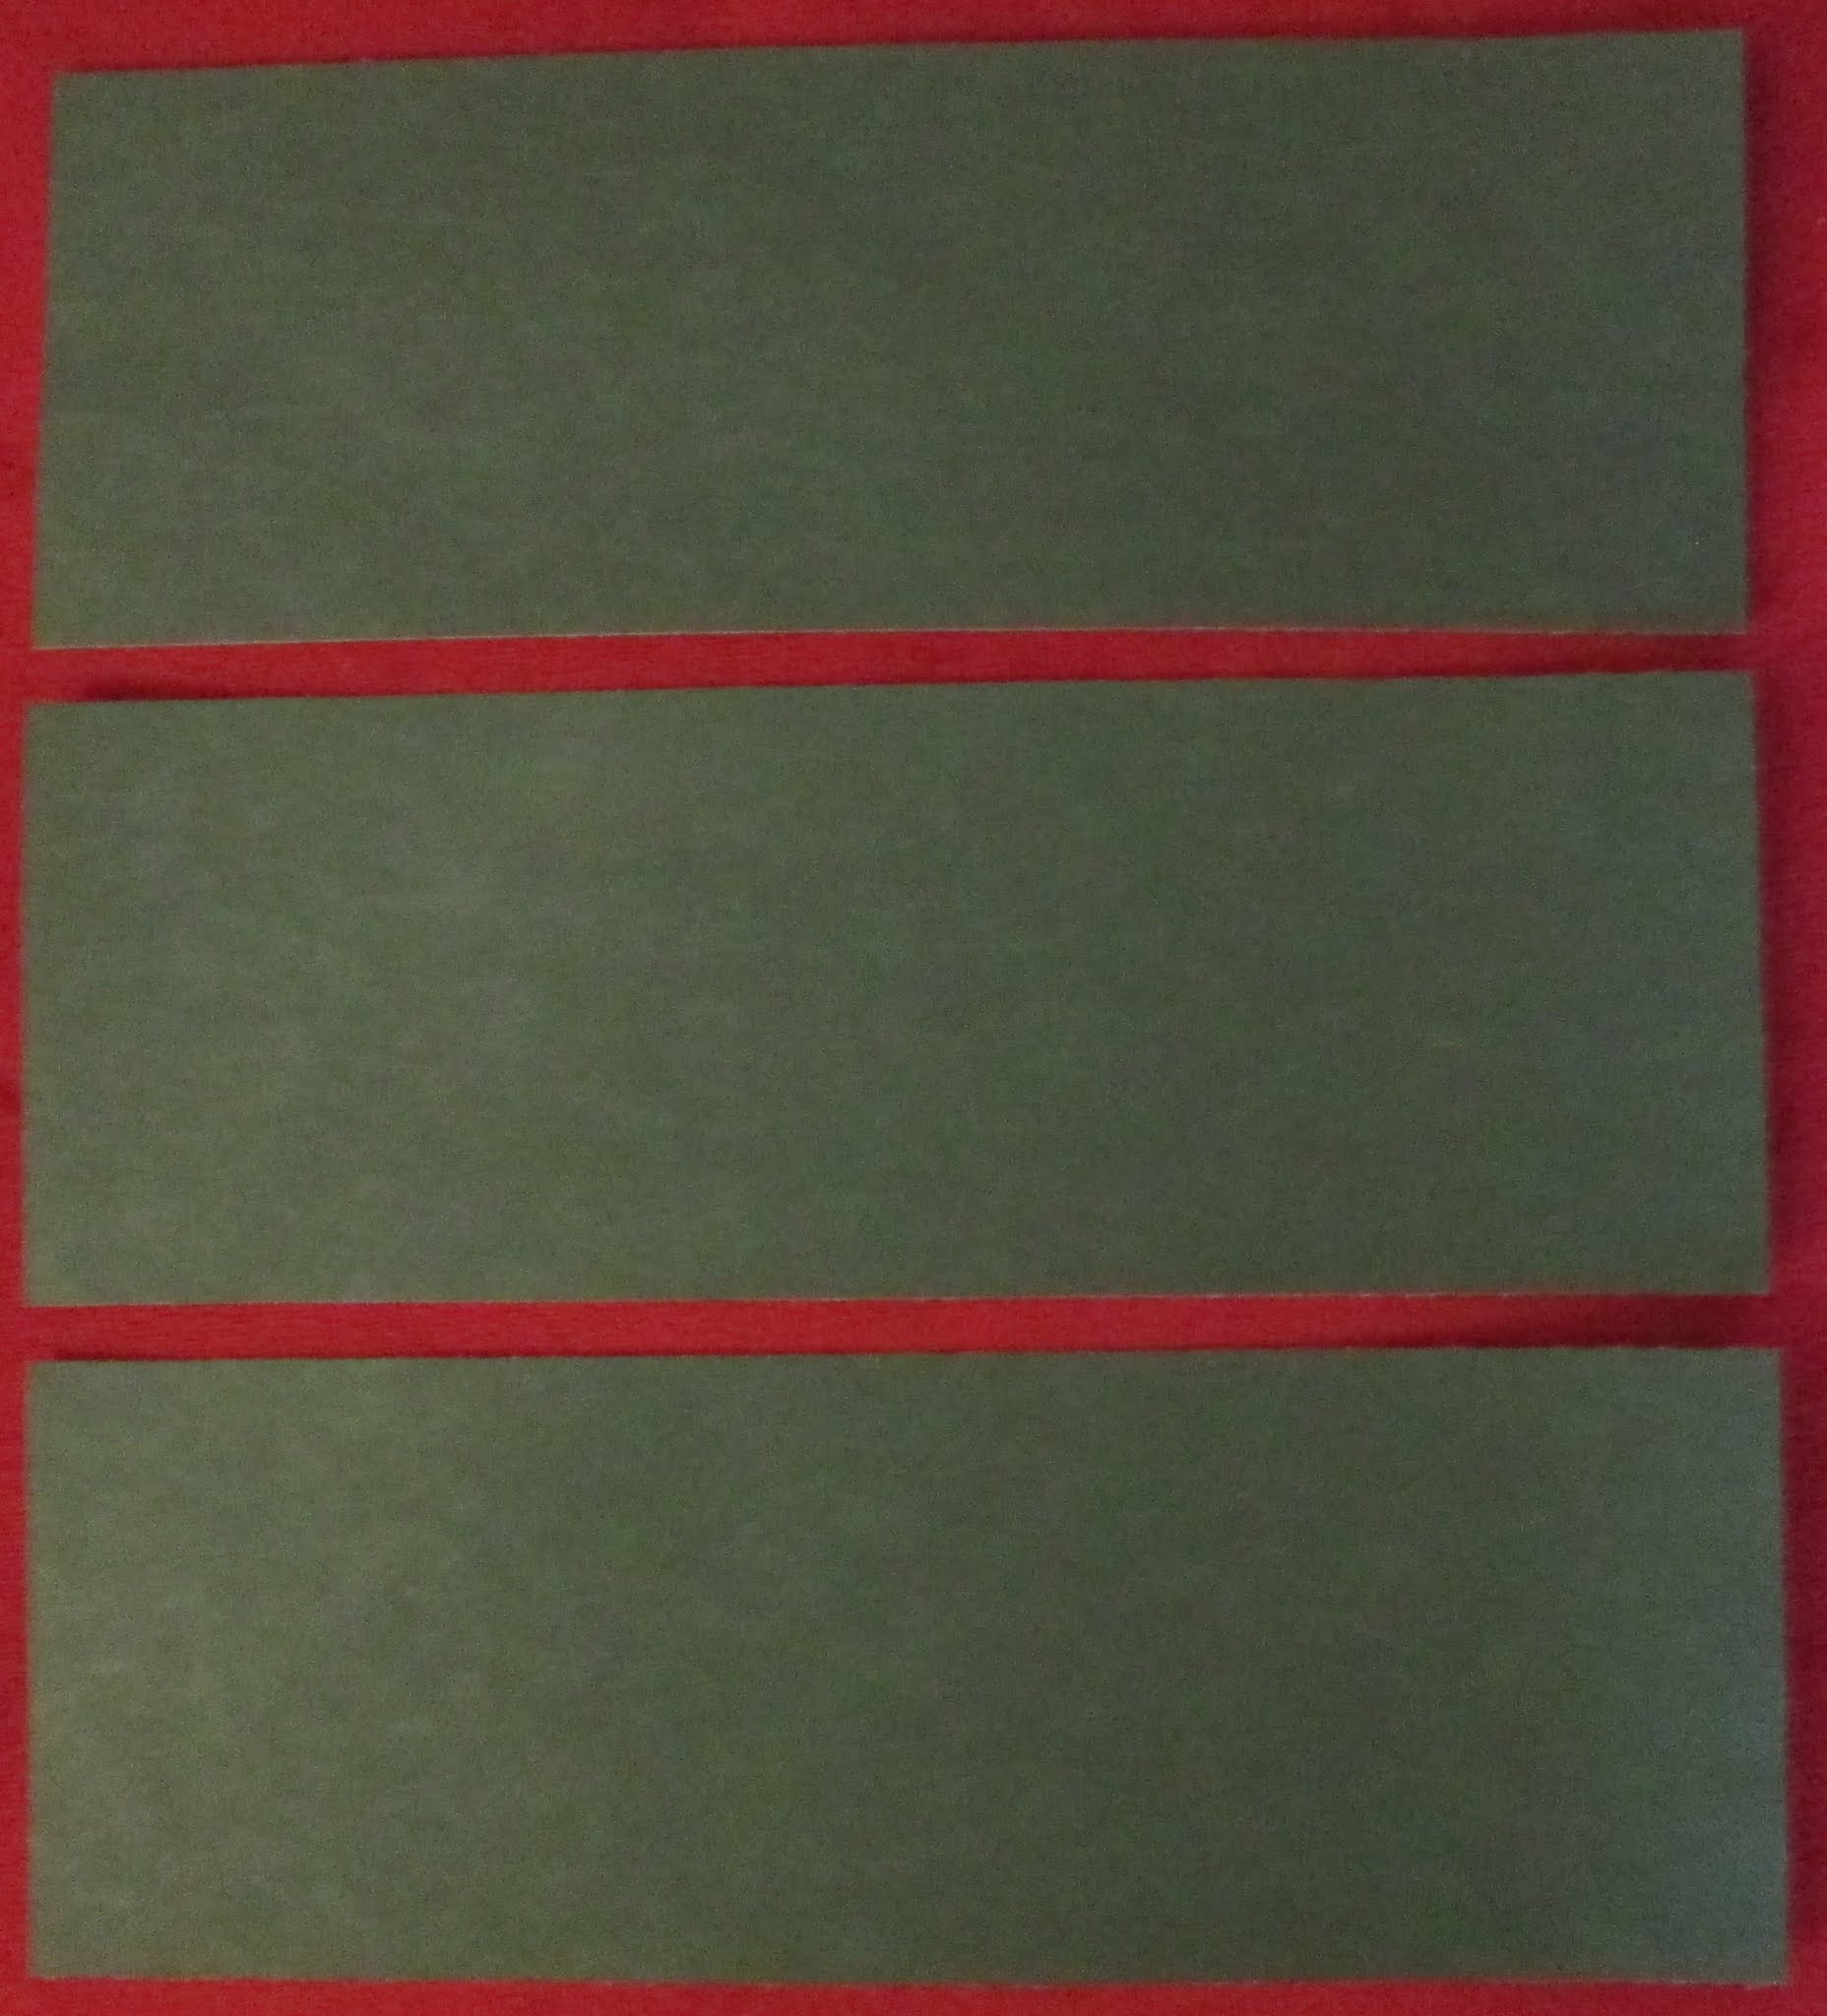
Originally, I was going to use the wrapping paper for wainscoting as I thought I had some lovely mint green paper. But, I couldn't find that so for one of my 8 1/2 x 11 sheets of paper, I chose this dark green paper. Then cut 3/8" strips of card stock for baseboards and 1/4" for a chair rail.


I cut three 3" strips of the paper for the wainscoting.
Checked it for size.
And glued it in place.
Then glued the baseboards in place.


What was I thinking? Putting a white chair rail against a white wall. Not one of my brighter moments. If my hands are steady enough, I'll try and stain it later.


And a rug from my 6" square of felt.

My friend and fellow miniaturist, Marilyn D. from New Brunswick (don't know why I said Nova Scotia originally) also has a blog and kindly mentioned the Trash to Treasure challenge in it today. Marilyn does lovely work and I think you would enjoy her blog.

 If you're trying out the Trash to Treasure challenge along with us, I'd love to see your creations. So please email me a picture of what you ended up making along with a list of what you used and how.

M.E.E. is having a special section for the challenge at our miniature show this September. We would love to have your work included in that.

Sunday, March 7, 2021

Just zipping along here...

Trash to Treasure Challenge

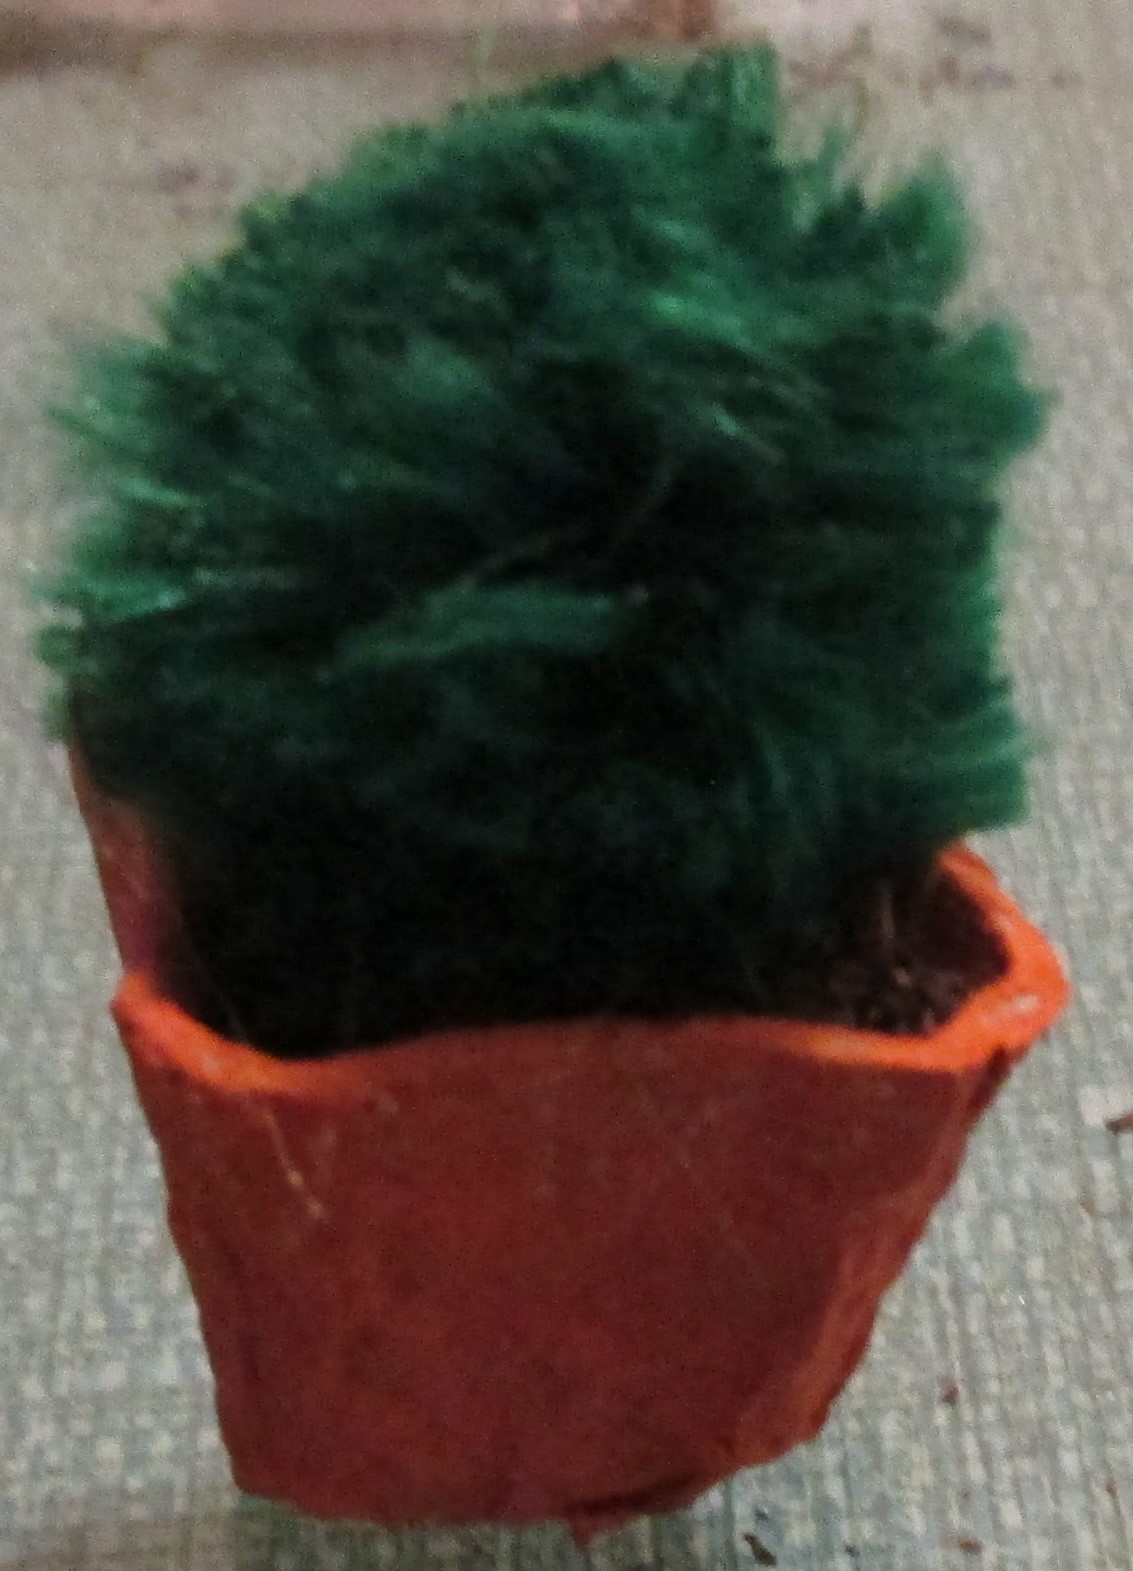
Plant using pipe cleaner, egg carton and tea bag:

This is a chenille stem from my stash, I'm probably stretching it a bit to call it a pipe cleaner but...

I cut about an inch off the end and trimmed the bottom a bit so there was about 1/4" of the wire to extend into the 'dirt'.

The egg carton piece that I painted terra cotta for the pot.
Emptied the tea bag for my 'dirt'.
Put the dirt in the pot.
Added a dollop of glue and mixed it in.
Added my plant and trimmed it a bit (probably too much in spots).

Here I've added the final two fish to the aquarium. (This water needs a good cleaning. LOL. Think I should have sealed the sandpaper before adding the glue as I think some of the colour from it has seeped into the water.)


A candy dish filled with Scotch  mints:

For my dish, I'm using a pistachio nut shell painted with my Krylon gold leaf pen.

I'm punching the mints out of two very thin slices of a white eraser from Dollarama.

I'm using this punch that I got from Dollarama years ago. Just press and turn. Works well on thin materials.


Painted the inside of the shell with the same Krylon pen...
And added my 'mints' using tweezers to put them in a bit of glue then place them in the 'dish'.

Motivational Challenge:

Got the first coat of paint on most of the roombox.


Friday, March 5, 2021

Another Club Challenge

 Our club has also issued another challenge. This one is to motivate members to complete UFOs - all those unfinished projects that we keep putting off.

Now, all my regular followers are unfortunately used to my starting a project. then leaving it for months/years. 

So I'm going to keep up the Trash to Treasure (deadline April 8) and also do the Motivational Challenge (deadline March 31).

For the Motivational Challenge, I will first finish the roombox for my black and white living room.

(I've put a sheet of paper across the mirror in the back for the photograph.)

So what I have to do to finish the roombox is:

Cover the mirror with matboard.
Cover the ceiling with matboard. (Possibly run a string of lights above it with the lights punched through it.)
Cover the floor with matboard or carpet.
Finish painting over the blue with charcoal paint.

This will be interesting....


Egg carton minis

I don't have pictures of making these because I just sort of threw them together as samples before a meeting. 

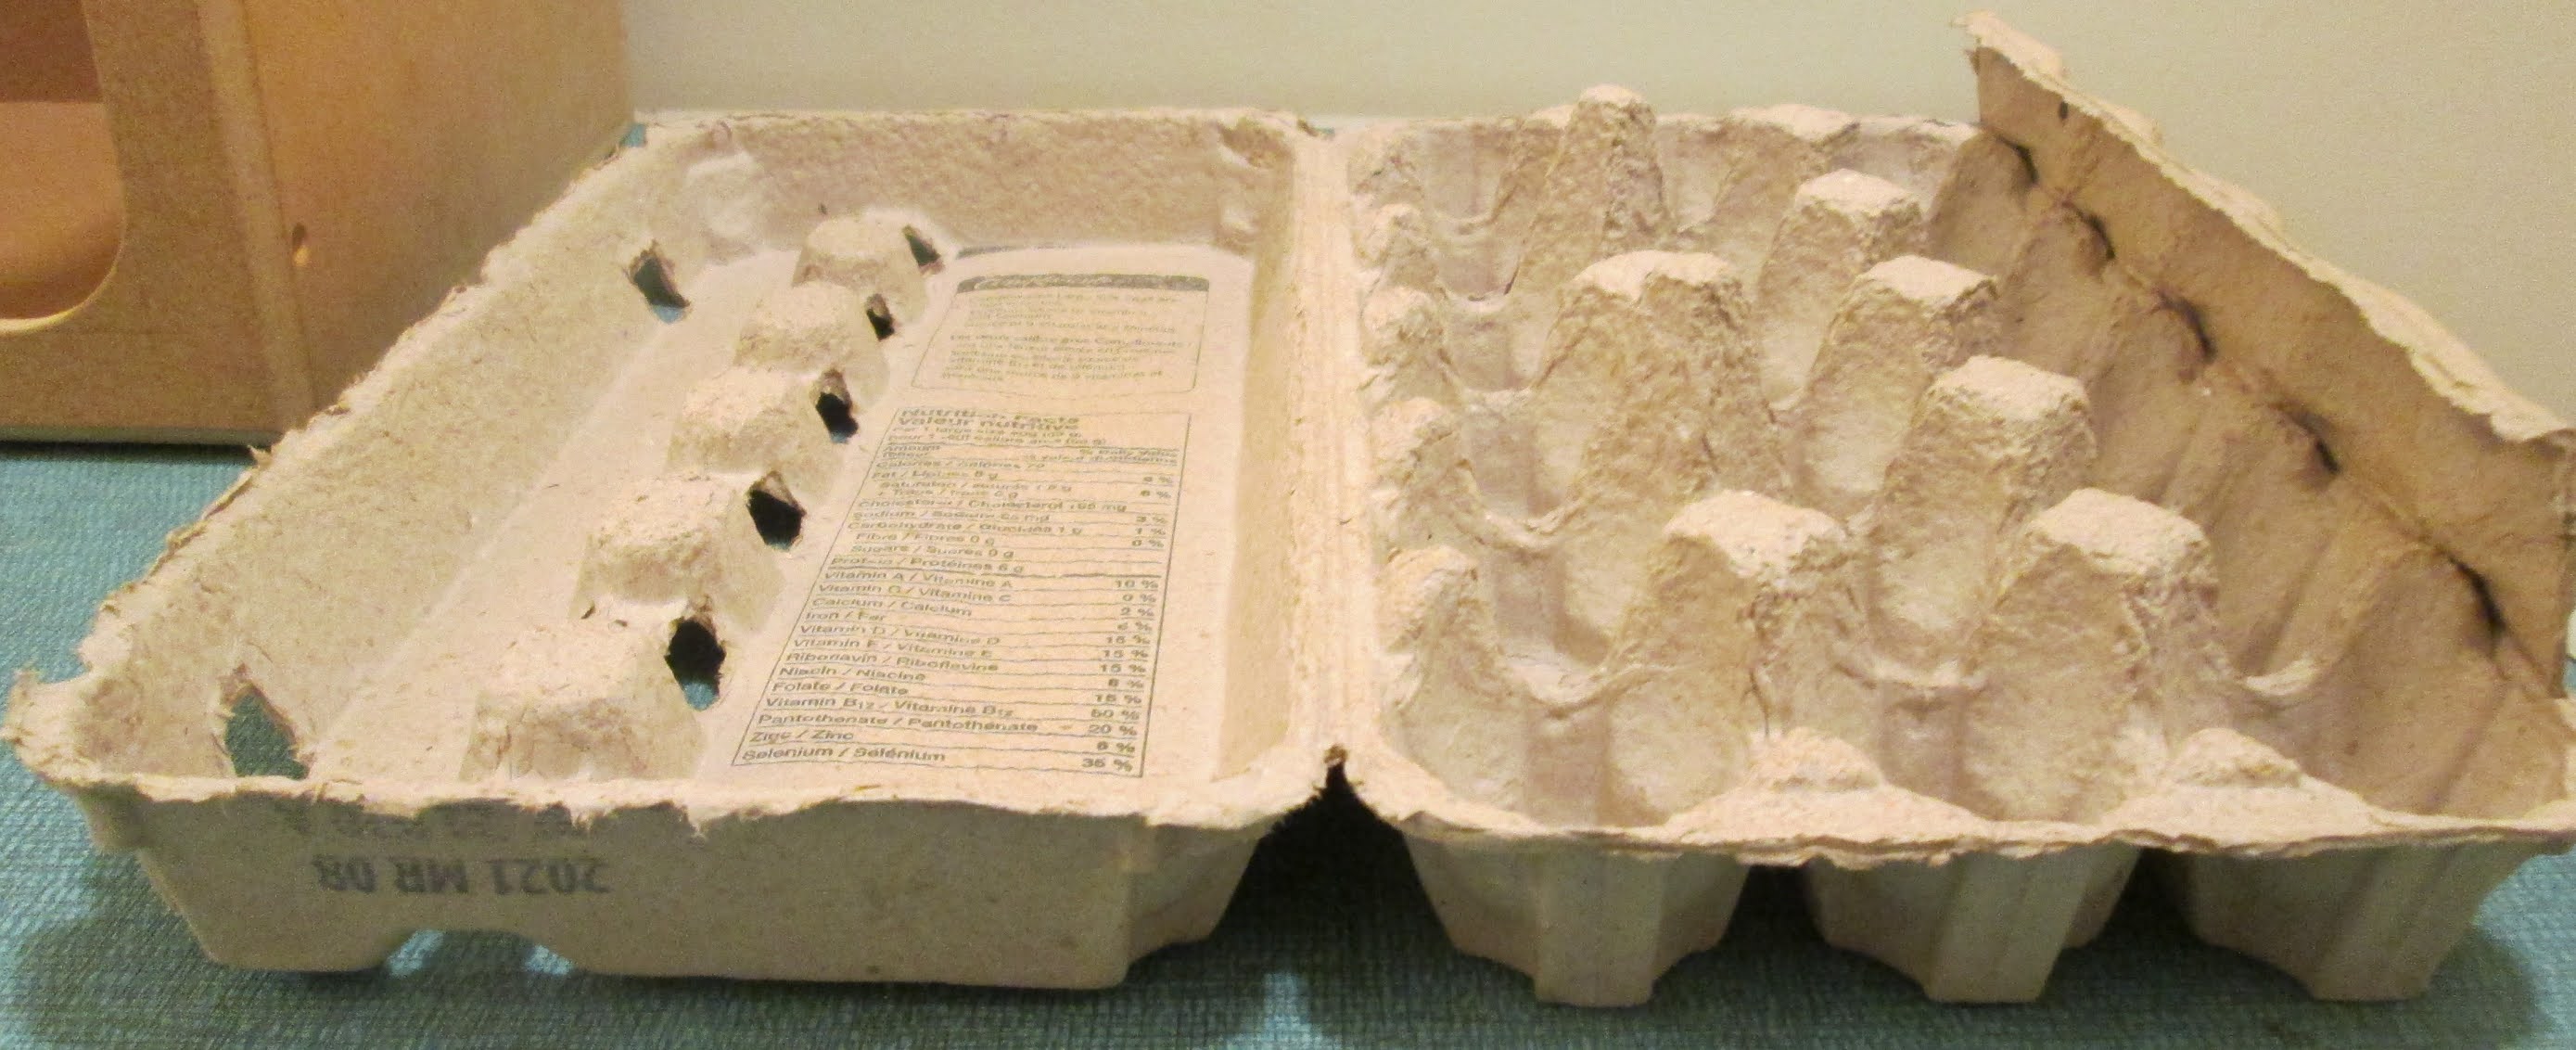
I buy my eggs 18 at a time so this is my egg carton. Because it's three rows wide, a couple of the 'divider' pieces are a bit higher than those in a two row wide carton.


Well here's a chair, flower pot, lamp, two small plates and a basket.
I did a Google search for "egg carton miniature furniture. and got the idea for this chair. I used one of the taller divider pieces for the base. When I first made this, I thought I might use gesso as my 'extra' supply choice to give it a smooth finish. But not so sure about that now so will leave it like this for now.
I used one of the smaller divider pieces as a lamp shade, a small straw for the pole and part of an eraser for the base. Have pretty much rethought this one and will probably change the pole and base.

The flower pot will be filled with tea from the tea bag for dirt and will contain a plant made from a large chenille stem (oversized pipe cleaner).

The aquarium is coming along but very slowly. Have two more fish and more water to add. Will show it to you when it's finished.

Still playing around in my head with a few more ideas.


Wednesday, March 3, 2021

If it were a snake,

 it would have bit me...

That was one of my Dad's sayings. You know - something SO obvious that it's right there in your face.

When I decided to make the aquarium, I thought back to M.E.E. member, Jillian, who taught us a great workshop on making 'water'.

She had mentioned using Craft clear glue from Dollarama so most of us (I think) went out and bought it. For $1.25, how could we go wrong.

So I KNEW I had some...

Now at the end of one of my worktables, I keep all my big bottles of glue! It wasn't there...

so I kept looking and looking and looking and couldn't find it.....

So Joanne calls and we're discussing my tale of woe... and she asks me about something (can't remember what) but I go into my workroom to check it out and....lo and behold..

There...right before my eyes..are my two shoeboxes of glues.. AND I spot the clear glue I have been searching for for days.


Trash to Treasure 1

Don't think that I told you that my children bought me a new computer for Christmas. It's lovely but it involves the Cloud and such...don't understand  all that. Having said that, I can't find the first pictures that I took for T2T. Will retake them and try to post them tomorrow.
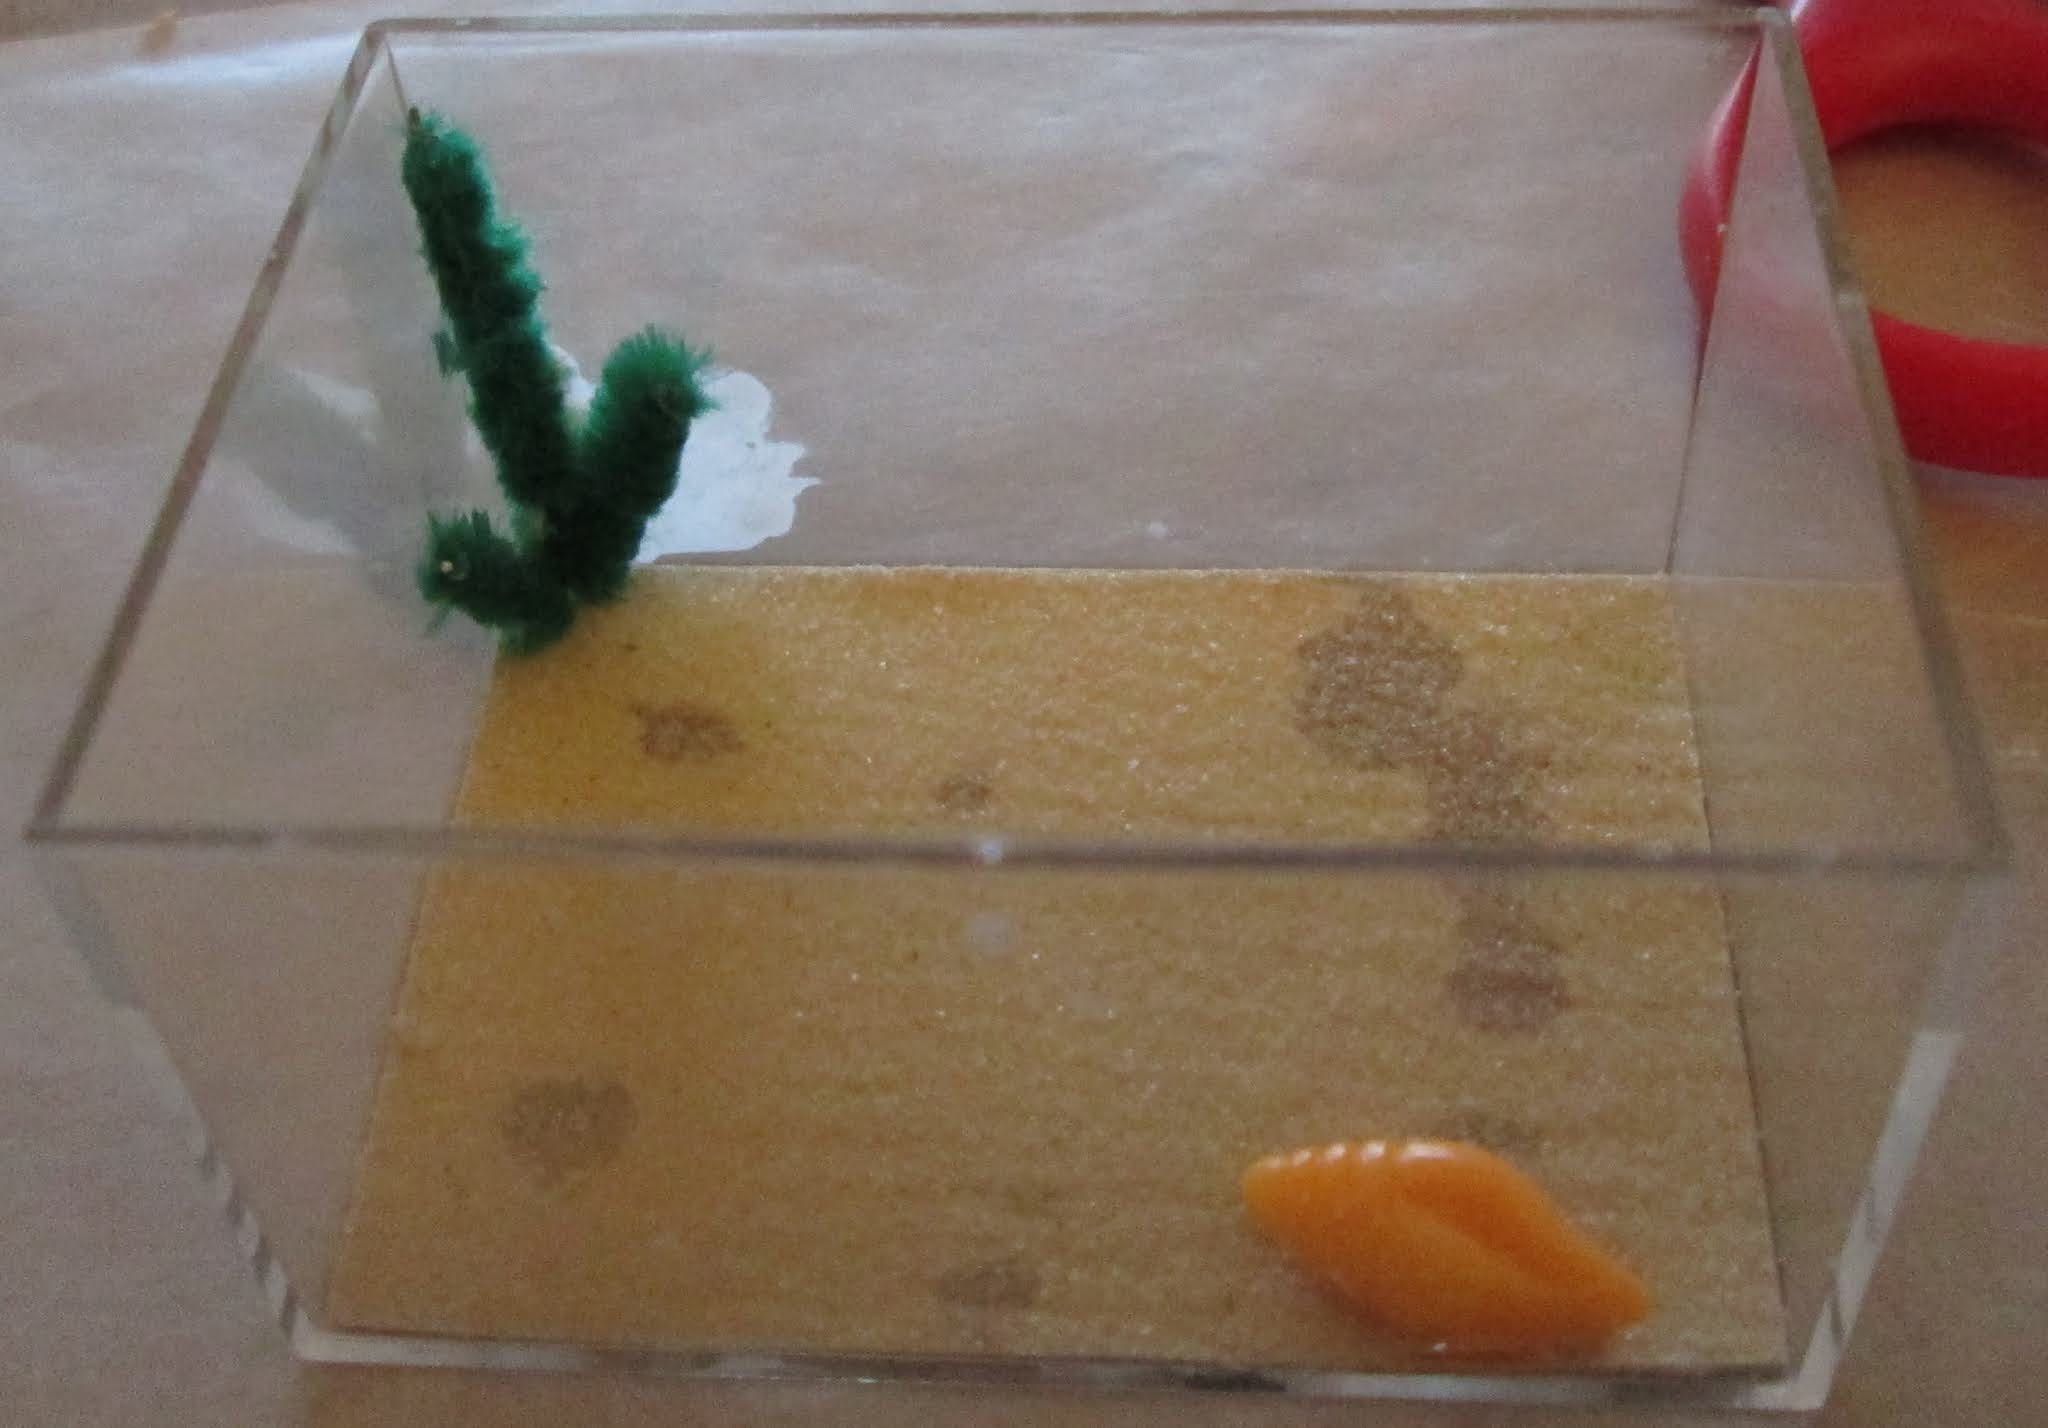
For now, I'll show you the 2nd brainstorm I had.

#7 on the list is a small box (no longer than 3")

For this, I chose a plastic box that once contained a Reutter miniature. The plastic box with a black base.

So here is the clear box upside down.

Originally, I thought I would use part of my foamcore allocation for the bottom 'gravel'. So I measured it to fit the bottom, peeled off the paper on one side and trimmed the foam down.
Then (great moment here), remembered the sandpaper on the list. Much better pebbly surface for aquarium gravel! And the colour is good.
In my (humungous) stash of beads, I have these fish beads and a conch shell.
I glue the sandpaper to the bottom of the box and place the conch shell on it.
I would rather have used a bit of plastic fern but it's not on the list so I take a green pipe cleaner and cut off some short pieces and trim off most of the chenille.
And glue it in the corner of the aquarium.
Then I take my Krylon gold-leafing pen and colour all my fish.
I added one arm to the plant and put one fish in there.
In the meantime I take one large paper clip (can't remember what it's called) and glue it to the bottom of the box and (using Lego pieces and clamps) glue it in right angles to form the first leg..
Here I've added the 4th arm to the greenery. put a fish in there and added about 3/16" of Dollarama's Craft clear glue.
As you can see above (and below), the bead hole is SO evident in the fish bead.
So I trimmed down a toothpick and inserted it through the hole.
Then clipped it off with this sprue cutter which cuts things flat to the surface.

The paper clip was glued properly to the lid of the box so I added another layer of glue to ensure it would stay in place.


Repeated the process for the other table leg....and here it is!


The glue in the aquarium is taking days more to dry than I had expected.  The first fish that I had put in didn't work...but that was okay since I hadn't filled the bead hole.
After two days, I could add the fish in front of the greenery and another layer of glue.
I think at the rate the glue is drying, this will take well over a week to complete. But so far I'm enjoying it.


Monday, March 1, 2021

Hello again! Good to be back.

I'm so sorry I haven't been around for such a long time. Just haven't been able to get my mini mojo together. My DD Leanne calls every morning and always asks "What are you going to do today" to which I reply "I don't know" and she says "Okay, is it going to be a one, two, or three book day?"

Quite honestly, most were "two book" days thanks to Bookbub.com.  But I'm hoping that this challenge will get me back into miniatures.

During M.E.E.'S February 2 meeting,  the club decided to do a "Trash to Treasure" challenge. Tina, Joanne and I put together a list of items and it was sent to club members on February 7.

If you want to play along, please do. It's a lot of fun and stretches your imagination.

If you want to get some ideas, check out the last T2T I did. (That's the first post, select next post to keep following that project.) I've forgotten how much fun these are. They take me back to the 'olden' days when almost everything had to be made from scratch.      

 Trash to Treasure: 

Rules Your creation can be any scale. You must use 25 out of the 35 items listed below. You do not have to use all of the item, but if it is one of your choices, you must use some of the item. For example, you may choose beads (item 2) but only use 2 beads instead of all 10. When you submit your entry, you must describe how you used each item you selected.

 1. 4 feathers 

2. 10 Beads 

3. 3 cotton balls 

4. 10" sq wrapping paper 

5. Eraser 

6. 5 stir sticks, popsicle sticks or tongue depressors 

7. Small box (no side longer than 3") 

8. 2 stickers 

9. 4 bottle caps (any size) 

10. Greeting card 

11. 6" fun foam sheet 

12. 6" Felt square 

13. 6 Toothpicks 

14. 2 sheets of paper (8.5 x 11) 

15. 1 full sheet of cardstock (any colour) 

16. 4 Q Tips 

17. 3 Thumb Tacks or Push Pins (any type) 

18. 6" length of ribbon or lace 

19. 2 Toothpaste caps (or any toiletry lid) 

20. Small mirror (under 2") 

21. Tea Bag or coffee grounds 

22. 6" Sq fabric (any print or solid)

 23. 2 Paper or binder clips (any size/type) 

24. 6 Straight Pins 

25. A Napkin/paper towel 

26. 2 Straws 

27. 2 Pipe cleaners 

28. 1 Styrofoam or paper 8 oz cup 

29. 1 Lid from yogurt/sour cream container 

30. 2 nut shells (pistachio, walnut, peanut) 

31. Aluminum foil 2-inch square 

32. 6-inch square of sandpaper 

33. 1 Egg carton 

34. 6-inch square of foam core 

35. 5 sequins

 PLUS: One other type of supply item from your house. This is a supply item not a piece of miniature furniture or an accessory. 

You can use unlimited quantities of: colouring items (e.g., paint, crayons, markers, etc.) and glue. If you want, you can use your computer to turn a paper/card stock item into a printie. In addition, you may use one container (e.g., roombox) for your final scene. 

Entries are due by April 6. Please plan to show off your entry at our April General Meeting. All entries will be placed in a draw, and the winner will get a prize. All entries will be entered into the “Trash to Treasure” section of our 2021 Show and Sale displays.