 |
| Peel the labels off two sheets of foamcore then glue together. |
 |
| Weigh the foamcore down with books and leave for four or 5 days until the glue has completely dried. |
 |
| The floor is 8 1/2 x 12 1/2. The front is 13 x 10 1/8. The back wall is 13 x 8 and the side walls are 8 1/2 wide and 8 at the back increasing to 10 at the front. |
 |
| Make a vertical cut 8 1/2" from the edge of the left front wall, then another 3/8" toward the centre of the piece of foamcore. Then repeat on the right hand side. |
 |
| Remove the foamcore from those cuts leaving only the back piece of cardboard. |
 |
| Now cut across the bottom of the entire piece 3/8" up. But this time, only cut through the first sheet of foamcore and remove that. |
 |
| Your floor |
 |
| Dry fit the floor |
 |
| Dry fit the flooring |
 |
| Cut your siding lines 1/2" apart on the entire piece. This is where it gets tricky... you don't want to tear the layer of cardboard where you've removed the foamcore to make the corners. |
 |
| I cut an opening for my window before I made the cuts for the siding on the right hand side. |
 |
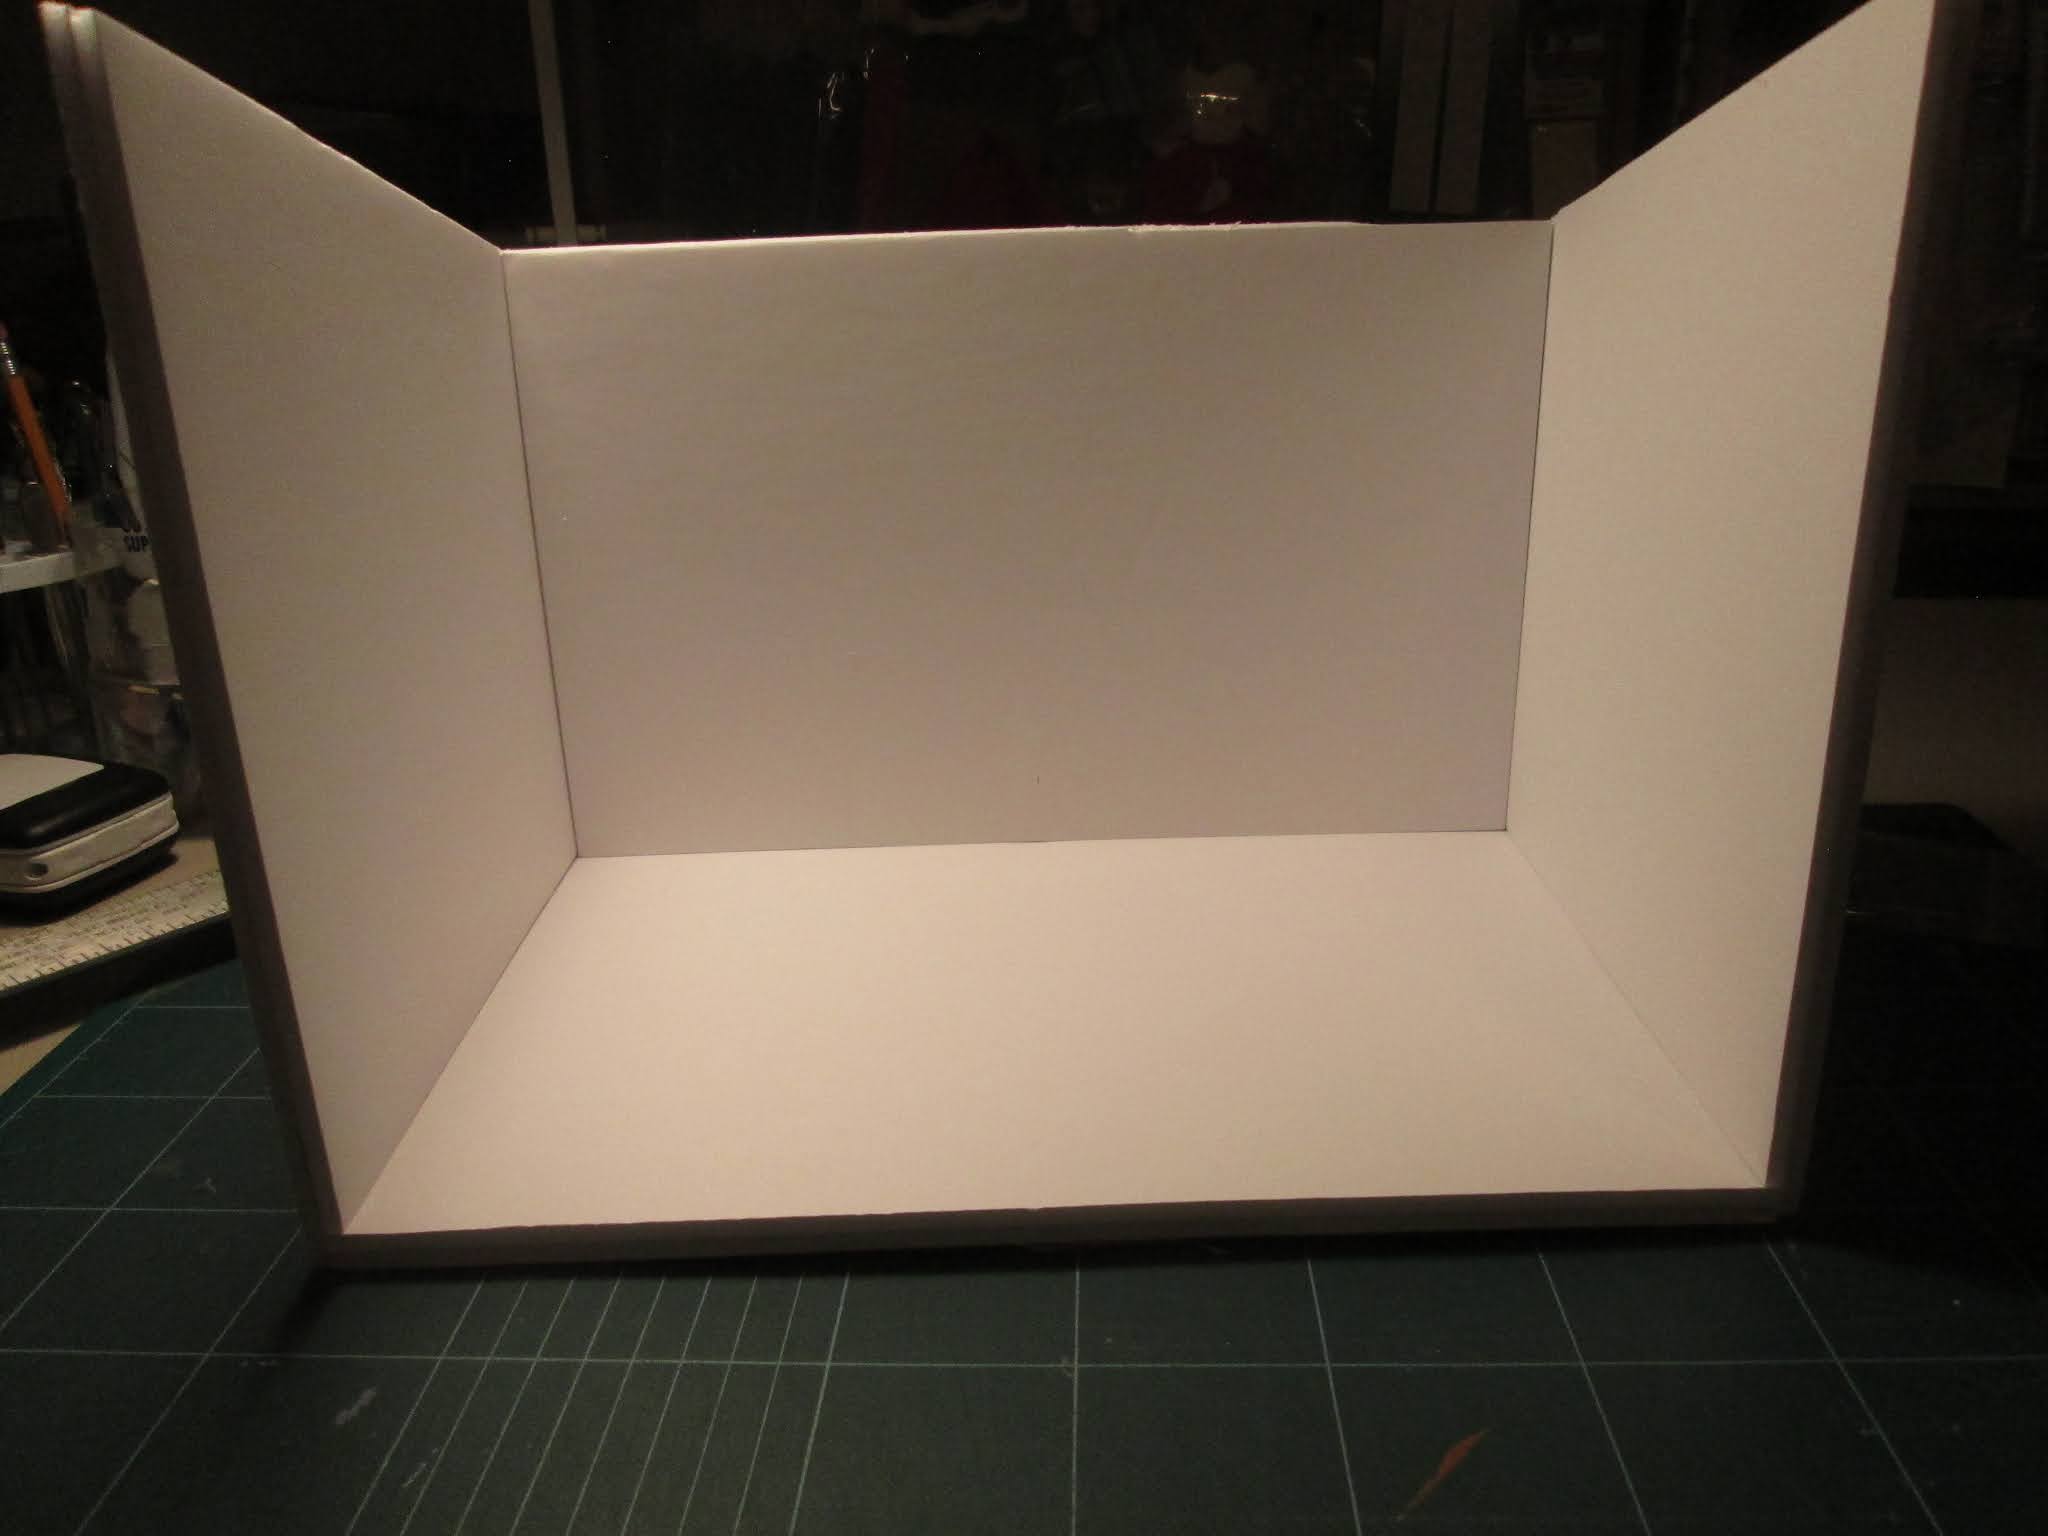
| Once the siding was done, I put glue in the corner hollowed out sections and turned the side walls into the holes. I then put the floor in place. It's just held in temporarily with T pins. |
 |
| The hole for the door has been cut in the front section and the lines for the siding cut. |
 |
| The back of the front section. Here I've cut away the top layer of foamcore 3/8" in around the sides and bottom. |
 |
| The door has been put in the front and it's been pinned in place (again with T-pins). |
 |
| View from the top |
 |
| From the front with the doors open. |
 |
| The corner guard molding was out of stock at Home Depot so I've just used a narrower piece of wood molding from my stash to illustrate. The molding will be glued to the outside of the side walls so the front wall will be removeable. |
Unfortunately I haven't figured out the roof yet. Have several ideas running through my head but nothing is quite gelling at the moment.


It looks really cool so far!
ReplyDeleteThanks Sheila. I think it has possibilities. Best thing is that it's such an inexpensive build.
DeleteThis is fabulous, Maureen! Thanks so much for sharing the tutorial and your ingenious ideas!
ReplyDeleteThanks Jodi. Glad to share and hope to get the roof done soon. You are such a wonderful one for sharing that I'm glad we're both miniaturists. Hugs.
DeleteLooking good, Maureen! It looks like a lot of fun so far. p Marilyn D.
ReplyDeleteIt's been nice actually making something. It's been awhile.
ReplyDelete