Wednesday, June 26, 2024

Just a little break from cleaning...

Let's face it, when you're cleaning/organizing, you will come across a kit that you just have to make...and it usually take much more time than you expect.

When I taught the club project of the spice bottles , Tina M. taught several variations of spice racks/book shelves/plate racks, etc.

This is one.

This is 3" wide by 2" tall.

The pieces set out.

I've coloured them on both sides with black marker. Surprisingly, they look almost a copper colour rather than black.


I followed Tina's instructions for gluing the slots and tabs together. I used Lego blocks to level the shelves. 
If you use the Lego in the top figuration, there is a chance that the glue may stick to the Lego and may give you a problem. BUT if you use the Lego in the bottom configuration, that won't happen.

Once the glue has dried on the shelves, you can glue the uprights in place.


This is such a beautiful piece.

You can find Tina on Etsy as MiniMinutia.


Step one in the clean; progress so far


About a  month ago, my friend, Cheryl H., stopped by for a short visit before she returned home to Nova  Scotia. She brought me a great bag of "goodies" as we both share a love of picking up "things"  that we can use in mini.

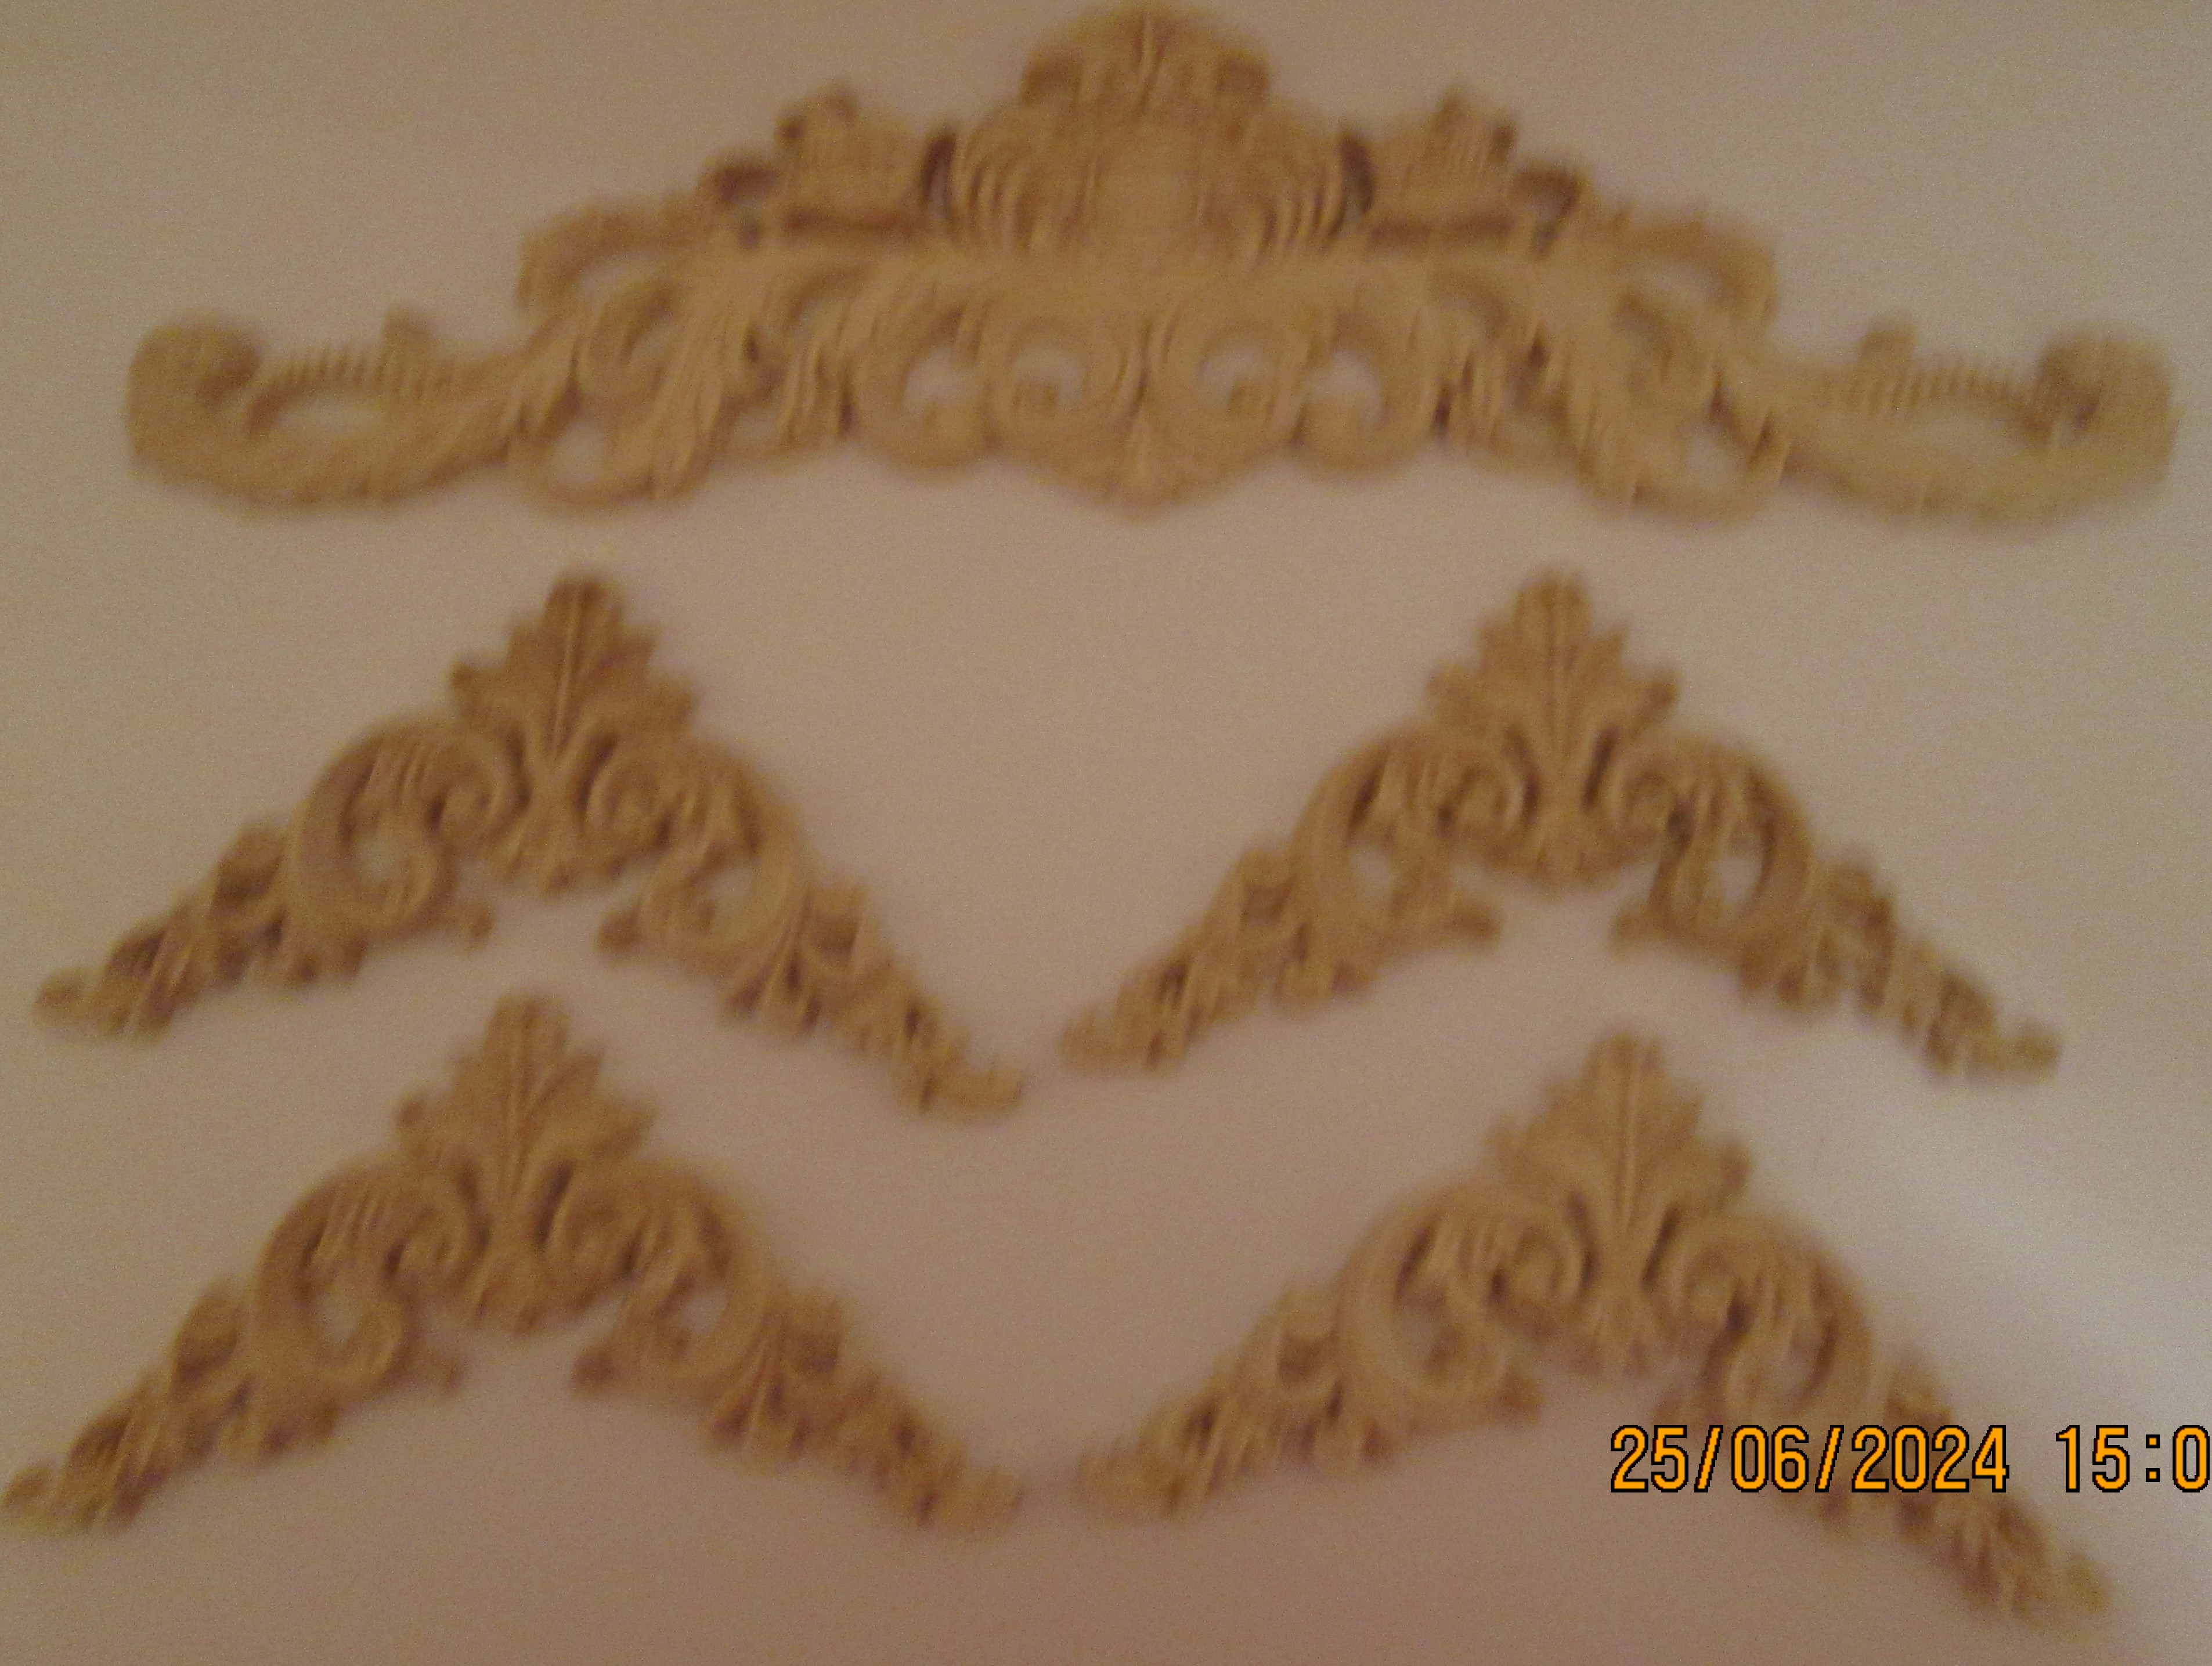
The top molding is 12" wide. The four corner moldings are 4" along the right angles.

Sixty polishing strips (coarse, medium, fine and superfine)
. They are on a light plastic so will work well sanding around hard to reach places.
Soccer cleats and two soccer balls.

These really had me puzzled! They're orthodontic elastics. Cheryl suggested using them as napkin rings and I'm sure there are other ways to use them. Like the variety of colours.

Cheryl couldn't resist picking up some ping pong balls for me. They make great lamp shades.
I have two posts on how to do this: here and here. Great fun and all sorts of possibilities.

These are interesting little plastic pieces that I will make into tall vases. They're 1 3/8" tall. The bottom is small and curved so I will have to slice a bit off the bottom to level it then add a wider, solid base.
Maybe coat with gesso, paint, then add some decals. Lots of choices!

These seven little containers are 2 1/4" x 1 3/8". The inner depth is 3/16". Just lovely little storage pieces.

I hope that you are blessed as am I with friends like Cheryl and sisters like mine who bring you wonderful goodies that you can use in your hobby.

In addition to sorting through the items from Cheryl, I have also managed to put away a variety of supplies and cleaned off the card table and put it away.

Slow but steady.

Lot left but a good start.

Monday, June 24, 2024

Recent acquisitions

 My DS, Shirley, picked these up for me at a garage sale on her crescent, Saturday before last.

This lovely cabinet is 16 1/4" tall including the base and top. Without the base and top it's
 15" tall, 11 3/4" wide and 6 1/4" deep with two shelves in the middle. 
This shelving unit is 22 1/2" high x 11 3/4" wide x 6
 1/4" deep. The shelves are 4" apart.

Don't know where they'll go yet.

This past Saturday, June 22, was our first annual in-person club garage sale since the pandemic. The morning was the garage sale with several club members cleaning out their stashes. The afternoon was a series of "Make and Take" projects.

It was really nice to see old friends in person and meet several new members.

I had no intention of buying anything (famous last words) but, of course, ended up getting a few things.

Liliane was selling these two display pieces that I just had to have for my modern art gallery.
 
Got this great 9 1/2" cube of glass and chrome from Barb S.. Expect it will become my new modern art gallery rather than the room I had originally planned.

This was a freebie from Marg W. and originally by former club member Joyce Buchanan
. The ball is 8" in diameter. I will use it for the setting for my miniature door prize at our condo's Potluck Christmas dinner.

Got the next two items from a new member whose name unfortunately eludes me at the moment.
These leather scraps are paper thin. I can see possibly some books bound in it or gloves or....
Lots of possibilities!

I am probably most excited about obtaining these three 12" x 3" sheets of tooling copper. The Royal Hotel, 10010 - 178 Street, Edmonton has a wonderful piece of art in the lobby that I have been hoping to recreate in miniature for years. I've picked up several things over the years that I hoped would work (none did, much to my sorrow) but I have high hopes for this. You can see a picture of it here.

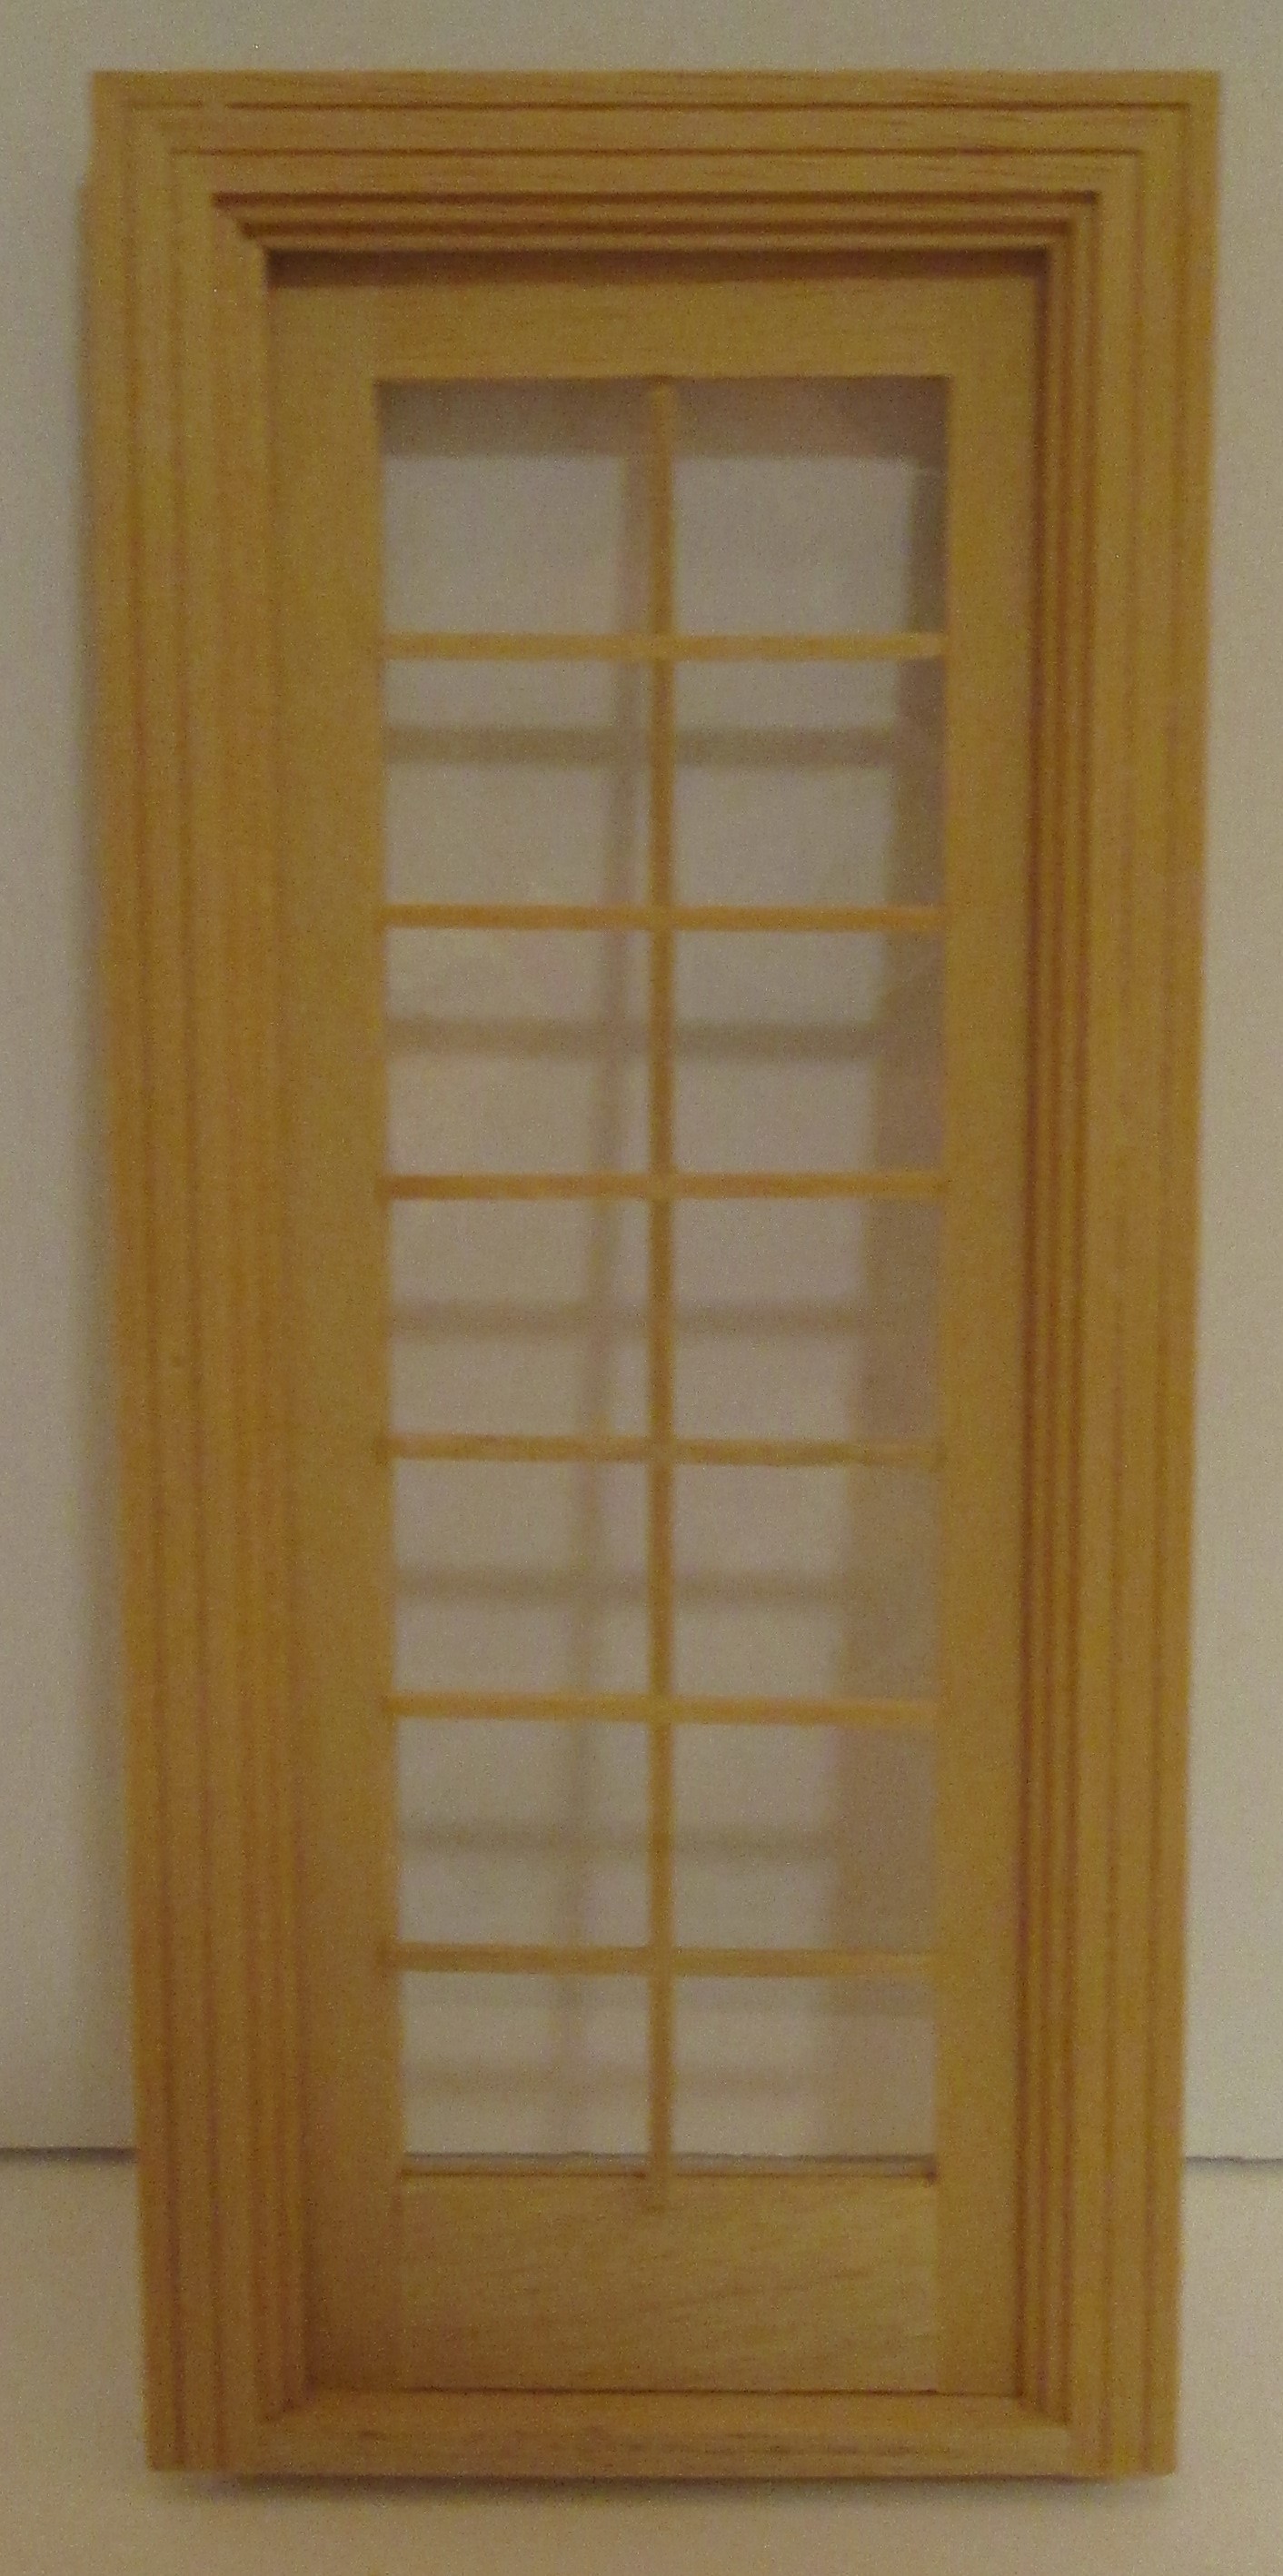
Picked up this french door from Pat M. Think I'll use it to replace the current solid door between the bedroom and walk-in closet that I'm working on.

Love this little plexi and mirror piece from Marg W. Think it is actually a sales counter in 1:24 scale but I plan on using it as an end table in 1:12 scale.


Got four sheets of scrapbooking paper from the FREE table. There are two sheets of pink with tiny white polka dots, one sheet with muted pink diamonds and the one sheet of black, gray and white stripes. I do love black and white!

I do really hope that these things will give me a much needed kick-in-the-pants and get me working on minis again.

But before I do anything, I have to clean my workroom which has become very much a dumping ground for everything I've been too lazy to put away. Wish me luck!


Saturday, June 22, 2024

Spice Jars


This is a tutorial I taught to my miniature club Miniature Enthusiasts of Edmonton. You are more than welcome to use it for your club or group of friends. Nice if you would acknowledge me but not necessary. If you need more information or help, email me at stalbertmini@gmail.com

SPICE JARS

Supplies:

The Kit

10 12.5 mm x 5mm beads (These are Creatology beads from Michael’s. They come in 5 primary colours and also 5 pastel colours.)

10 silver/gold Recollection brads from Michael’s

A label with 14 printed names of spices. These are printed on Avery 5163 labels.

Scissors and/or X-Acto knife and ruler

Glue

Toothpick

Needle nose pliers

Instructions:

This is pretty rudimentary – You cut out the label, attach it to the bead  – pop the brad in top! And Voila, you’re finished.

You can cut out the labels freehand with scissors or use an X-Acto knife and straight edge.

Peel the back off and stick the label to the bead.

 Optional (A bit more structured)_

I did cut the labels freehand with scissors but I wasn’t as confident putting them on the beads. So I found a scrap of 3/16 inch thick wood in my stash and made a bit of a jig to glue the labels on relatively straight.

 Under that strip of wood, I attached a piece of tape face-up and attached the beads to that separating them by at least the width of a bead. This gave me a bit of room to attach the labels around the beads.


With the beads in place, add a strip of tape face-down on top of your piece of wood in line with where you want the top of your labels.

Carefully cut your labels out, peel the backs off and position them in place below the upper row of tape. (I just use my thumb nail to separate the label from the backing but you could also use your X-Acto blade to do that.)

Remove the beads from the jig and make sure that the labels are firmly attached.


To ensure that the brads fit flat in the beads, take your needle nose pliers, hold them against the bottom of the brad and squeeze tightly.


Use the toothpick to drop glue in the hole and top of the bead

Pop the brad in the top of the bead.

Continue gluing the brads in place and you’re finished!


Saturday, April 13, 2024

Roombox from Foamcore Part 3


Last October 21 and 25th, I showed how to make a roombox using three sheets of foamcore from Dollarama. 

https://stalbertmini.blogspot.com/2023/10/500-roombox-from-foamcore.html 

https://stalbertmini.blogspot.com/2023/10/roombox-from-foamcore-2.html 

When the box was finished, there was one 10" x 20" single piece of foamcore remaining.


Although I was very pleased with the box, the width of 20" was a bit too wide for me. I have a beautiful bedroom suite that I bought years ago that I though I would use for this. I also bought a complete bathroom at a club estate sale awhile back that I considered using for an ensuite. Then I took a look at my bulletin boards and spotted one covered with clothes and shoes. Remembered I also have a glass and brass display containing 8 hats. AHA! Definitely needed a walk-in closet!

To make the wall, I took the remaining piece of foamcore and cut a channel 3/8" wide down the middle of it. (Again, only cut just through the top and middle layers of cardboard then fold the foamcore back - this will cleanly shear through the bottom layer of foam and leave the back piece of cardboard intact.) When you have done this on both sides, you can take an X-Acto knife or any slim piece of metal and remove the foamcore, leaving your channel.

Fold both sides of the foamcore into the channel and glue then together. Weigh down and allow to dry.
I had enough of this paper (from deSerres) to wrap around the wall, glue, weigh down and let dry.

I laid the door against the wall where I wanted it and traced around the inner frame.

Cut around the tracing
And installed the door.
I pinned the roombox together with T-pins and measured and marked lines 6 1/4"* from the right wall. I then unpinned them and on both the floor and the ceiling, I cut channels 3/8" wide 6 1/4" from the right wall and removed them. 
* This is an arbitrary measurement....I think the ensuite would have worked with 6" but my idea for the walk-in closet was for a closet on the right hand wall that was 2" deep with a bench on the left hand side that was 1 1/2" deep and I wanted a good-sized aisle between the two. So many variables here. So map out what you want and decide what the width needs to be. If you're doing a kitchen pantry, you may want to have shelving, a deep freeze, maybe even a washer/dryer.

With the channels cut, I installed the wall and used my corner clamps to ensure that everything fit and all the angles were correct. Then one corner at a time, I released the clamp, glued that corner, then reclamped it. When all four corners were glued, I left everything until the glue dried.

NOTE: I did not glue the inner wall in at any point and will not later when I attach the back of the room. This will allow me to (theoretically) remove it and possibly change the wallpaper or the door. Also, the door is just dry-fitted (very snugly) and I have not yet added the casing on the closet side. This will allow me to remove it and stain or paint it before the roombox is finally finished.
The final step! Place the roombox face down on your worktable, fit the back piece lightly in place and tack it with T-pins. Turn it over and with a pencil, mark where your inner wall goes.
Draw your lines on both sides of the inner wall against the back wall, remove the back wall and cut a channel in that back wall for it. Put the back wall in place and glue it.


Ready to start decorating!

I bought the door from a club estate sale for $5, the wallpaper was just a scrap from other projects so I declare this project as being under $10.00.


Friday, March 22, 2024

M.E.E. Club Members' Online Presence

 There are three M.E.E. club members who have really informative/helpful sites that you might want to check out:

Lisa and Pat are members with a wonderful YouTube presence.

Lisa Thompson-Dobo has a great miniature tutorial YouTube channel.  

Pat M also has a wonderful YouTube channel:

Tina MacDonald has been our workshop leader for many years.  She offers mostly 1:48 house kits, furniture kits, architectural details, flooring, wallpaper, etc. 

She has an Etsy store and a website.

R I P Wanna in El Paso

One of the joys of being a miniaturist is getting to know fellow miniaturists from around the world online. Even better is getting to meet those people in person. Over the years, I've had the pleasure of meeting in person miniaturists whom I 'met' online though groups such as Small Stuff Digest, and Yahoo Groups The Camp and Canada Minis.

In April, 2013, I went to The Tom Bishop Show in Chicago for the first and only time. Tom Bishop had kindly given The Camp a room in which to meet and a group of us got together to meet in person. That's when I met Wanna and her daughter, Dana. She lived up to my every expectation.

Wanna was a consummate storyteller and miniaturist. I was a big fan of hers and we would occasionally exchange emails about the inconsistencies of the English language. She once told a family story that echoed a story from my family history so we discussed that.

She died last week after a very short battle with cancer. You can see her obituary here.

Her website is here. It's full of wonderful miniatures, great stories, trash to treasure, tools, and so much more. I hope you'll take some time to look through it.

One of my absolutely favourite stories is the Pigness Protection Program.

She posted tutorials here.

Michael's hutches haven't been available at Michael's for years but they're such a staple that many of us still have them or have been able to pick them up at the club estate sales. Wanna has a whole section of her website dedicated to them. Check it out here.

Her Cheap Thrills section contains lots of Trash to Treasure and a Tool section. It's here.

Those are just my absolute favourites and only about 10% of her website. Please take time to check it out and enjoy the legacy she has left to all of us.