Tuesday, October 19, 2021

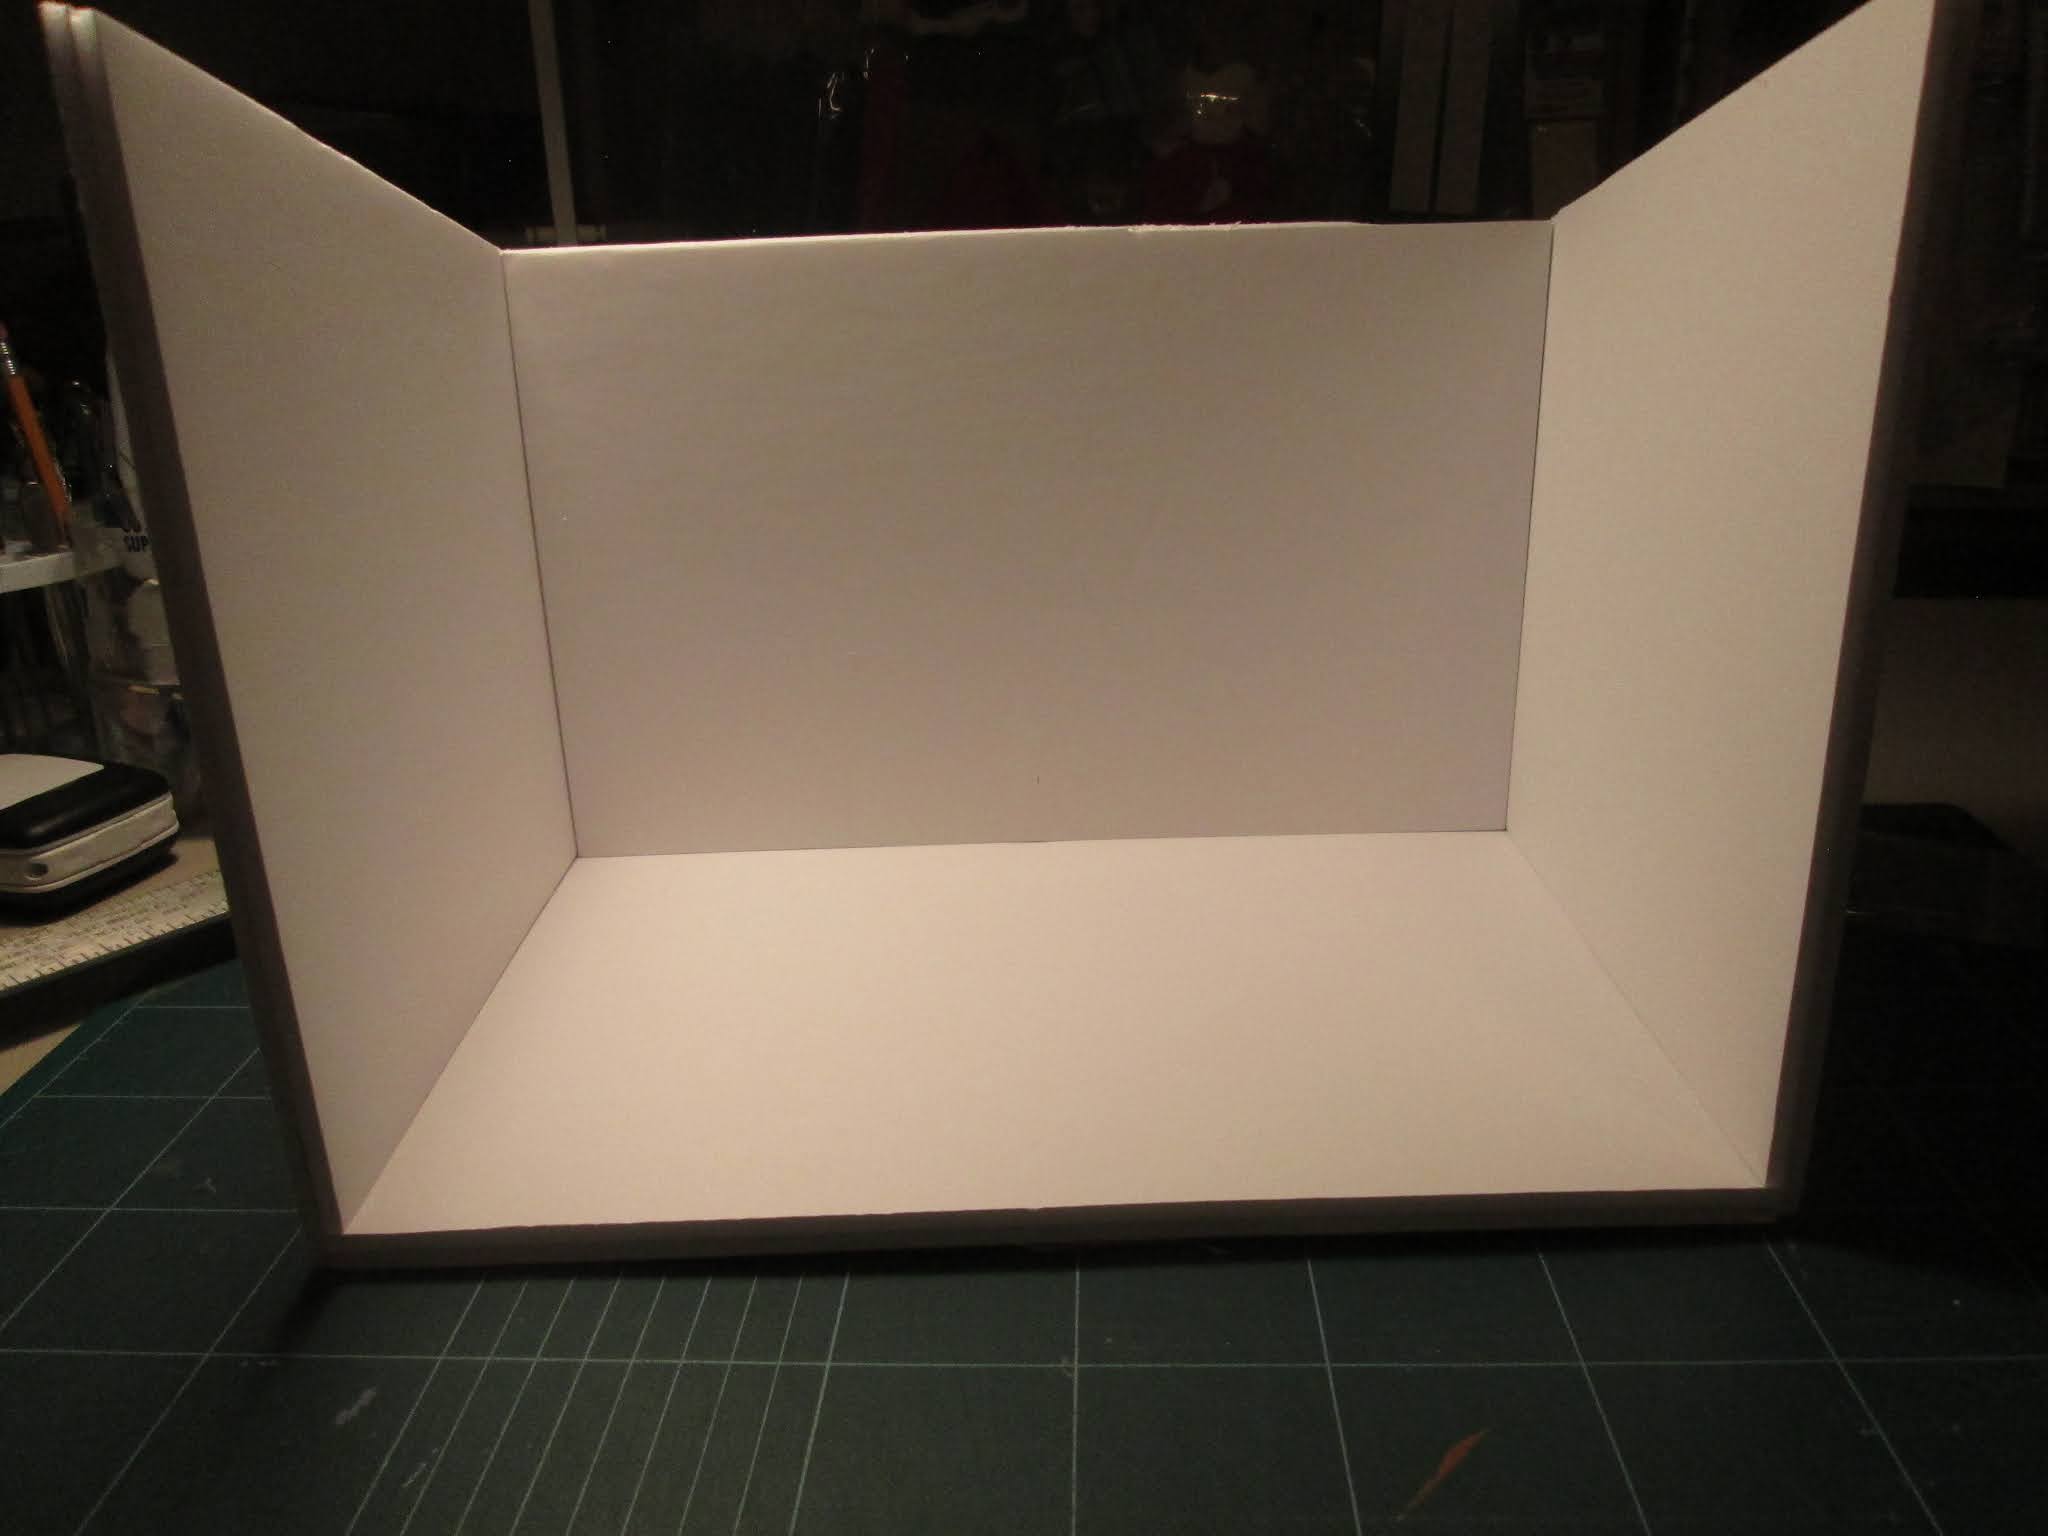
She Shed from Foamcore


Peel the labels off two sheets of foamcore then glue together.

Weigh the foamcore down with books and leave for four or 5 days until the glue has completely dried.


The floor is 8 1/2 x 12 1/2.  The front is 13 x 10 1/8. The back wall is 13 x 8 and the side walls are 8 1/2 wide and 8 at the back increasing to 10 at the front.


Make a vertical cut 8 1/2" from the edge of the left front wall, then another 3/8" toward the centre of the piece of foamcore. Then repeat on the right hand side.

Remove the foamcore from those cuts leaving only the back piece of cardboard.


Now cut across the bottom of the entire piece 3/8" up. But this time, only cut through the first sheet of foamcore and remove that.


Your floor

Dry fit the floor

Dry fit the flooring


Cut your siding lines 1/2" apart on the entire piece. This is where it gets tricky... you don't want to tear the layer of cardboard where you've removed the foamcore to make the corners.

I cut an opening for my window before I made the cuts for the siding on the right hand side.


Once the siding was done, I put glue in the corner hollowed out sections and turned the side walls into the holes. I then put the floor in place. It's just held in temporarily with T pins.


The hole for the door has been cut in the front section and the lines for the siding cut.


The back of the front section. Here I've cut away the top layer of foamcore 3/8" in around the sides and bottom.


The door has been put in the front and it's been pinned in place (again with T-pins).


View from the top

From the front with the doors open.


The corner guard molding was out of stock at Home Depot so I've just used a narrower piece of wood molding from my stash to illustrate. The molding will be glued to the outside of the side walls so the front wall will be removeable.

Unfortunately I haven't figured out the roof yet. Have several ideas running through my head but nothing is quite gelling at the moment.

Monday, October 18, 2021

Siding from foamcore

 If I remember correctly, this technique came from Joanne Swanson, one of the greatest Trash to Treasure miniaturists.


Mark both sides of the foamcore at 1/2" intervals.

Using an X-Acto knife, cut across the foamcore at the 1/2" marks, making sure to cut only through the top layer of cardboard and the foam.

With the X-acto knife at an angle, run the bladeless end of the knife along each of the cuts.

While I do it at 1/2" intervals, you could do it at 3/8" intervals if you choose.

From the side.

A little vignette with foamcore siding.


Vignette setting from foamcore tutorial

I like these because they're simple and inexpensive to make as I use foamcore from Dollarama at a cost of $1.50 per sheet.  There are no visible joints from the outside, and because of the way they're constructed the joints have glue on two sides rather than just one.

This one is 5" x 5" x 8" high. I use it mostly for taking pictures of new purchases.


This is a birthday card I made for my mother years ago. It's 5 1/2" x 5 1/2" x 8" high.


Decide how wide you want a wall to be and double that measurement. That will be the length of your first piece of foamcore and the width will be your chosen height of the wall. A second piece of foamcore will be a square the width of the wall. i.e. for the first one shown above, you will need one sheet of foamcore 10" x 8" and a second piece 5" x 5".

This one will have 10" walls that are 9" tall. 

Cut a sheet of foamcore 20" x 9"

Being very careful not to cut through the bottom cardboard layer of the foamcore,
Cut a vertical line down the middle of the sheet at the 10" mark. Then cut another vertical line 3/16" to the right of that line. After that cut a line across the bottom of the piece 3/16" from the bottom.


Using the tip of the X-Acto knife, carefully glide the blade along the bottom layer of the cardboard to release the foam and the upper layer of cardboard. If any foam remains, it can be scraped off with the blade.

NOTE: If you end up with bits of foam flying around and/or sticking to your knife, etc., grab a dryer sheet (such as Bounce). You can use it to wipe up the foam then it can be emptied into the wastebasket.
Now fold the foamcore back on itself along the vertical cut on the left. This will leave five layers: cardboard, foam, cardboard, foam, cardboard. You will need to carefully cut through the foam on the right hand side of the second layer of cardboard.
 
That will leave an opening in the middle of the sheet...

Like this. Insert glue along the vertical opening and fold the left side of the foamcore into the opening,

If you have a corner clamp, apply it and let the glue set.

If you don't have a clamp, you can place it in a gluing jig with a book to hold it in place until the glue dries.


While the glue is drying, cut a 10" x 10" piece of foamcore.

Once the glue has dried on the first piece, put glue all long the cut out section along the bottom and glue the square in place. 

Once that was done, I turned the piece upside down and weighted it with my gluing jig to keep the floor in place.

And here's the setting, ready for flooring.


Sunday, July 18, 2021

My Estate Sale purchases

The estate sale was wonderful! Tables and tables and tables of great things. Much of it had never even been opened. And our sale crew did a magnificent job of sorting and pricing it.

Best of all was getting to see so many club members again. Zoom is great but it's just not the same as meeting in person!

Now this little sofa is normally NOT my style at all! But it looks so comfy, the colour is wonderful and it's only 5" long so short little me could even stretch out on it with my head and feet up. LOL
It will work well in the she-shed.


I currently have two rooms with fireplaces that need tools so had to buy these.


Still have plans for at least one more art gallery so these picture frames will be used.

These books, although blank inside, have such beautiful covers. They will go anywhere.
And more blank paged books. Nice covers that I can decorate.
Very nice brass bound Bible with printed pages. May rebind it in white kid leather.


Thrilled to add this to my small collection of cranberry glass.


I'm out of wine glasses so was happy to pick these up. A glass of wine can be a nice extra touch to a room.


Michael's hutches are so versatile. There was a good supply of them at the sale and they were pretty quickkly.


Need a microwave for my she-shed.


Some very nice decorative hinges.

Nice little set of dishes. Especially like the bowls. They're a nice size and deep. And because they're white, I can decorate them with nail art. Or use them as-is as serving dishes throughout scenes.

What can I say! I fell in love and the price was right!

Knew I was missing something. Picked up this little fireplace. Didn't exactly 'need' it as I have three others. BUT this one is finished and the others are all bigger so not as versatile. Anyway, that's my story and I'm sticking to it. LOL


So all in all, think I did a pretty good job of sticking to the plan. Got some great things. Now just have to get back to building the she-shed so some of these things have a  home.

But that will have to wait as Leanne and I are leaving for Peterborough Tuesday morning for a six day visit with DS Sean, Julie, Jonah and Holly.. It's been much too long since we've seen them.

Monday, July 12, 2021

YESS!!! ESTATE SALE ON SATURDAY!

Pat says: 

Is everyone ready for a sale? After pricing for 12 hours we are ready for our first sale since Covid hit. 

It is a large sale with tons of good items. There is flooring, 50+ sheets of wallpaper , dollhouses , lighting,  lots of how-to books, hardware, and lots of new items never opened. There is too much to list with 3 large Rubbermaid containers and 4 file boxes absolutely filled to the brim. 

Where: 15709-91 Ave NW, Edmonton   

When: July 17  10:00 pm till 7:00 pm. 

        July 18 10:00 pm till 4:00pm.   

Please wear a mask as we will be setting up inside the garage. This sale will be happening rain or shine. 

I've talked with Pat (our sale management leader) about this and she told me that this is an estate sale from a miniaturist from Calgary.  One shoebox took several hours to go through because it had so many artisan pieces in it!