TABLE
The beauty of making your own table is that you can make the
table top any size you want/need and you can make it the height you want. Dining
room tables are usually 29 – 30” high, a sofa table could be 36” high and end
tables are 21 – 24” high.
And you can use a variety of supplies to keep your costs
down. Your basic pieces are:
- The table top
- The legs
- The apron
An apron is a wooden panel that connects the
surface and legs of a table. It is placed at right angles to the underside of a
tabletop, and extends between the top of the legs.
The table top can be made of either mat
board or 1/16, 3/32, or 1/8” basswood. The apron can be made from those or from
coffee stir sticks or craft (popsicle sticks)
The legs can be made from square food
picks from the Dollar Store (mine are about 3/32 square), 1/8 or ¼” square
strip wood, or Houseworks stair balusters #7025 or #7202 on page 14 of the
Houseworks catalogue http://houseworksltd.com/pdf/HWKcatalog18spreads.pdf The important thing is that they have square tops.
Houseworks also sells table legs (top of page 15) but they only come in packs
of 4 whereas the balusters come in packs of 12. In my experience the balusters
are more readily available at most miniature shops.
Cutting mat


Use the same method to cut the aprons for the width of the table.

If you’re going to
stain rather than paint the table, now is the time to do it. You can paint over
glue, but you can’t stain over it. Do not stain the tops of your table legs or
the ends and one long edge of the apron pieces.

In your gluing jig, glue the ends of the long apron pieces to the tops of your table legs.

My gluing jig is large enough that I was able to do both sets of legs at the same time simply by using a couple Lego blocks between each set.


OOPS! Forgot to take a picture of what the apron and legs will look like when finished. (This is of the quilt shop table base but you can see the basic construction.) Note that the apron goes on the inside portion of the legs.


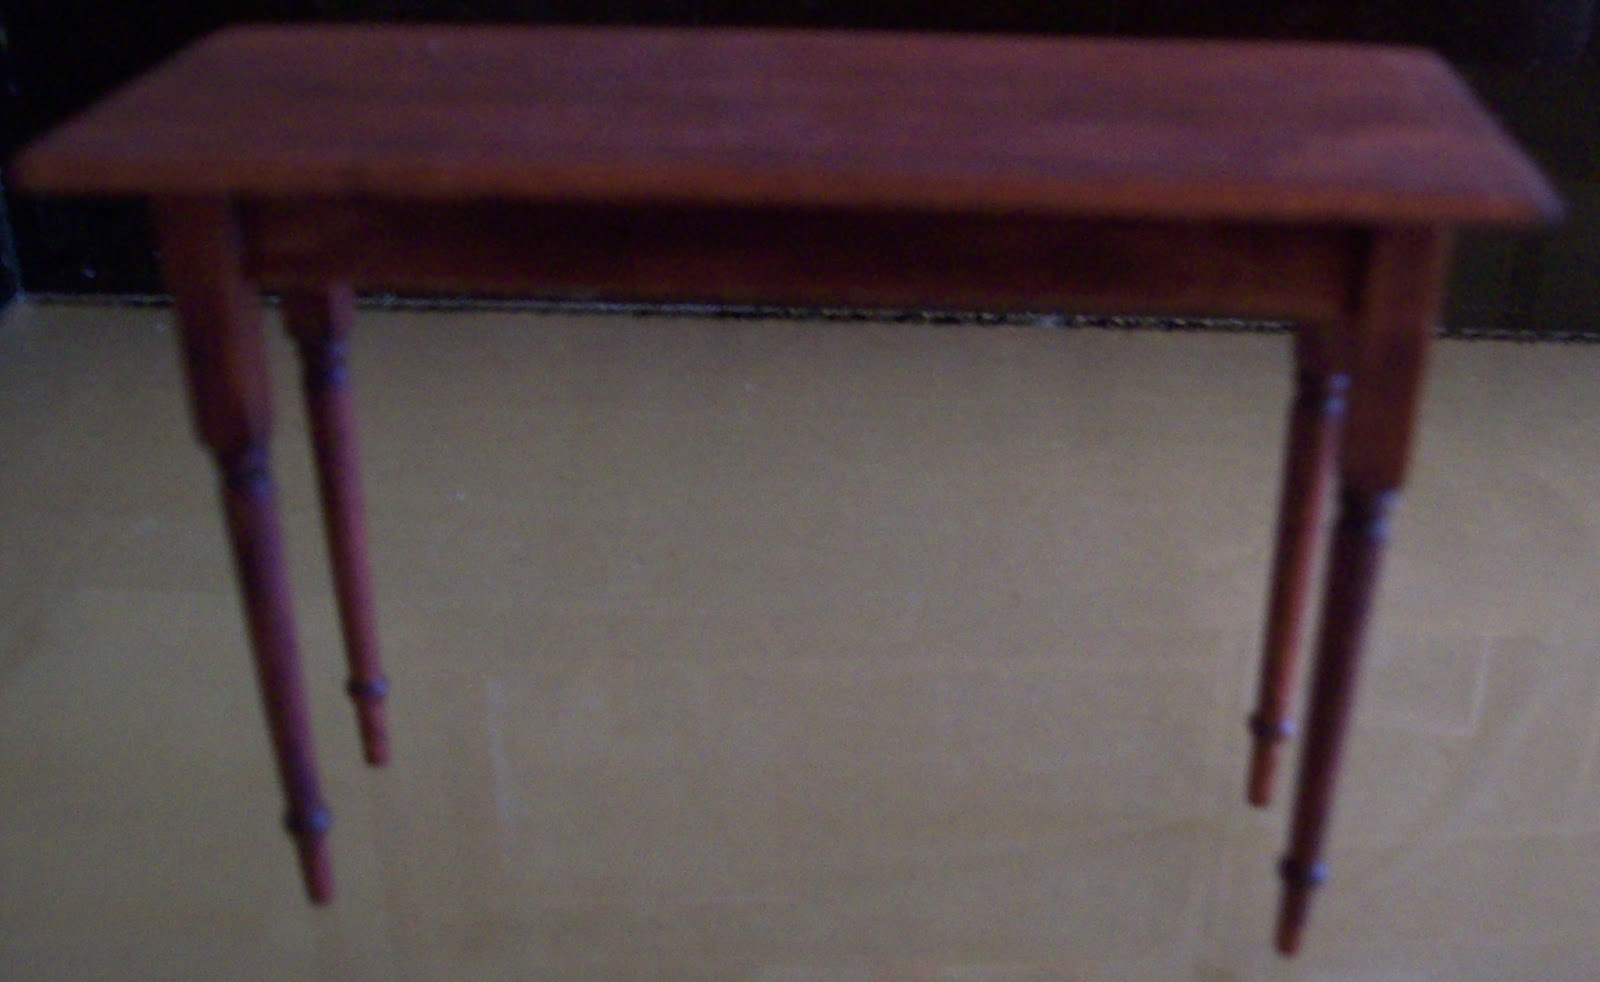
The completed table!

I'll have the tutorial available as a .pdf file later today. If you'd like a copy, email me and I'll send it to you. Please put "table tutorial" in the subject line.
My next post will include some variations that I tried.
 |
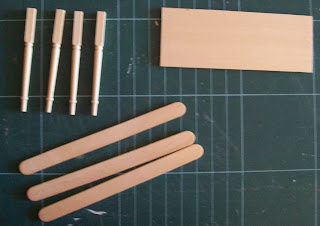
| From left to right: square food pick, 1/8" strip wood, 1/4" strip wood, Houseworks baluster #7025 |
Supplies:
Metal ruler
Fine pencil
Utility knife with fresh blade
Gluing jig or Lego blocks
Wood glue or Weldbond
ToothpicksCutting mat
Stain or paint
Optional (nice to have but not
necessary):
Mitre box and saw
Easy cutter
As an example, here’s a hall table I made
using 3/32” basswood for the table top, popsicle sticks for the apron and
Houseworks #7025 for the legs.

Making the Table
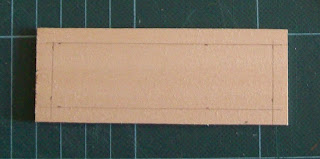
Cut your table top
to the size you want. This one is 4” x 1 ½”. On the bottom side of the table
top, mark in ¼” around the edge of the table top. (For a small table such as an
end table, I’d mark in only 1/8” from the edge.)

If you’re using the
picks or stripwood, cut four pieces to the length needed for the height of the
table. Since I used the balusters, I could skip this part.

Cut the two aprons for the length of the table.


In your gluing jig, glue the ends of the long apron pieces to the tops of your table legs.

My gluing jig is large enough that I was able to do both sets of legs at the same time simply by using a couple Lego blocks between each set.

When that glue has
dried, put one of the sets of legs against one side of the gluing jig. (I hit
it lucky here as the distance between the two sets is exactly the width of a
piece of Lego!) Glue one end of the short apron pieces to those legs and use
the Lego to keep it straight and square. Then glue the other end and attach the
second set of legs. (I actually used my upside down mitre box to hold
everything in place while the glue dried.


OOPS! Forgot to take a picture of what the apron and legs will look like when finished. (This is of the quilt shop table base but you can see the basic construction.) Note that the apron goes on the inside portion of the legs.

When the base of
the table was solid, I turned it right side up and spread wood glue on all the
upper edges.
Then I turned it
upside down and glued it in place on the bottom of the table. (My original
pencil lines were just visible through the stain to help with placement.


My next post will include some variations that I tried.
No comments:
Post a Comment