Tuesday, January 29, 2013

The gable is on! And a bit of work on the quilt shop...

First thing this morning, I painted the gable.

I used books to balance the attic so the roof was flat so the gable could be attached.

The books had to be positioned so the gable edges could be seen from inside and aligned with the opening in the roof.

Glue in place.

The another book draped over the gable to hold it in place while the glue dried.


 From the inside:


(BIG sign of relief - gable in place!)
I'll shingle the roof later. Will probably use black sandpaper shingles.

'Stitch and Bitch' met tonight so I thought I would print the front and back of Mom's quilt on cotton fabric sheets that I have then glue lace where the crocheted fans are on the front of the quilt. After all my troubles getting this #%$& printer to print on card stock, I should have known better than to think it would take the fabric sheets! So will try a couple other ideas later.

In the meantime, I needed a small portable project to take downstairs so pulled out my package of Tiny Turnings (#2000). I buy mine from Luba in Spruce Grove but I did find them here.

I wrapped thread around them then cut them apart to make two sizes of wonderful spools of thread. Bev stopped in for a minute and wondered what the heck I was doing!


While I was downstairs, I checked the mail and there was a parcel delivery notice. AS USUAL, no attempt was made to deliver the parcel - just dropped off the 'attempted delivery' card. When I finally got a reply from the head of Canada Post to my complaint letter about this last summer, I was given a local phone number to call but don't know if I'll even bother. Nothing ever comes of it anyway!

The parcel would be the new brighter battery ceiling lights I ordered from Miniland for the ceiling of the quilt shop so I can wait the few days until the weather improves again before walking to the post office to pick them up.

Monday, January 28, 2013

Getting there with the attic...

Joanne and I went to see Les Miserables on Saturday afternoon. What an incredible movie!!! I saw the play years ago and always watch the anniversary productions on PBS and have always loved the music. So I've been singing the score for the last few days. LOL

Saturday night after I posted here, I did some work on the gable for the attic. Installed the window and window frame and painted the inside. Then got started on installing the siding. By last night I had the siding on the sides but was NOT looking forward to siding the front.


Yesterday afternoon I went next door to Mom's to take some pictures of items I want to make in miniature for both the attic and the quilt shop.

DS Carol made this beautiful quilt for Mom. I'm hoping to make it in miniature for the quilt shop and display it on a quilt rack as a focal point in the shop.

Had a terrible time trying to get a straight on picture of it. We hung it on a screen that Mom has and I practically had to crawl into her closet to get back enough to get the whole quilt in the frame. VBG

The front of the quilt. The lace fan effect is from  sections of crocheted doilies.

Back of the quilt
Mom also has Vern's mother's china cabinet which she uses as two separate pieces. I'm hoping to make these for the attic but I don't know how successful I might be. It's a gorgeous piece of furniture but it has so many curves, molding and different looks in the wood.

Bottom of china cabinet

Top of china cabinet
Christmas of 1976, Vern gave me a jigsaw, sander and electric drill for Christmas. I was THRILLED! And the talk of the neighbourhood - none of my neighbours could understand that I had actually asked for them.

The first things I made were toy boxes for Sean and Leanne.

I had two of these wonderful lidded wooden boxes in my stash - think I got them in dealers' grab bags at the Edmonton Show and Sale but not sure.

So I took one (without the lid) and painted it yellow as Sean's toy box had been. (Leanne's was painted white enamel with a large cursive L in gold on the side.)

Even then I loved casters on RL furniture (Vern worked out of town a lot and casters made moving furniture SO much easier!) So, of course, I had to put casters on the toy box as they were on the original.

The casters are Houseworks #1104. Alex at Miniland has them on his website as do most dealers. They have little pegs on the base so you just drill a tiny hole for the peg and glue them in place. One of those little touches that really impress non-miniaturists.


Okay, I had avoided siding the front of the gable long enough!

Commercial siding cuts pretty well if you're working with large pieces but when you're working with narrow pieces and cutting across the grain, it tends to split. ARGGHH! So I had to do some piecing and I ended up with a gap between the top and bottom pieces that I didn't fill in very well. But the lines of the sides and front pieces were pretty well matched and, of course, the corner angle molding helps.


What a great feeling to get that done!

Now just have to paint the siding then glue the gable in place!

The end is in sight for the building of the attic then I can begin the fun stuff - making the pieces to go in it!!!

And almost all the boring stuff of construction is behind you, my dear followers, and hopefully I'll start getting some tutorials done.

I wanted to mail a package to a friend this afternoon but it was -10 C and I debated going until I checked the weather forecast for tomorrow!! So I took care of that little errand. The temperature has already dropped to -22C and the forecast for tomorrow morning is -28C with a windchilld of -41C. For my American friends, I've not translated them to F. but you may know that -40C is equal to -40F. So it's going to be COLD! Wish I had taken the garbage out!

On the bright side, the temperature on February 1st is supposed to be above freezing. It's already been a long winter since our first snow in October and the huge blizzard the first week in November. Fortunately, for every few days of VERY cold weather, we've had some really nice days with temperatures above freezing.

Saturday, January 26, 2013

attic ceiling on and studded

Finally got the ceiling of the attic glued on.

Had to cut some more 1/4" strips of 3/32" basswood to make more studs for the ceiling.

Although I do have a 24" cork-backed stainless steel ruler, I find that when I'm cutting long strips of wood, it tends to slip and my cuts are not as straight as they should be. Fortunately, I have a large aluminium carpenter's square that I find works better for cutting these long strips. To ensure that it doesn't slip, I have a couple strips of double-sided carpet tape on the back to hold it lightly in place on the wood.


With the ceiling flat on the table, I glued the studs in  place.


So far, so good.


Hopefully tomorrow, I'll get the siding on the gable, get it painted and glued to the roof.

Friday, January 25, 2013

Chicago International

Oh, my!

Just picked up yesterday's mail delivery...

Oh my goodness! I have in my hand my Preview Ticket to Chicago International!

AND my confirmation for Diane Almeyda's workshop!

Hotel is booked.

Just have to book my flight!

Oh, my, goodness! This is REALLY happening!!!!


Thursday, January 24, 2013

One step forward, two steps back...

Last night I painted the inside of the quilt shop room box then this morning I installed the flooring.

I wanted black and white tile flooring. My original thought was to design and print it on photo paper but I remembered I had some in my stash. The plastic flooring from  Handley House had pink diamonds at the corners of the tiles and that wasn't what I wanted. So I looked further and found some of the same type of design on paper. Had one sheet of white with black, plus white with red, white with green and about three sheets of white marble look with black. That particular marble look in a floor always just looks dirty to me and I wanted the colour in the room to come from the fabric so decided on the white with black diamonds.

So installed that using Yes glue. For some unknown reason I installed it directly on the floor. I hardly every do this as I generally prefer to put my flooring on mat board and then install that with double faced carpet tape so it can be easily changed if I decide to make changes to the room.

Then I took a permanent black marker and 'painted ' the frame around the front of the room.


I've never before had this problem with Yes glue (probably because I usually spread it with a piece of credit card plastic so it's even) but this time I had applied it with a foam paint brush and had a couple areas where it was thicker than others. And that's where it looks like there are grey blotches on the floor.

I'm hoping that it's just that those areas of glue have not yet dried properly and, given enough time, the blotches will disappear. I took the hair dryer to them and that seemed to help but now it's just a matter of wait and see.

So, while I'm waiting to see what happens with that, I decided to tackle putting the roof on the attic.

Because I'm not putting a chimney on the attic, first order of business is to fill in the hole on the side of the attic roof where the chimney would have gone. I cut a piece of wood the size of the hole and glued it in place then I took a piece of a Bounce dryer sheet (any thin piece of stable fabric would have worked) and glued it over that section to give it extra stability.


Earlier, I had thought I was being so smart putting the piece of stripwood across the top to stabilize it. NOT!! It simply held the side walls at bad angles that would not allow me to glue the roof on properly. So it had to go...

I know I want to be able to glue the roof to the walls (or more correctly, the walls to the roof) all in one fell swoop and that means that I need the walls to be totally square so I can apply the glue to the tops of the walls and position them correctly on the roof.

So in order to line up the walls so they will fit squarely on the roof, I cut a piece of foamboard, positioned it so it was just below my gluing line and taped the walls to square up against it.


Then I applied a heavy bead of Weldbond along the top of the all the wall pieces, positioned the walls against the roof (working upside down here with the roof on the table and gluing the walls to it) and put two heavy books open on the floor (as shown below) to hold everything in place while the glue dried.


 Well, that 'sort of' worked. (Perhaps if I had positioned another wider, heavy book against the left diagonal as above, it might have worked better.) There was enough pressure on the back wall to hold that glue but not so much on the top of the roof. BUT I could separate that enough that I could use a toothpick to insert a line of "Liquid Nails" along the roof line without disturbing the attachment of the roof to the back wall of the attic. (This tube of Liquid Nails is really old so I'm hoping that it will still work properly.)

Because I still had to deal with keeping the side walls lined up properly with the roof, I used binder clips on both sides to keep the walls in place, then stacked two open books on the roof to hold it down against the walls.

 Using the binder clip as the spacer to keep the wall in place against the roof.


Tomorrow will tell the tale if

(1) the floor will turn out okay in the Quilt Shop, and

(2) the roof is successfully on the attic........

I really hope it's good news on both counts so I can get on with both projects!

Wednesday, January 23, 2013

Joanne's attic,a special gift, back to the quilt shop

My intention, as you know, was to get the roof on the attic yesterday but the room is wonky and the roof doesn't align properly so have to walk away from it a bit. I think I know how to re-tackle it but am not quite ready to do that yet.

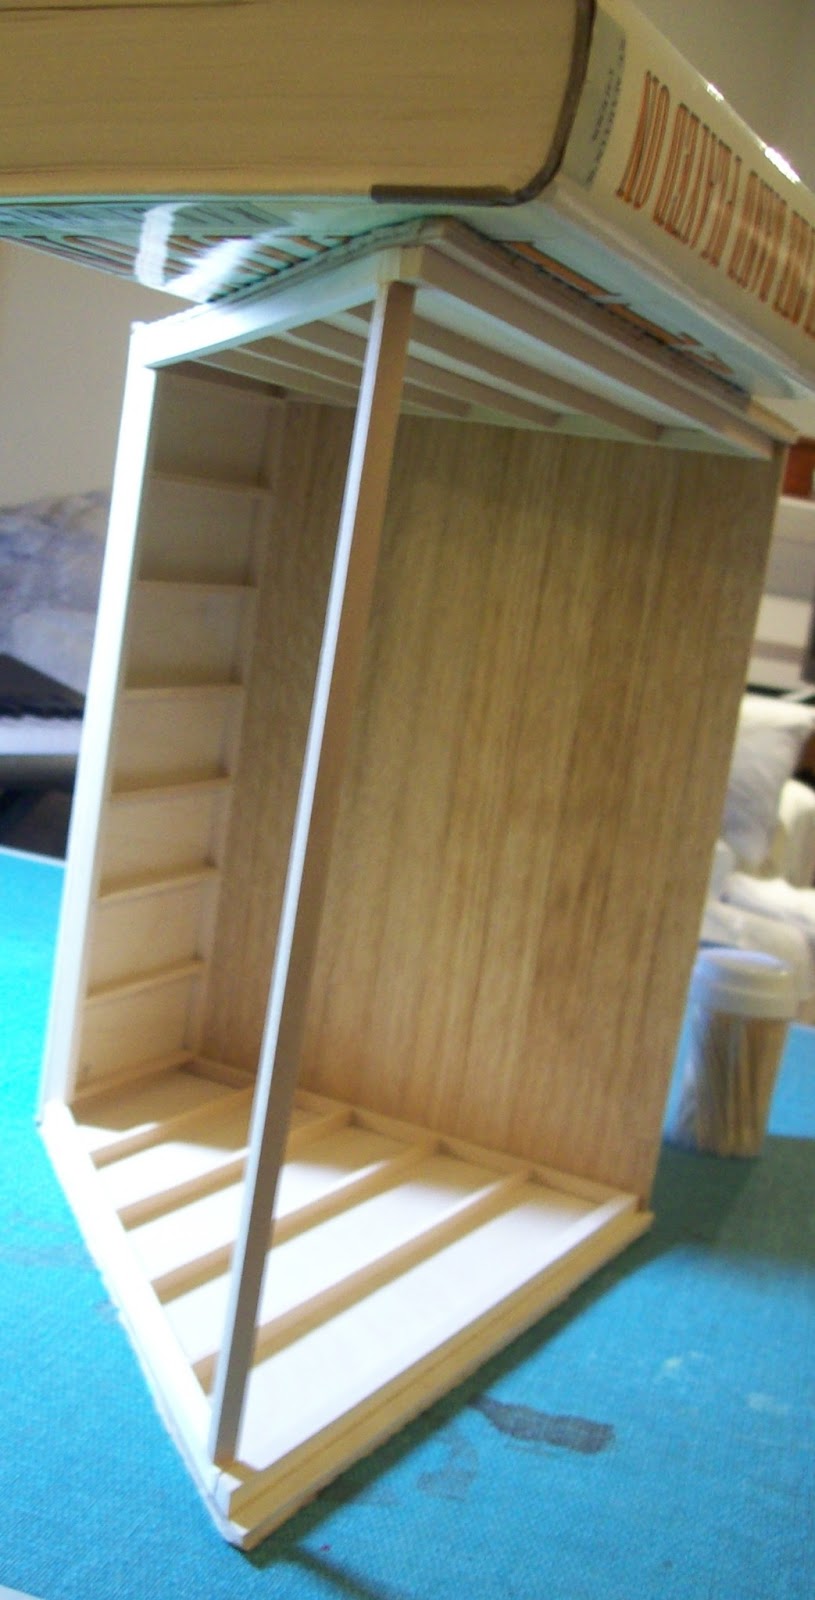
Joanne was getting very frustrated with the roof of her attic so brought it over last night and we tackled it together. It actually came together very well in terms of positioning. So Joanne glued it and began to tape it to keep the roof in place while the glue dried. Her tape had dried out a bit and kept breaking which was a pain!

She gave me permission to take pictures of the "tape saga". We always have a good time together but we really had a lot of giggles over this!


I had originally planned on putting the quilt shop in the Cerveny from Miniland in Victoria. But for a couple reasons (cost and size), I decided I would rather go with one of the rooms that earlier MEE club members had. Joanne had two of them and gifted me with one of hers. Thank you very much!


I had planned on doing this portion of the post as a tutorial for newbies to MEE to show them how easily you could build a table any size.

Didn't work out for three reasons:

(1) I wanted to make it as a cutting table for the quilt shop and, therefore, have a bottom shelf on it;

(2) a cutting table needs to be taller than a regular table, and

(3) Some of the pictures I thought I took didn't 'take' so some steps are missing.

I'll try again later but for some of you who have made some pieces, hopefully you can follow this:

Wood used for this table:
3/32" thick basswood
1/16" thick basswood
3/8" square stripwood

For the top of the table I cut a piece of 3/32" thick basswood 2 1/2" x 7" then measured and marked 1/4" in from the edges. This is where the table skirt and legs will be.

I cut four 2 3/4" legs from the 3/8" square strip wood.

Two top table skirt pieces from the 1/16" basswood: 6 1/8" x 3/8"

Two end top table skirt pieces from the 1/16" basswood: 1 5/8" x 3/8"


Two end supports for the bottom shelf; 1 5/8" of the 3/8" square stripwood.

 Two side supports for the bottom shelf: 6 1/8" of the 3/8" square stripwood.


Wood stained with medium Dollarama wood retouching pens:


Legs along length of the table in the gluing jig:

Left side: a table leg
Across the top: the long table skirt piece
Right side: another table leg
Bottom: stripwood bottom support piece
The bottom support piece is space from the bottom of the legs by a Lego piece
And all that is aligned above the steel ruler lined up against the bottom of the table legs.


Make two of these.


This is where the pictures are missing.............

So I don't have the pictures of how I added the bottom brace or the top skirt on the ends of the table frame
but here's how the final table base looks:


I measured the bottom brace and cut a piece to fit it 6 1/2" x 2"

 Cut out the corners for the legs then stained that shelf and dry-fitted it.

I sanded both the table top and the bottom shelf with a brown paper bag.

When the table top was sanded, I glued a 6' ruler along one long edge. I made the ruler by printing out two yardsticks from Jim Collins and using only half of each.

I took the leg assembly and dry-fitted it in place. I pencilled in the placement then glued it in place.


 After the top of the table was glued in place, I glued the bottom shelf in place.

 Then I took a pair of scissors from Grandpa's Dollhouse, painted the handles with red nail polish, linked them to a piece of silver chain from Dollarama and linked that to a screw hook that was in the top of an old Christmas ornament.

I then screwed that into the leg of the table.


Here I've added some bolts of fabric and trim to the top of the table and some bolts of fabric on the bottom shelf.

Not the tutorial I had hoped for but I'm really pleased that I have a great fabric cutting table for the quilt shop!

Sunday, January 20, 2013

Queen Mary's Dollshouse

PBS has been showing a series "The Queen's Palaces" The tours and histories of England's castles.

Tonight's was "Windsor Castle". All of the castles are wonderful viewing in their own right but Windsor Castle, of course, is the home of Queen Mary's Dollshouse. Also this.And another.

If you get a chance to see Windsor Castle in the series, the dollshouse is about 40 minutes  from the beginning of the show. The size and detail of it is total mind-blowing! Not to mention the fact that not only is it fully electrified!!! (AND has running water!!!!)

I have a book about it but until I saw this, I had absolutely no idea of the immensity of it.

Can't find the reference to it now but I had read that people became uncomfortable having Queen Mary visit because she might spot some small thing in your possession, comment on it, and expect it to be gifted to her.


My photo site http://public.fotki.com/stalbertmini/

On January 6, I mentioned:

Weird thing! That album on Fotki says there are 13 pictures but only 3 are showing!

So I contacted Fotki and got the following explanation:


As you all know, at the end of October Hurricane Sandy struck heart of New York City. Estimated losses, due to damage and business interruption, are estimated at $66 billion, which would make it the second-costliest Atlantic hurricane, behind only Hurricane Katrina. Many data centers in New York were flooded, and they still are not operational. Our data center was hit but only partially.  It worked on generators for a while, but it was on. All your photos and videos are safe. Because of economic reasons we were forced to partially move our servers out.  We are moving them to a new data center.  We took down most of old servers, where mostly older photos and videos were stored.
Please don't panic! We are trying to bring the offline servers back online in a month or so.  We will keep you updated as we are work on finding a new home for them. You, your family and friends are still able to enjoy your recently uploaded photos and videos and most of the old ones.  We know you miss your older photos but they will return! 

It just never occurred to me that Hurricane Sandy would have impacted on my own safe (thousands of miles away) life like this. 

You never know....

Back to the attic

Joanne spent most of yesterday working on her attic and she hates building even more than I do so I decided I better get cracking and work on mine today.

You may recall that on Tuesday, I put studs on the left hand wall using pieces of styrofoam to space them the equivalent of 18" on centre.


One of the concerns that arose from our brainstorming session on Tuesday was how narrow the wood was that is to be attached to the roof.

With that in mind, I cut back the top of the studs 1/4" and glued on a 1/4" x 1/4" beam across the top of the left side wall. Then to keep it more realistic, I also cut off the bottom of the studs and installed a sole plate below the studs.


(The studs were all  1/8" thick basswood cut into 1/4" wide strips then cut to fit.)

The back and right hand walls had the top and bottom plates installed first - then the studs were put in place.

Once the walls were finished, I added a 1/4" square beam across the top of the front and (with the attic on its side) weighed it in place until the glue dried.

Here it is:

The beam at the top front pulled everything together and all the walls are at right angles.

Tomorrow I'll attach the roof and install the studs. Backward to RL, I know, but in miniature you get to take liberties. LOL

Then I'll need to put the siding on the gable and glue it in place.

Thanks, Joanne, for giving me the 'kick in the butt' I needed.