You may recall that I had this headband left from making the bath surround in the Bombay house


Sorry. This is where my camera ate some pictures.
Once the glue was dry, I 'painted' the entire piece with a black marker then glued 4" x two strips of the headband on all four sides of the pedestal.
The top of the hole down the centre wasn't quite large enough for the base of the harp so I drilled down about 1/4" with my jeweller's drill and put the harp in place then fed the wires of the LED light down through the pedestal.
 |
| The red is from the reflection of my shirt. All the beading is actually gold. |
The problem with the bottom of any lamp is that you have to leave a space for the wiring to go out at right angles. As thin as the wires are, if they go out under the lamp, they throw it off-balance. (If your base is a filigree finding, you can simply feed the wires through a hole in the filigree.)
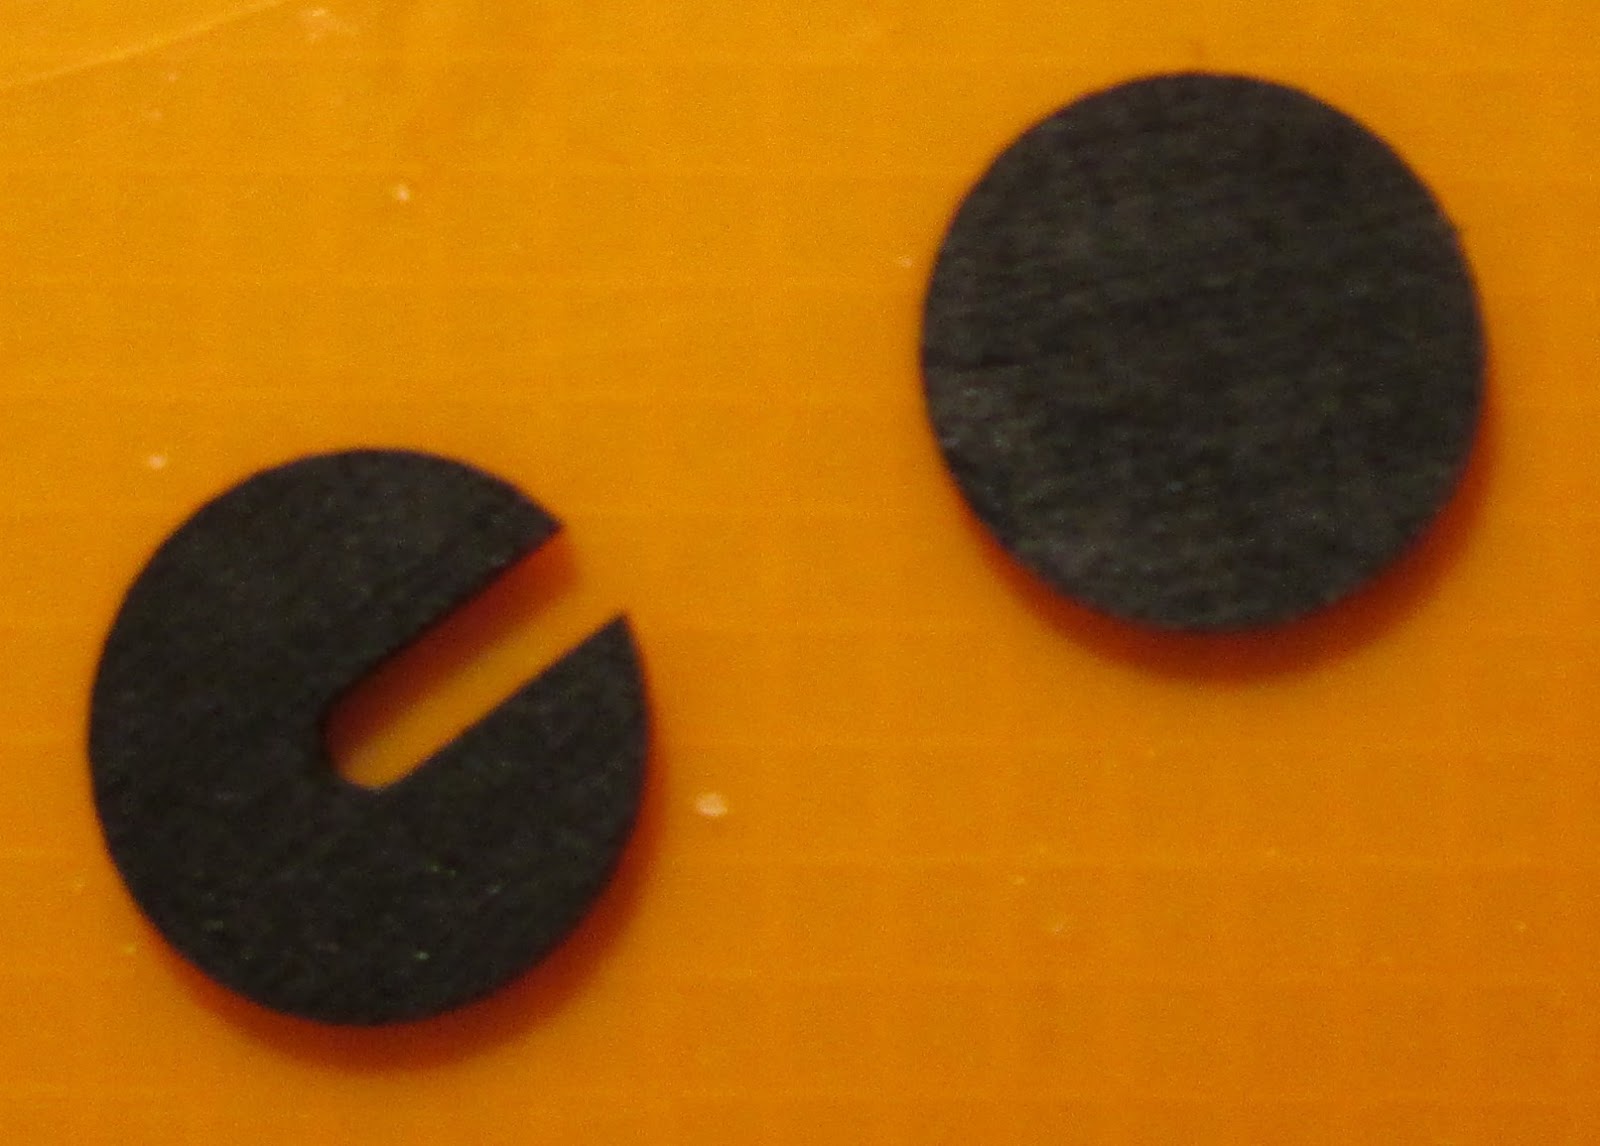
But Tina, bless her heart, cut (on her wonderful new laser cutter) a whole pile of pieces to get around this. She made them in three sizes (for floor lamps, table lamps and 1:48 scale). One has a cutout for the wire to feed through and the other is solid. Even these can be stacked to make a base for a table lamp using a combination of the sizes.
Anyway I 'painted' these also with black marker

Here I've attached the shade support to the harp
Hint: Hold the nut between your fingers and screw the harp (with support) into it.
Then add the shade.

Here is the lamp with the bulb lit temporarily.
 |
| It actually looks straighter in person than in the picture. |
Even though I used one of the larger LED bulbs in this, I'm not terribly pleased with the amount of light. I may have to think about making a vellum shade to replace the plastic shade that comes with the harp.
Once the lamp is in place in a scene, I will permanently attach the battery pack and switch where the switch can be reached conveniently.
I'm now thinking about how I can make a matching table lamp with a proportionately smaller pedestal. I certainly have enough of the headband but it's a matter of making a base for it with what wood I have.
Feeling a bit down....it took about three hours to make the lamp (including drying time - pictures and all those other things) then about 1 1/2 hours to write the blog. (And that was without the pictures of major parts of the project.)
Don't get me wrong. I love sharing and I love your support. But sometimes it just gets so frustrating in terms of time.
Don't mind me, just feeling sorry for myself. I'll get it together soon.
Muy original!!!!
ReplyDeleteBesos.
Gracias, Pilar.
DeleteMaureen
Your lamp looks great!
ReplyDeleteThanks Kat.
DeleteMaureen
The time sharing on your blog is appreciated...thanks for posting photos and describing what you did to make the neat lamp! Cheers, Alayne
ReplyDeleteThanks Alayne.
DeleteApologies for my little tantrum. It was late and I was tired.
Maureen