Friday, February 28, 2014

Just when you think....

that you have all the things to put in a room collected in one place, you remember/think of something else...

My search started when I only had 5 pompom bows (purchased in Kelowna years ago) in the Christmas collection...so I checked out the Holiday bulletin board and found more bows.
I`m thinking of putting all the bows in this container.

As I further looked through my boards, I found the red Chrysnbon cake plate and candy dish. Then I found the plant.

I had had a very tall set of candlesticks in the stash for this room but was wavering on using it. Then I remembered that about 15 years ago my friend Peggy had given me a set of brass candlesticks trimmed for Christmas. It wasn't on my lighting bulletin board (found it later in a Christmas scene) but I did find a couple bags of Chrysnbon candles and candlesticks that I bought from Danielle Perry at her last time at our Show and Sale before she closed her business.

So I took a set:

 trimmed and put them together and painted them with bright red nail polish.

Those pieces will go on the left side of the top shelf here.


As you can see, I`ve transferred the boxes of ornaments from the slanted shelf on the left to the bottom shelf here along with the Christmas light boxes that I made this afternoon. I don`t know what it says about me (or the obsession) when I make six individual boxes then glue them together. I couldn`t bear to do that with the ornament boxes so I put a strip of double-sided tape across the shelf and attached the ornament boxes to that.


Thursday, February 27, 2014

Bit more done...

Still procrastinating about making the card/book rack....

But did manage to hang the two stained glass panels.


What a pain! I had to screw in hooks (from some old ornaments) with virtually no clearance from the glass, attach jump rings to the chains, attach them to the hooks and close the hooks so the pieces would stay in place. Almost an hour!

Used the moveable glue to affix these pieces to the shelf. Needed two coats so lot of waiting involved.


Installed the mat in front of the doors.

Set out the counter, shelving and two pieces of cardboard to represent the two shelves that are in the shop already so I can decide what goes where. All the red packages at the bottom are Christmas stockings and have to figure out what to do with them.

Doubt if I'll have much room for the items on the far right.

 And definitely don't have room for all this.

I was looking through the Christmas minis file on my computer and realized I didn't have any Christmas lights but did have lights box printies so I'll make those up tonight.

And may get the rack made.

That aside, I'm feeling like it's coming together. Lots of decisions to make tomorrow.

Wednesday, February 26, 2014

Not as productive as hoped

Well, things didn't get completed as hoped but made a good dent:

Finish the ceiling

Make and install the card/book rack

Install ornament pegboard

Base for the back shelving to make it work with the case

Install the plates on the plate rack

Once I made the decision to glue them in place, putting the plates on the plate rail went quickly. I had already planned the placement on a strip of masking tape.

I originally put the ornament pegboard up using double-faced carpet tape but that didn't work so I put glue on the back of the frame and that did the trick.

Once the pegboard was in place, I realized that the shelving I was going to put below it was a bit too high so I cut off the top shelf.

Then in order to have the shelving sit flush against the back wall, I had to construct a base with an offset to fit in front of the base of the room top. I glued three pieces of wood together to get the right height, sanded and painted the base.

Attached it to the shelving and clamped until the glue dried.

Here you can see the offset.

Both the pegboard and shelving in place.

Got the ceiling top trimmed and in place.

So the card/book rack will be on tomorrow's to-do list.

Once it's done, it will be time to fill all the shelves. Almost all of that will be done outside the box. I'll line up the shelving and spread out all the possibles on the dining room table. 

Tuesday, February 25, 2014

one thing done, two started and goals for tomorrow AND to glue or not to glue..

I can finally see an end in sight for this project so I HAVE to hide all the RL books (have read 8 or 9 in  the past 6 days) and simply work on the Christmas shop!

I had this great sign post in my stash and thought it would make a great hanger for gift bags.

 So I drilled a hole at a downward angle below the bow and greenery, glued in a cut-off sequin pin and hung a couple gift bags. Think this will go by the store counter.

When I started this roombox, I cut this 'coffered' ceiling from matboard and glued it to the inside of the glass ceiling with white plastic snowflakes hanging down.

As you can see in the above picture, the glue is obvious on the glass so I felt I had to cut a corresponding piece of matboard to match it on top of the glass. I first cut a piece of parchment paper to fit the opening and traced the cuts onto it then taped the parchment paper to another piece of matboard and cut out the holes. The outer edges still have to be trimmed to fit then I will glue it in place.

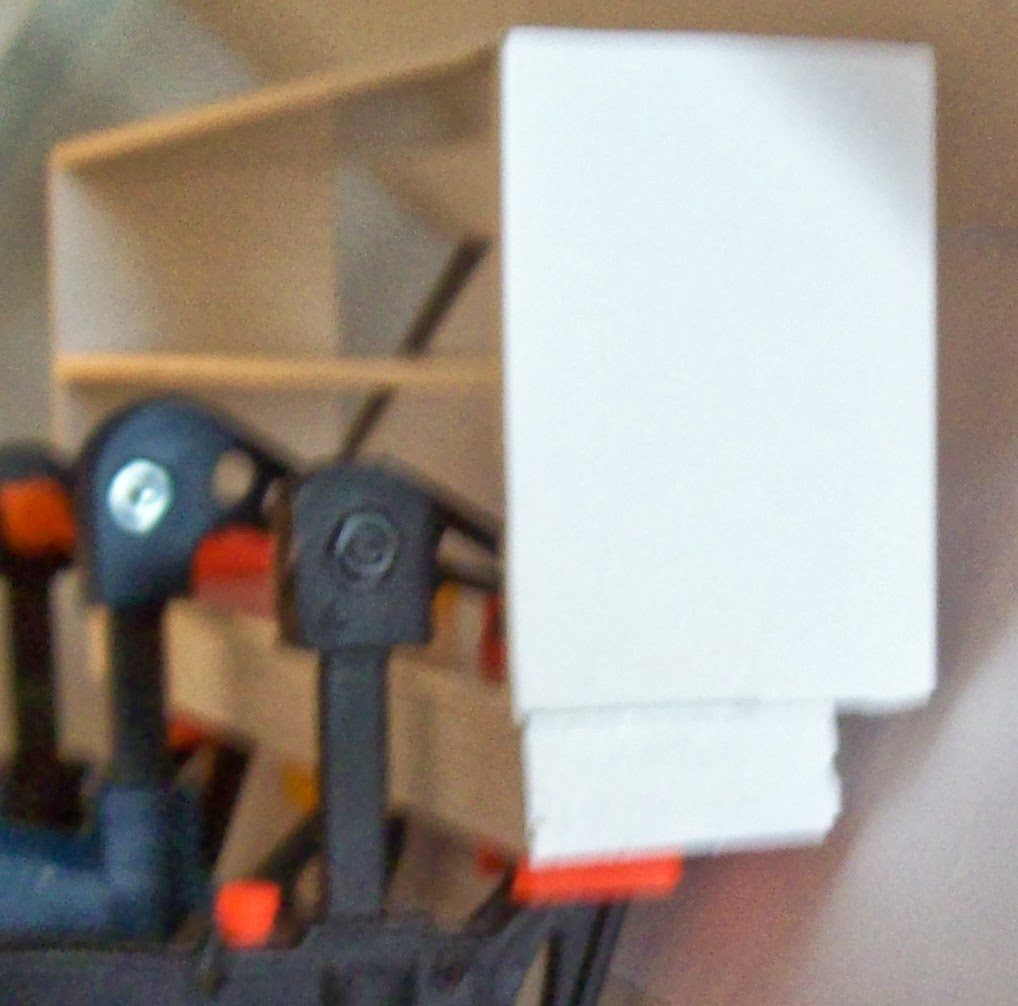
I've collected everything I need to make the card/book rack that will go on the left hand side of the shop doors.

SO....

in order to force myself to actually get some work done, I've decided that each night I'll tell you my goals for the next day and, hopefully, make them 'do-able' enough that I will actually accomplish them.

TOMORROW'S GOALS:

Finish the ceiling

Make and install the card/book rack

Install ornament pegboard

Base for the back shelving to make it work with the case

*Install the plates on the plate rack

*Which leads to the BIG question - to glue or not to glue?

Unless the project I'm working on is a copy of an actual room, I don't ordinarily permanently glue things in place. I usually use poster velcro (No longer conveniently available from Lee Valley - really disappointed) or moveable glue (which I get from Luba in Spruce Grove). Pieces of double sided carpet tape also work well.

I quite often move pieces from project to project so I prefer not to have them permanently in place.

HOWEVER....

(1) This is a once in a lifetime piece. I've been collecting for it for several years and I truly believe that once it's done, there will be no significant changes.
(2) I've done probably 30 Christmas scenes of one kind or other over the years and can't foresee doing any more. So I don't expect to "steal" from this one.
(3) I'll still have a whole pile of things left after this room is filled so I won't have to think about "one-itis" where I'm afraid to use something for fear I'll find a better use for it later. (And the special pieces such as my Janice Crawley Christmas dishes will be put in one special place with moveable glue.)
(4) This is going to be, I hope, one of my best projects and, as such, I want it to be completely moveable so I can show it off easily.


Sunday, February 23, 2014

Finally some progress

I really like building simple furniture.....BUT building it through the bottom of an existing top of a room is NO fun! Taking all the measurements and allowing for the corner pillars of the top is no easy matter. Especially when I wanted the undershelves on the left to be on a slant so the items on them would be more visible. 

This is as far as I got with pictures. The first picture on the left is of the front of the storage area below the furniture display on the right hand side. The rest of the pictures are of the pieces for the shelving on the left hand side. 


I was too lazy to get out the spray painting tent that June K. gave me so I just used my makeshift bathtub spray tent - added advantage of being able to use the bathroom exhaust fan for cut down on the smell. THEN I ran out of spray paint. But once I sanded the painted pieces with a brown paper bag, they worked.

I added handles made from silver beads and sequin pins to add handles to this piece. Originally I was going to add "hinges" with a silver pen then decided these doors would have "invisible" hinges.


All I will say about the shelving on the left hand side is that you didn't want to be around when I was building it. I believe that the sloped shelving below was definitely the right decision but I made a LOT of mistakes that I had to correct on the fly.


Here are most of the boxes of Christmas ornaments:
So many different colours and designs
 It's just disappointing that you can't see the ornaments themselves.

Here the middle shelf is semi-filled with Christmas crackers, garland and a couple more boxes of ornaments.

The right side again with the furniture pieces.

The right side from the outside.

I've had this plastic shelving unit for years and I think I can maybe use it somehow here:

If I can cut the top recessed shelving off the above piece immediately above the first recessed piece,

Like this:


The top piece can go in the middle of the left hand shelf - lots of visibility from both inside and outside the shop.

The bottom piece can go in the middle of the back wall. Best of all the ornament board will fit above it!

The door covers and rolls of wrapping paper can go on either side of it.


There is a great 3" x 3 1/2" area to the left of the door where I can put a card/book shelf.

I'm feeling really good about the plans so far except for not knowing how I can somehow get a Christmas tree in there.


Wednesday, February 19, 2014

Some new goodies

Once again our club has been the recipient of items from the estate of a miniaturist. Our president, Tina, went through the 'stash' items and put them into ziploc bags  that were handed out to members last night. Barb R. wasn't able to attend last night so I also picked up a bag for her.

My bag contained some great things that I could use:
Houseworks corner posts, a radio, small bush, Christmas bag and Tinker Toy container. I have homes for everything but the corner posts.
Everything else in the bag will go to Barb for her grand-daughter.

In addition, we had a table with some House of Miniature furniture kits, Michael's hutches, some other furniture and a selection of magazines. The magazines were sold for 25 cents each. Members who were interested in the other items put their names in for a drawer. My name was the third drawn and I was lucky to get the one kit that I wanted!

Barb R. and I have have birthdays in March. Since Barb S. is away next month, she gave us our birthday gifts early.

Interesting morning. The smoke detectors are being tested in all the units so it was a noisy morning. The gentleman who tested my smoke detectors showed great interest in my minis and mentioned he had an wall niche that he thought about putting some kind of scene in. So I gave him my card. One of my smoke detectors is not working so that's good to know.

Monday, February 17, 2014

Almost finished right hand side, shelving left side, thinking....

Here I cut the piece to close in below the furniture shelf. Once it had been fitted, I cut four faux "doors" to provide storage under the furniture. I bevelled the edges of the doors then glued them in place and weighted them under books until the glue dried. 


Here it's fitted in place. I won't add the hardware for the doors until the piece has been painted...and I won't paint it until the pieces are cut for the right hand shelving as I want to spray paint the pieces white and want to paint all the shelving pieces at one time.

On the left hand side of the room, there will be wall to wall shelving. The top shelf will be even with the partial wall below the window. In order to make the items on the lower shelves more visible, I'm planning on slanting the two lower shelves as shown in the sketch below.


That's the plan so far.......

Once that unit is built and installed, I'll have a better idea of how much more shelving I'll need.

The 9" Lemax tree will probably have to be eliminated for lack of space. The 4" Christmas tree by Bev Potter-Marien on the right may be the Christmas tree that I'll be able to highlight.


There is just SO much to put in the room and I just don't know where to put it all.

I have a wonderful hanging Santa carpet (no room for that), demonstration door cover (with rolled sale pieces) this wonderful ribbon rack that could be part of a gift wrapping area:


All kinds of wrapping paper (rolls and wrapped sheets) and bows; books (need a magazine rack for them); nativity scenes, placemats and napkins, ornaments (both boxed and individual), garland, stained glass hangings, Christmas stockings (both packaged and dimensional). Santa Claus suits (two different styles)....

In order to fit so many other things in, I may have to eliminate this ornament board that is one of my favourite pieces and one of the first things I made for the shop. This is going to be a BIG decision! This was going to be the focal point of the room and I'd be devastated to lose it but that may have to be a choice I have to make. It takes up about 1/3 of the width of the back wall so using it almost eliminates the use of anything else on that wall.


I thought I had all this figured out a couple days ago until I looked at what was left in my stash and had to rethink everything.........

The usual one step forward and two steps back.....

Saturday, February 15, 2014

Right side of the Christmas shop

Originally I had planned on having open shelving on each side of the shop. But because the walls below the windows were a bit high and the wooden framing below them added another 5/8" to the depth of the space below the windows, any furniture placed on the floor of the room would be barely visible through the windows. With that in mind, I decided to put a raised carpeted section on the right hand side of the room in order to showcase the furniture. (Thanks to Sue in Calgary for suggesting this solution.)

I started by putting a piece of 1/4" balsa on the side wall to act as a support for the 'floor'.

TIP: When you need to take a measurement inside a piece, one way is to fit a piece of typing paper in the space then remove and measure it. Another way is to take two rulers (in this case two 6" rulers) and put them across the space to be measured with the 0 measurement at either end of the space. Add the two measurements where the rulers overlap and you'll have the measurement you need. (In this case, the upper ruler is 6" and the lower is 4 3/4" so the total width is 10 3/4". (Yeah, I know that in this case I was able to make that particular measurement from the outside of the glass but that isn't always possible.)


I want the 'floor' to be 3 1/2" deep so I've cut a piece of 3/32" basswood to 3 1/2" x 11 1/2".

Then I clipped out a 3/8" square out of each corner to allow for the wood frames of the case.

I dry-fitted that then cut two 3" pieces of the 1/4" balsa to support it at either end.

Then I used Weldbond to glue the balsa in place and clamped the side pieces in place.

None of the green carpeting I had looked right with the floor of the room plus I wanted the contrast of the red and had this nice piece. Using Yes glue, I glued the velvet to the basswood and wrapped it around the edge about 3/8". (I'll trim it once the glue has dried completely.)


Here I've put that piece under a heavy book (good book and also a great weight for this) to ensure it dries flat.

One of the problems on this side of the room is that the glue that attached the matboard to the outside of the glass shows on the inside so I have to cut another piece of matboard for the inside of the glass. I've cut it to width but won't be able to cut it to height until the carpeted piece is in place. (This won't be an issue on the other side of the room as the top shelf on that side will be even with the top of the partial wall.)

Once the glue has dried completely on the carpeting, I'll be able to trim it and put that piece in place, trim and add the matboard. Then I have to cut and carpet the piece between that and the floor....and cut a piece of matboard to cover the inside of the glass on the right front.

Later:
I trimmed the carpeted piece and glued it in place on the balsa supports and clamped it.


Once that was done, I was able to measure the height of the matboard and glue it in place.


Second thought here: This is a shop, perhaps in a mall, where the rent is high so the space below the furniture display would be used for storage of extra merchandise rather than being closed off. So I'll deal with that tomorrow (hopefully).

Most of the work on this can be done by simply putting the top of the container on it's back or side but sometimes I have to work on it through the bottom and I can do that by propping it up on these two boxes as I needed to do to try the placement of the furniture.


Tentative placement of furniture in the window: (I photographed it against a piece of white matboard so it would show up.)


Quilt, if I decide to keep it in the window, needs to be draped properly.

It's coming together.