Congratulations to the Manitoba team (skip Matt Dunstone, Colton Lott, Daniel Grant, Brendan MacCuish and their coach Scott Grant who won the Canadian Junior Men's Curling Championship tonight 4 - 3 against Alberta.
Came down to the last shot and I was too scared to watch and too scared not to. VBG
Saturday, February 9, 2013

Some variations for the table
The apron could have been made from
basswood ¾” deep:

Here's the longer apron with a brass jewellery finding.

I cut two false
drawer pieces. On the right hand piece, I’ve pencilled from corner to corner to
find the centre of the piece, then drilled through both pieces.

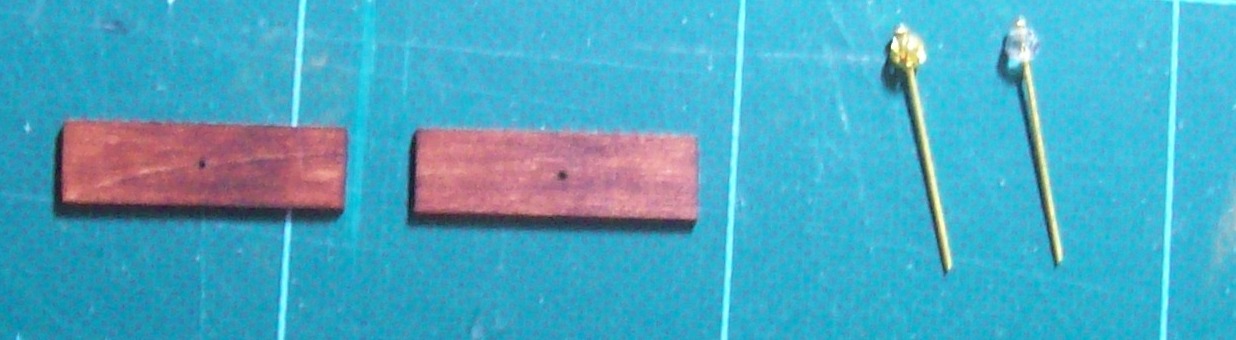
The faux drawer pieces were then glued to the apron and the holes redrilled to go through the apron, then the head pins and beds inserted in the holes. (The brass is on the left and the crystal on the right - just for illustration purposes.) At this point, I would decide which bead I was going to use and make both the same. Then I would clip off the excess head pin from the back of the apron, remove them, apply glue to the back of the bead and the remaining visible length of the head pin and reinsert in the holes.

And here it is in place. (I didn't remake the table - for demonstration purposes I just slipped the longer apron in place over the shorter apron of the original table. And it slipped a bit as I was taking the picture so it looks a bit wonky.)

But I hope this gives you a couple ideas of how you can vary the basic table and make it your own.
As I was searching for the picture of the table base from the top and found the picture of the base for the quilt shop table, I realized that the basic idea of the table base could also be used to make a simple bed such as the one Trineke was asking me about for her attic room. So I'll tackle that later and put up a tutorial.
I need to be at the computer for the next couple hours to follow great nephew Matt's Manitoba team as they play in the semi-final of the Canadian Junior Men's Curling Championship. Go, Manitoba!!!
Basic table tutorial
TABLE
The beauty of making your own table is that you can make the
table top any size you want/need and you can make it the height you want. Dining
room tables are usually 29 – 30” high, a sofa table could be 36” high and end
tables are 21 – 24” high.
And you can use a variety of supplies to keep your costs
down. Your basic pieces are:
- The table top
- The legs
- The apron
An apron is a wooden panel that connects the
surface and legs of a table. It is placed at right angles to the underside of a
tabletop, and extends between the top of the legs.
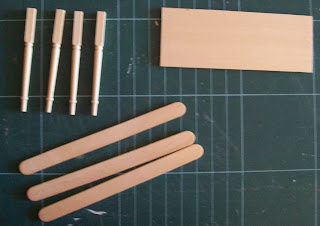
The table top can be made of either mat
board or 1/16, 3/32, or 1/8” basswood. The apron can be made from those or from
coffee stir sticks or craft (popsicle sticks)
The legs can be made from square food
picks from the Dollar Store (mine are about 3/32 square), 1/8 or ¼” square
strip wood, or Houseworks stair balusters #7025 or #7202 on page 14 of the
Houseworks catalogue http://houseworksltd.com/pdf/HWKcatalog18spreads.pdf The important thing is that they have square tops.
Houseworks also sells table legs (top of page 15) but they only come in packs
of 4 whereas the balusters come in packs of 12. In my experience the balusters
are more readily available at most miniature shops.
Cutting mat



Use the same method to cut the aprons for the width of the table.

If you’re going to
stain rather than paint the table, now is the time to do it. You can paint over
glue, but you can’t stain over it. Do not stain the tops of your table legs or
the ends and one long edge of the apron pieces.

In your gluing jig, glue the ends of the long apron pieces to the tops of your table legs.

My gluing jig is large enough that I was able to do both sets of legs at the same time simply by using a couple Lego blocks between each set.


OOPS! Forgot to take a picture of what the apron and legs will look like when finished. (This is of the quilt shop table base but you can see the basic construction.) Note that the apron goes on the inside portion of the legs.


The completed table!

I'll have the tutorial available as a .pdf file later today. If you'd like a copy, email me and I'll send it to you. Please put "table tutorial" in the subject line.
My next post will include some variations that I tried.
 |
| From left to right: square food pick, 1/8" strip wood, 1/4" strip wood, Houseworks baluster #7025 |
Supplies:
Metal ruler
Fine pencil
Utility knife with fresh blade
Gluing jig or Lego blocks
Wood glue or Weldbond
ToothpicksCutting mat
Stain or paint
Optional (nice to have but not
necessary):
Mitre box and saw
Easy cutter
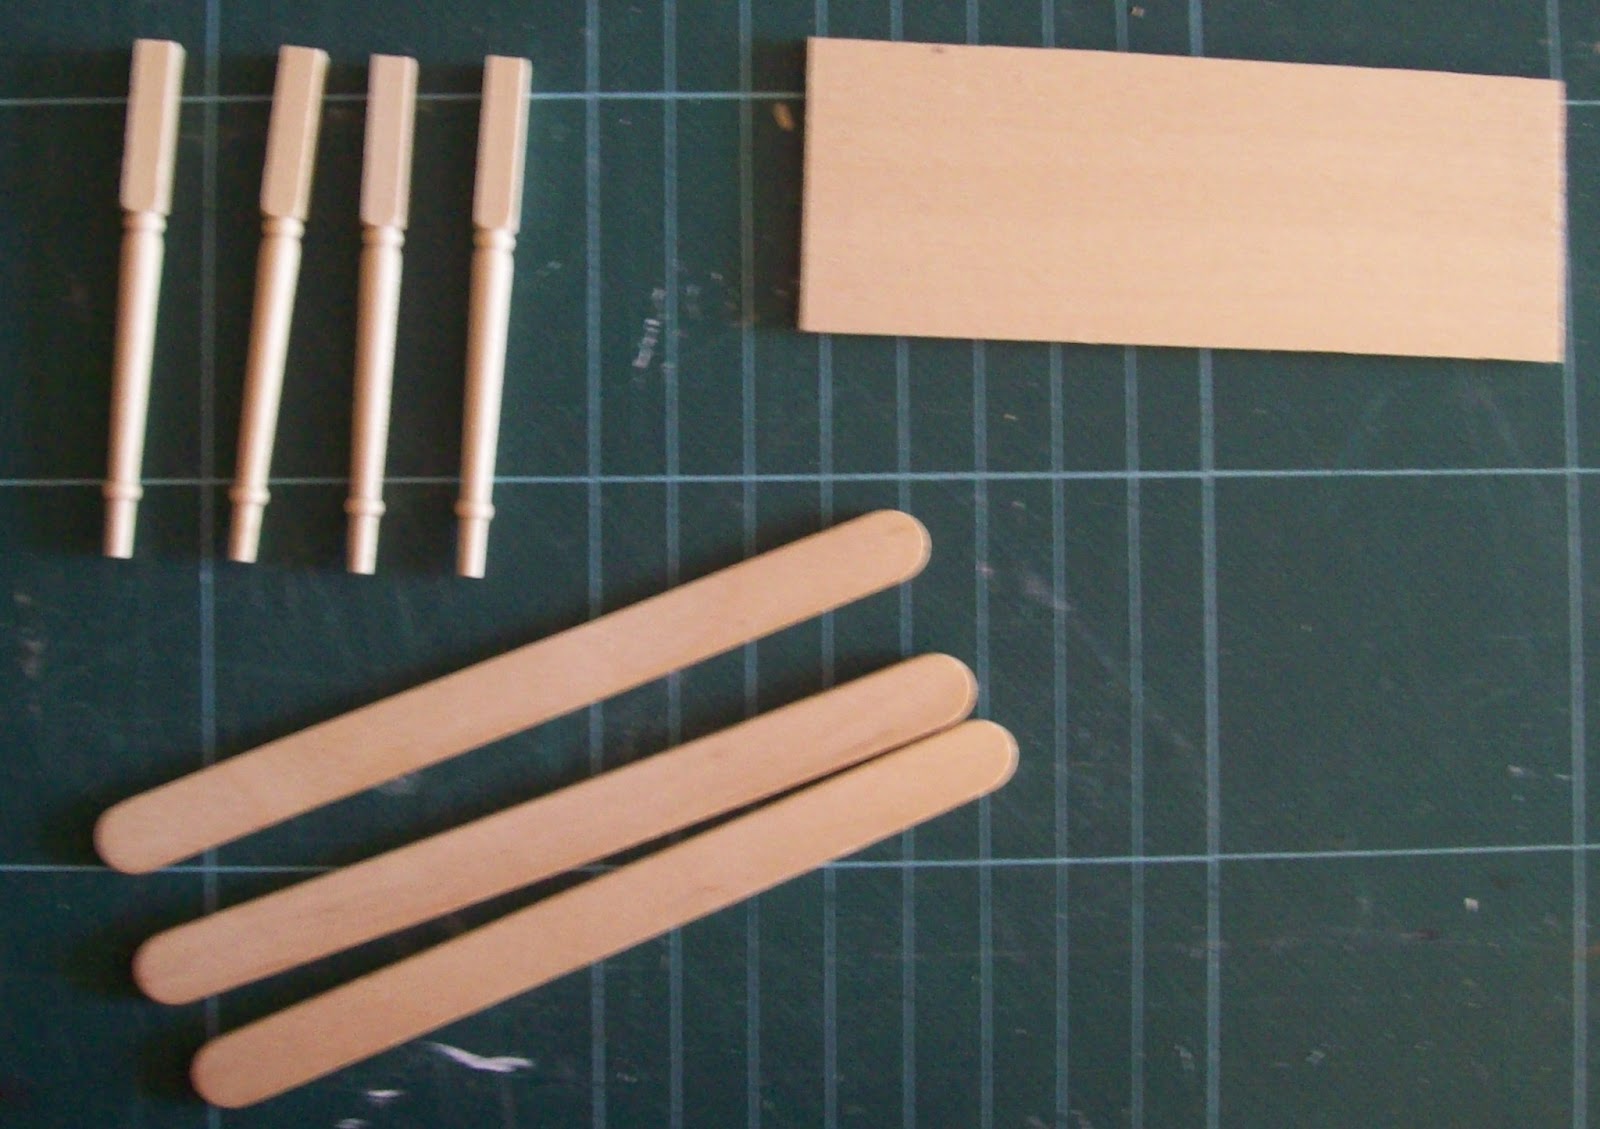
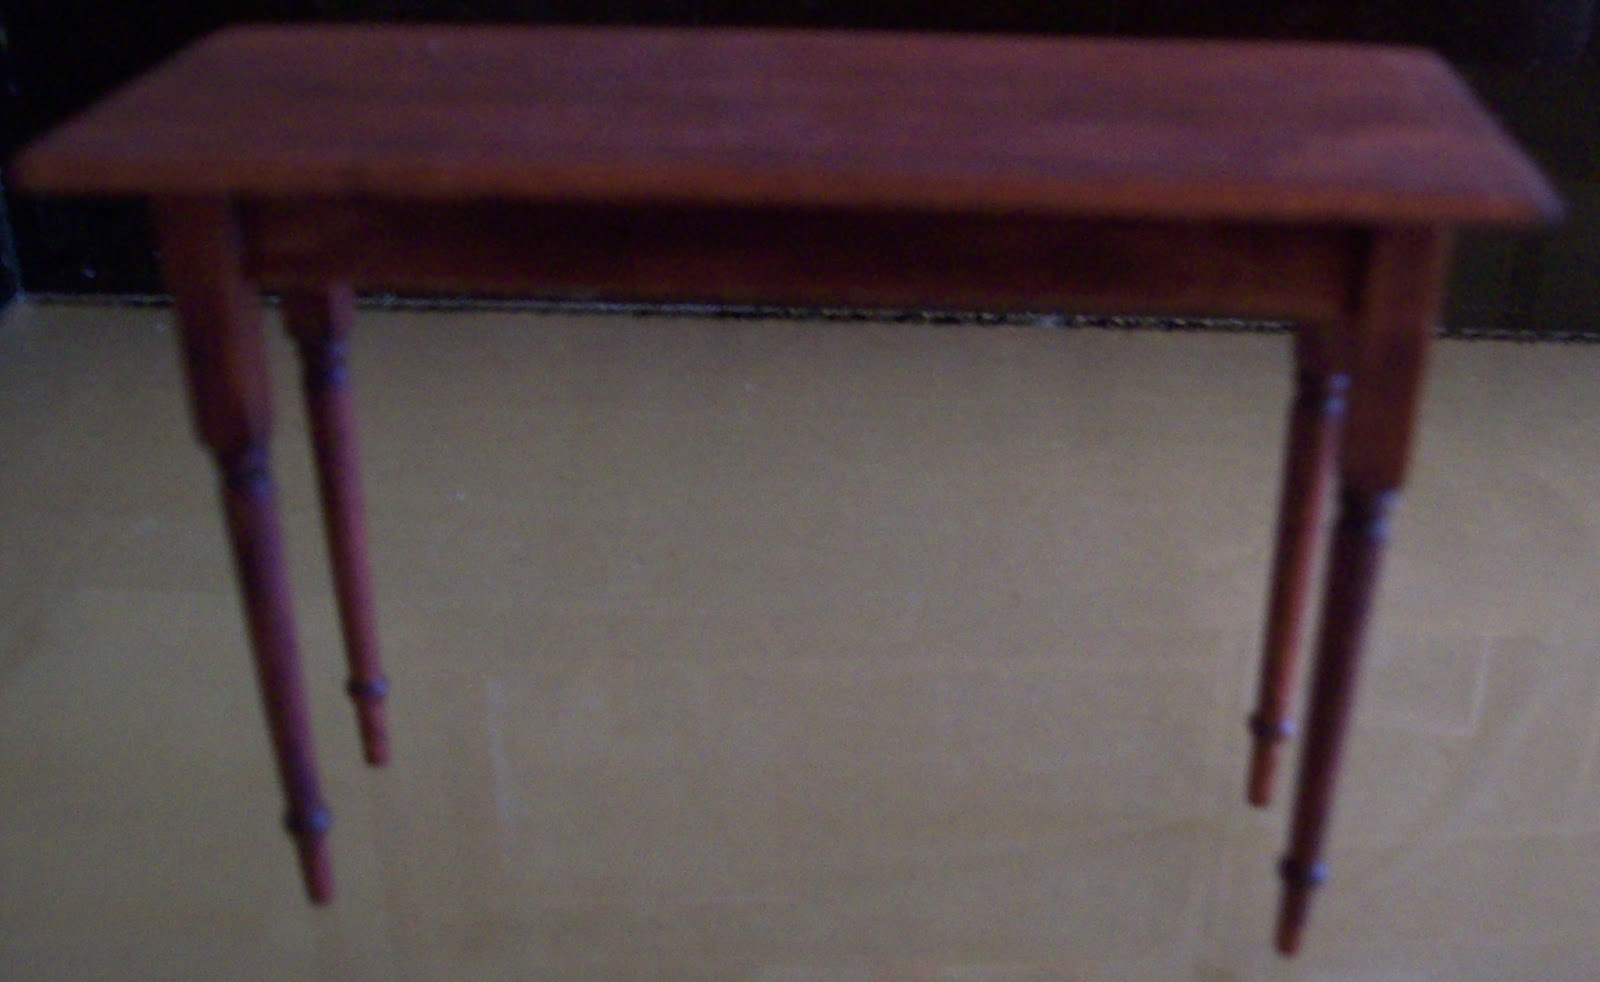
As an example, here’s a hall table I made
using 3/32” basswood for the table top, popsicle sticks for the apron and
Houseworks #7025 for the legs.
Making the Table
Cut your table top
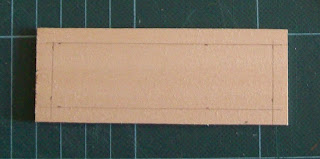
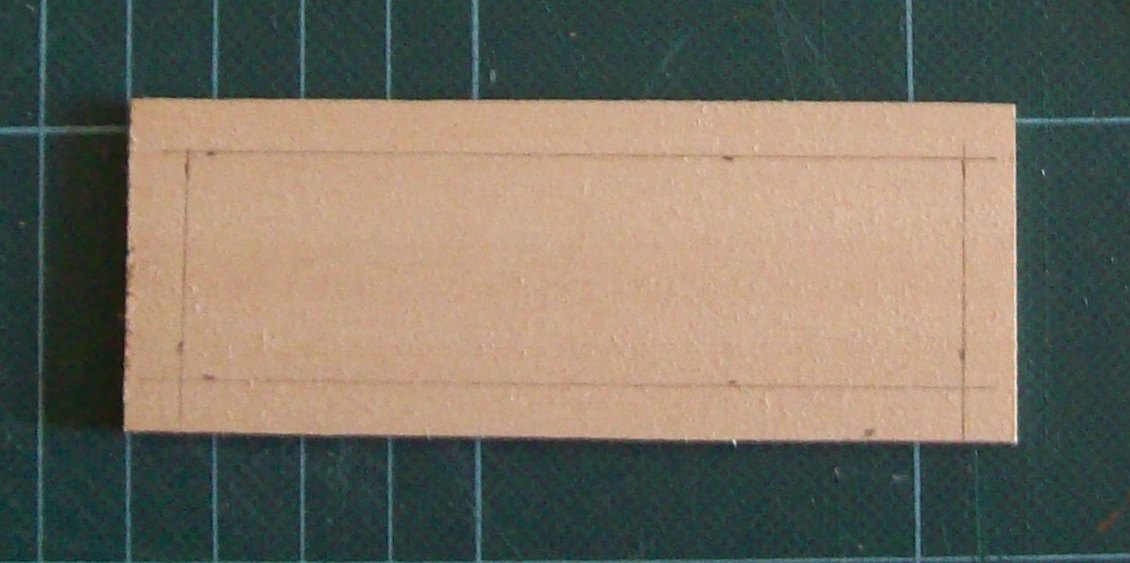
to the size you want. This one is 4” x 1 ½”. On the bottom side of the table
top, mark in ¼” around the edge of the table top. (For a small table such as an
end table, I’d mark in only 1/8” from the edge.)
If you’re using the
picks or stripwood, cut four pieces to the length needed for the height of the
table. Since I used the balusters, I could skip this part.

Cut the two aprons for the length of the table.


In your gluing jig, glue the ends of the long apron pieces to the tops of your table legs.

My gluing jig is large enough that I was able to do both sets of legs at the same time simply by using a couple Lego blocks between each set.

When that glue has
dried, put one of the sets of legs against one side of the gluing jig. (I hit
it lucky here as the distance between the two sets is exactly the width of a
piece of Lego!) Glue one end of the short apron pieces to those legs and use
the Lego to keep it straight and square. Then glue the other end and attach the
second set of legs. (I actually used my upside down mitre box to hold
everything in place while the glue dried.


OOPS! Forgot to take a picture of what the apron and legs will look like when finished. (This is of the quilt shop table base but you can see the basic construction.) Note that the apron goes on the inside portion of the legs.

When the base of
the table was solid, I turned it right side up and spread wood glue on all the
upper edges.
Then I turned it
upside down and glued it in place on the bottom of the table. (My original
pencil lines were just visible through the stain to help with placement.


My next post will include some variations that I tried.
Thursday, February 7, 2013
Sorry....
I just haven't had time to post the tutorial for making a table. I'll try to get it up over the weekend.
My request for help advertising the September Show and Sale resulted in such a wonderful flood of ideas from my online groups and individuals that it took me a LONG time to get caugh up with replying and 'filing' all the helpful suggestions/ideas and offers of help.
At some point, I will try to collate everything and put together a document that hopefully can be shared with all of us who are involved in promoting Show and Sales.
One of the great joys of being involved in miniatures is the knowledge that, no matter what, thanks to the internet, none of us are really alone any more. We are all part of this incredibly knowledgeable, helpful and sharing community.
I say that as one of the miniaturists who started well before the internet....when there were no printies, no online tutorials (not to mention YouTube video tutorials), no "immediate" responses to questions (Gosh, look at the old Nutshell News - you asked a question - by snail mail - then given the publication delays, you were lucky to get an answer within months.) And actually, I didn't even know about Nutshell News until shortly before it was no longer published.
We are truly blessed as miniaturists to have SO much available to us at this time.
And now, the incredible 3D printer. It doesn't seem to be too available yet in terms of 1:12 scale but there is some incredible work being done in 1:48 scale; especially by T. Shawn Johnson from Guelph Ontario. Please check out Shawn's work..beautiful work at very reasonable prices. It's almost enough to get me to try out 1:48.
But those of you who have seen my collection of 1:12 pieces and supplies will understand why that will never happen.
Anyway, I got sidetracked here.
The first week of the month is always busy for me between the MEE workshop on Tuesday and my Condo board meeting on Wednesday. (And this week it was exacerbated by a condo emergency tonight.)
And, too, this week is particularly busy with grand-nephew, Matt Dunstone's (Manitoba), rink curling in the Canadian Junior Men's Curling Championship in Fort McMurray. The family follows his games online at curling.ca which is wonderful but since Mom (great-grandmother) doesn't have a computer, DS Shirley and I take turns keeping Mom up-to-date on what's happening. Next game is 8 a.m. Friday and it's my turn.
Then I have a lunch meeting at Joanne's with the MEE committee to discuss all the suggestions we've received for the club project for next year.
AND I have to prepare for the workshop I'm going to lead at my place on this coming Tuesday making the table from scratch...the one I'll try to post the tutorial for over the weekend.
My request for help advertising the September Show and Sale resulted in such a wonderful flood of ideas from my online groups and individuals that it took me a LONG time to get caugh up with replying and 'filing' all the helpful suggestions/ideas and offers of help.
At some point, I will try to collate everything and put together a document that hopefully can be shared with all of us who are involved in promoting Show and Sales.
One of the great joys of being involved in miniatures is the knowledge that, no matter what, thanks to the internet, none of us are really alone any more. We are all part of this incredibly knowledgeable, helpful and sharing community.
I say that as one of the miniaturists who started well before the internet....when there were no printies, no online tutorials (not to mention YouTube video tutorials), no "immediate" responses to questions (Gosh, look at the old Nutshell News - you asked a question - by snail mail - then given the publication delays, you were lucky to get an answer within months.) And actually, I didn't even know about Nutshell News until shortly before it was no longer published.
We are truly blessed as miniaturists to have SO much available to us at this time.
And now, the incredible 3D printer. It doesn't seem to be too available yet in terms of 1:12 scale but there is some incredible work being done in 1:48 scale; especially by T. Shawn Johnson from Guelph Ontario. Please check out Shawn's work..beautiful work at very reasonable prices. It's almost enough to get me to try out 1:48.
But those of you who have seen my collection of 1:12 pieces and supplies will understand why that will never happen.
Anyway, I got sidetracked here.
The first week of the month is always busy for me between the MEE workshop on Tuesday and my Condo board meeting on Wednesday. (And this week it was exacerbated by a condo emergency tonight.)
And, too, this week is particularly busy with grand-nephew, Matt Dunstone's (Manitoba), rink curling in the Canadian Junior Men's Curling Championship in Fort McMurray. The family follows his games online at curling.ca which is wonderful but since Mom (great-grandmother) doesn't have a computer, DS Shirley and I take turns keeping Mom up-to-date on what's happening. Next game is 8 a.m. Friday and it's my turn.
Then I have a lunch meeting at Joanne's with the MEE committee to discuss all the suggestions we've received for the club project for next year.
AND I have to prepare for the workshop I'm going to lead at my place on this coming Tuesday making the table from scratch...the one I'll try to post the tutorial for over the weekend.
Tuesday, February 5, 2013
Asking for help....
MINIATURE ENTHUSIASTS OF EDMONTON CLUB invites you to
take part in their
17th ANNUAL FALL SHOW &
SALE
Sunday, September 15, 2013
10:00 a.m. to 4:00 p.m.
Executive Royal Inn
10010 – 178 Street
Edmonton, Alberta
T5S 1T3
We have the only miniature show and sale left in Alberta and Saskatchewan and we REALLY want to get the word out to all the miniaturists in western Canada but especially those in Saskatchewan and northern and southern Alberta.
We put the information out on groups such as Canada Minis, The Camp and Small Stuff digest and advertise in the miniature magazines...Alex at Miniland puts our flyer in his mailings as soon as they're available...
But I know we are missing all of those people (especially in the two provinces) who LOVE miniatures but may not be part of the miniatures community online,,,,
Does anyone have any ideas how we can possibly get the word out to those people?
Kicking myself....
Yesterday, once again, I picked up a book and didn't get any of the things on my to-do list done :-(
Didn't get my lamp shades done on the Shrinky Dink for tonight's workshop (and even though I had my camera along forgot to take it out to take pictures to show you all the beautiful work) but I did get the prototype table and the tutorial done for next week's workshop. I needed to get it done for tonight so members could see the prototype and the possible variations.
This workshop next week is a new thing to the club. We have a regular workshop at the church on the first Tuesday of the month and our general meeting is on the third Tuesday. Our chairman, Tina, has been hosting a quarter scale group in her home on the 4th Tuesday.
We've actually had one very small 2nd Tuesday get-together in my condo before but then Christmas and bad weather intervened.
The tutorial was done as a document so it could be passed out to MEE members so I will try to post it here over the next few days.
Didn't get my lamp shades done on the Shrinky Dink for tonight's workshop (and even though I had my camera along forgot to take it out to take pictures to show you all the beautiful work) but I did get the prototype table and the tutorial done for next week's workshop. I needed to get it done for tonight so members could see the prototype and the possible variations.
This workshop next week is a new thing to the club. We have a regular workshop at the church on the first Tuesday of the month and our general meeting is on the third Tuesday. Our chairman, Tina, has been hosting a quarter scale group in her home on the 4th Tuesday.
We've actually had one very small 2nd Tuesday get-together in my condo before but then Christmas and bad weather intervened.
The tutorial was done as a document so it could be passed out to MEE members so I will try to post it here over the next few days.
Monday, February 4, 2013
Our Edmonton AB weather
Since 1974, I've lived in St. Albert, Alberta, which is a suburb of Edmonton, our provincial capital. Until 1964 when I graduated from high school, I lived in the Peace River country of Alberta; then lived in Edmonton.
This winter has been a very long one in that snow and cold started in October and really hit in November when I returned from Ontario to a blizzard with a record snowfall. (My BIL couldn't pick me up at the airport as arranged because they had 16" of snow in their driveway!)
That said, we've had an interesting winter with some near-record cold days and, I'm thinking, some near-record warm days. Although it's been a long winter, it's been quite bearable as we seem to be getting several days of VERY cold weather interspersed with a few days of unseasonably warm weather. For example, the other day with the wind chill, the temperature was -40 (the same in both celsius and fahrenheit) and today was +5 celsius (40 F).
The cold days brought back memories of the winter of 1969 when we had 26 consecutive days of temperatures below 0 Fahrenheit (-17.7C). I had actually done an online search for this information the other day and couldn't find it but yesterday the Edmonton Journal's "In the History" page highlighted it and showed a graphic of the certificate that the Journal awarded to survivors of those very cold days. Keep in mind that the temperatures shown on the certificate are in Fahrenheit - Canada had not yet gone metric/celsius. (Mine is tucked away somewhere.)
On the other hand, this is a picture of my Mom and Dad taken on Christmas Day of 1998 or 1999 in our driveway in St. Albert.
It's our weather and we live with it...
This winter has been a very long one in that snow and cold started in October and really hit in November when I returned from Ontario to a blizzard with a record snowfall. (My BIL couldn't pick me up at the airport as arranged because they had 16" of snow in their driveway!)
That said, we've had an interesting winter with some near-record cold days and, I'm thinking, some near-record warm days. Although it's been a long winter, it's been quite bearable as we seem to be getting several days of VERY cold weather interspersed with a few days of unseasonably warm weather. For example, the other day with the wind chill, the temperature was -40 (the same in both celsius and fahrenheit) and today was +5 celsius (40 F).
The cold days brought back memories of the winter of 1969 when we had 26 consecutive days of temperatures below 0 Fahrenheit (-17.7C). I had actually done an online search for this information the other day and couldn't find it but yesterday the Edmonton Journal's "In the History" page highlighted it and showed a graphic of the certificate that the Journal awarded to survivors of those very cold days. Keep in mind that the temperatures shown on the certificate are in Fahrenheit - Canada had not yet gone metric/celsius. (Mine is tucked away somewhere.)
On the other hand, this is a picture of my Mom and Dad taken on Christmas Day of 1998 or 1999 in our driveway in St. Albert.
.jpg) |
| Sorry it's so poor but it's mounted on a 1" piece of wood and doesn't scan very well. |
Subscribe to:
Posts (Atom)